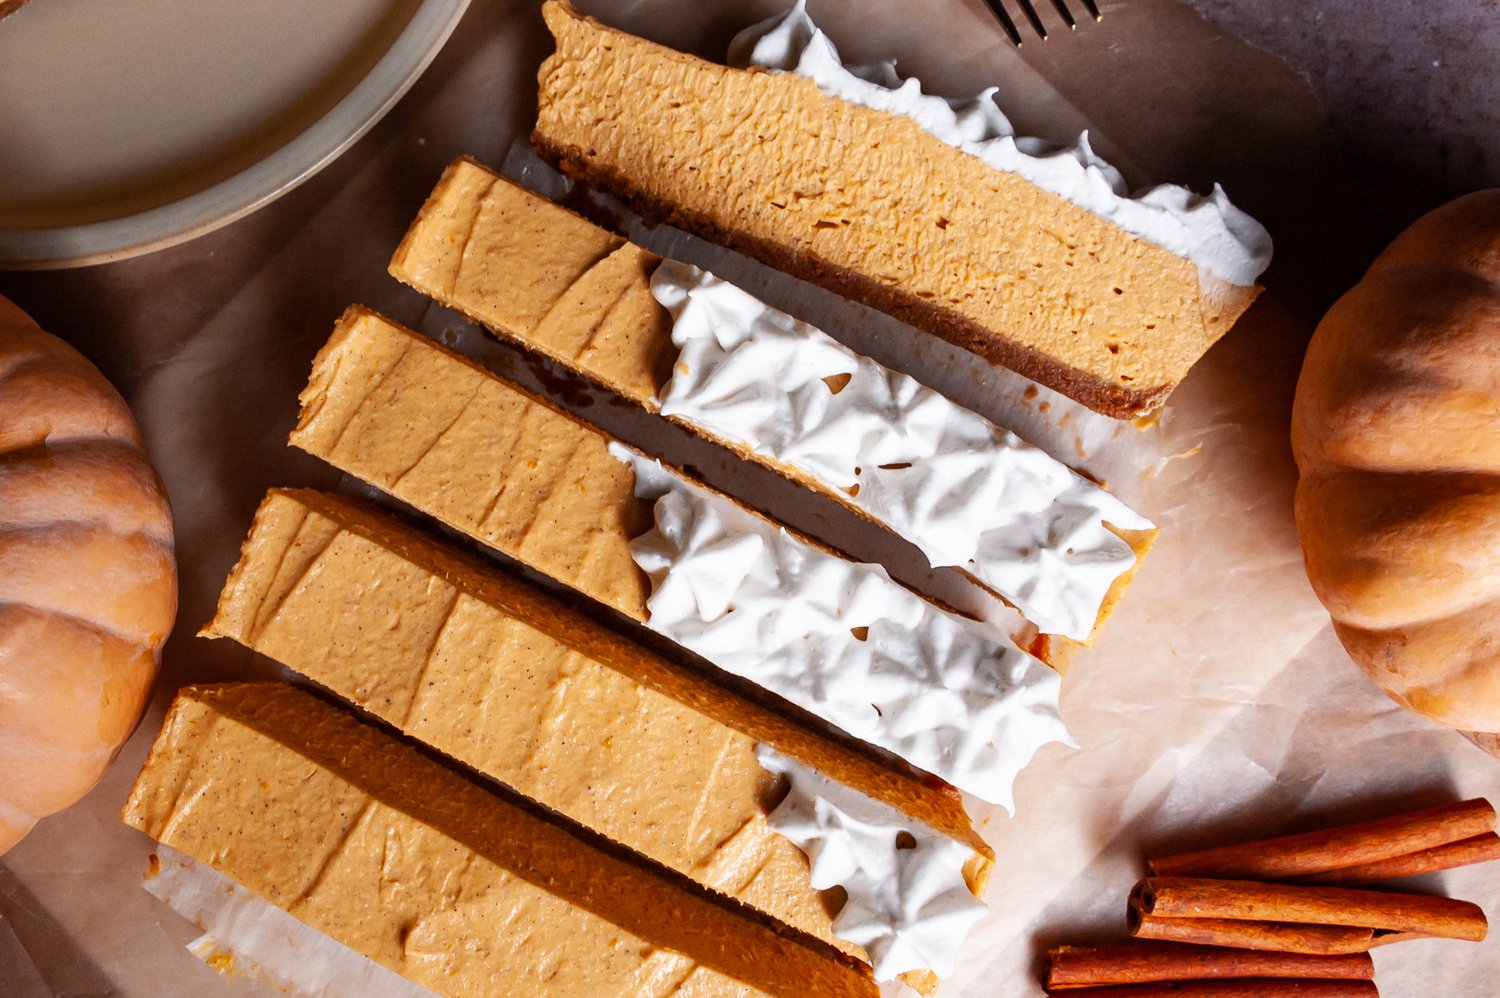
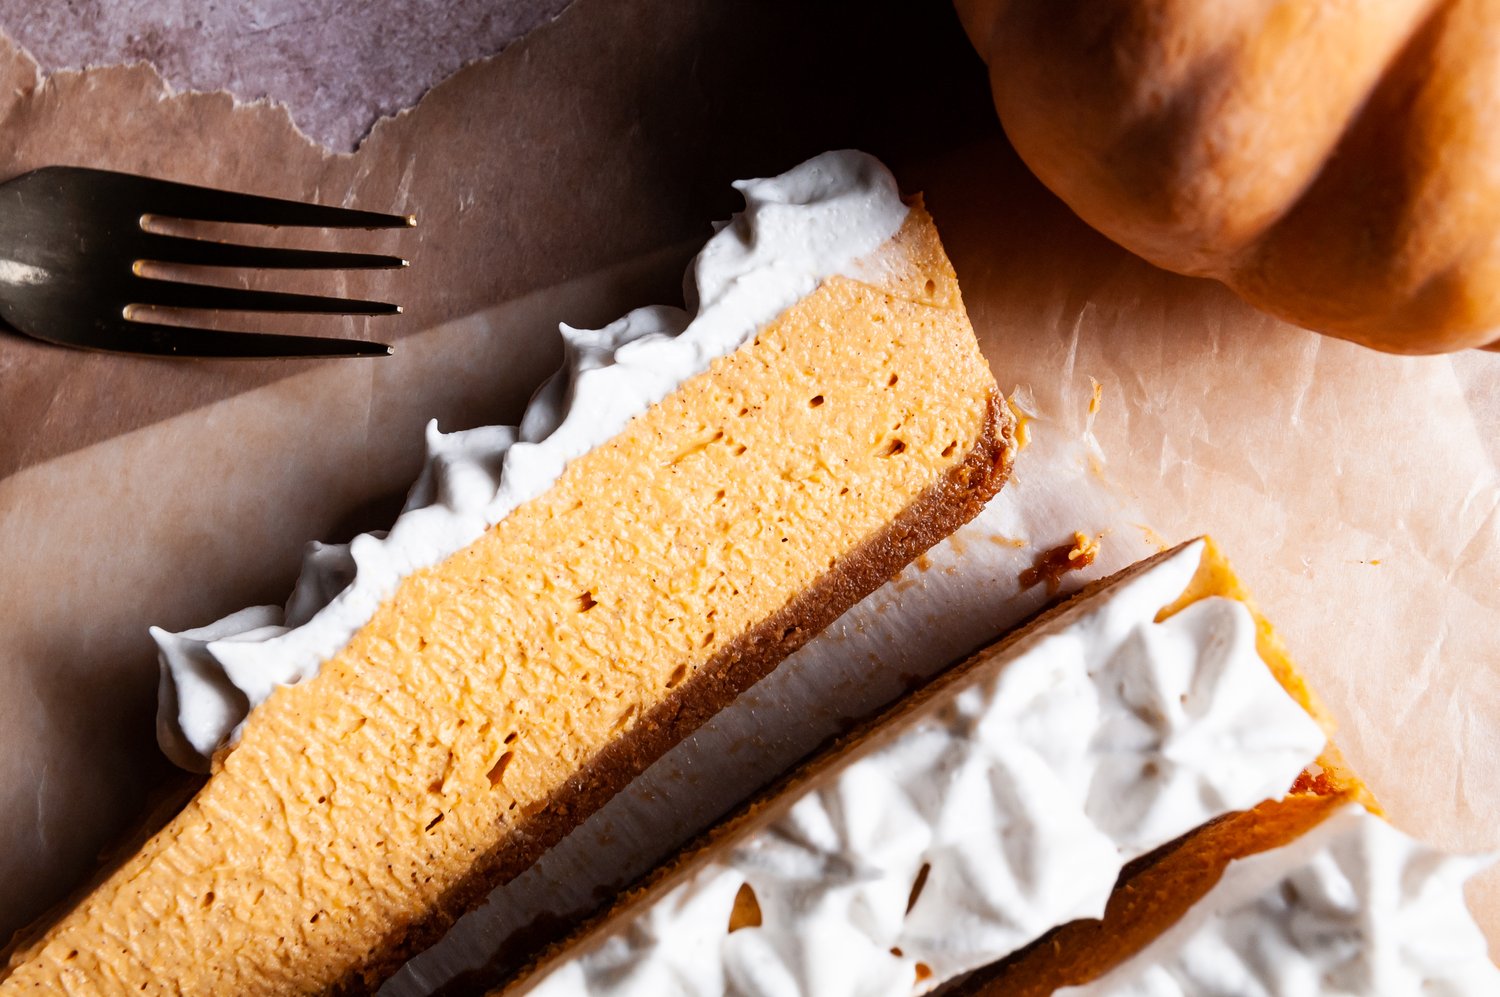
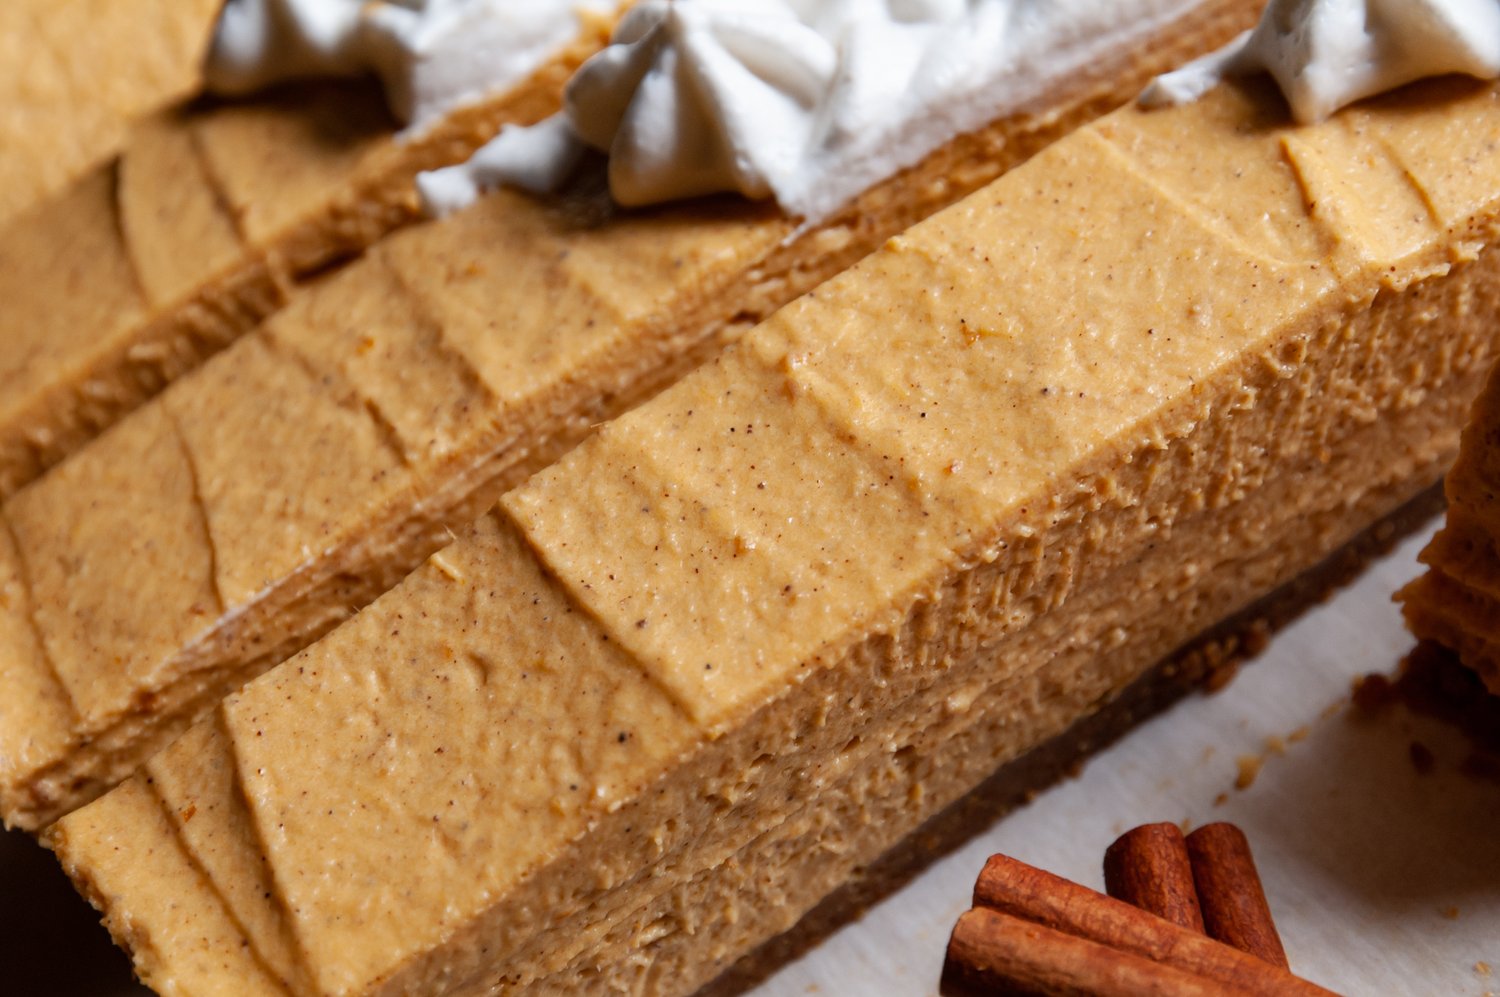
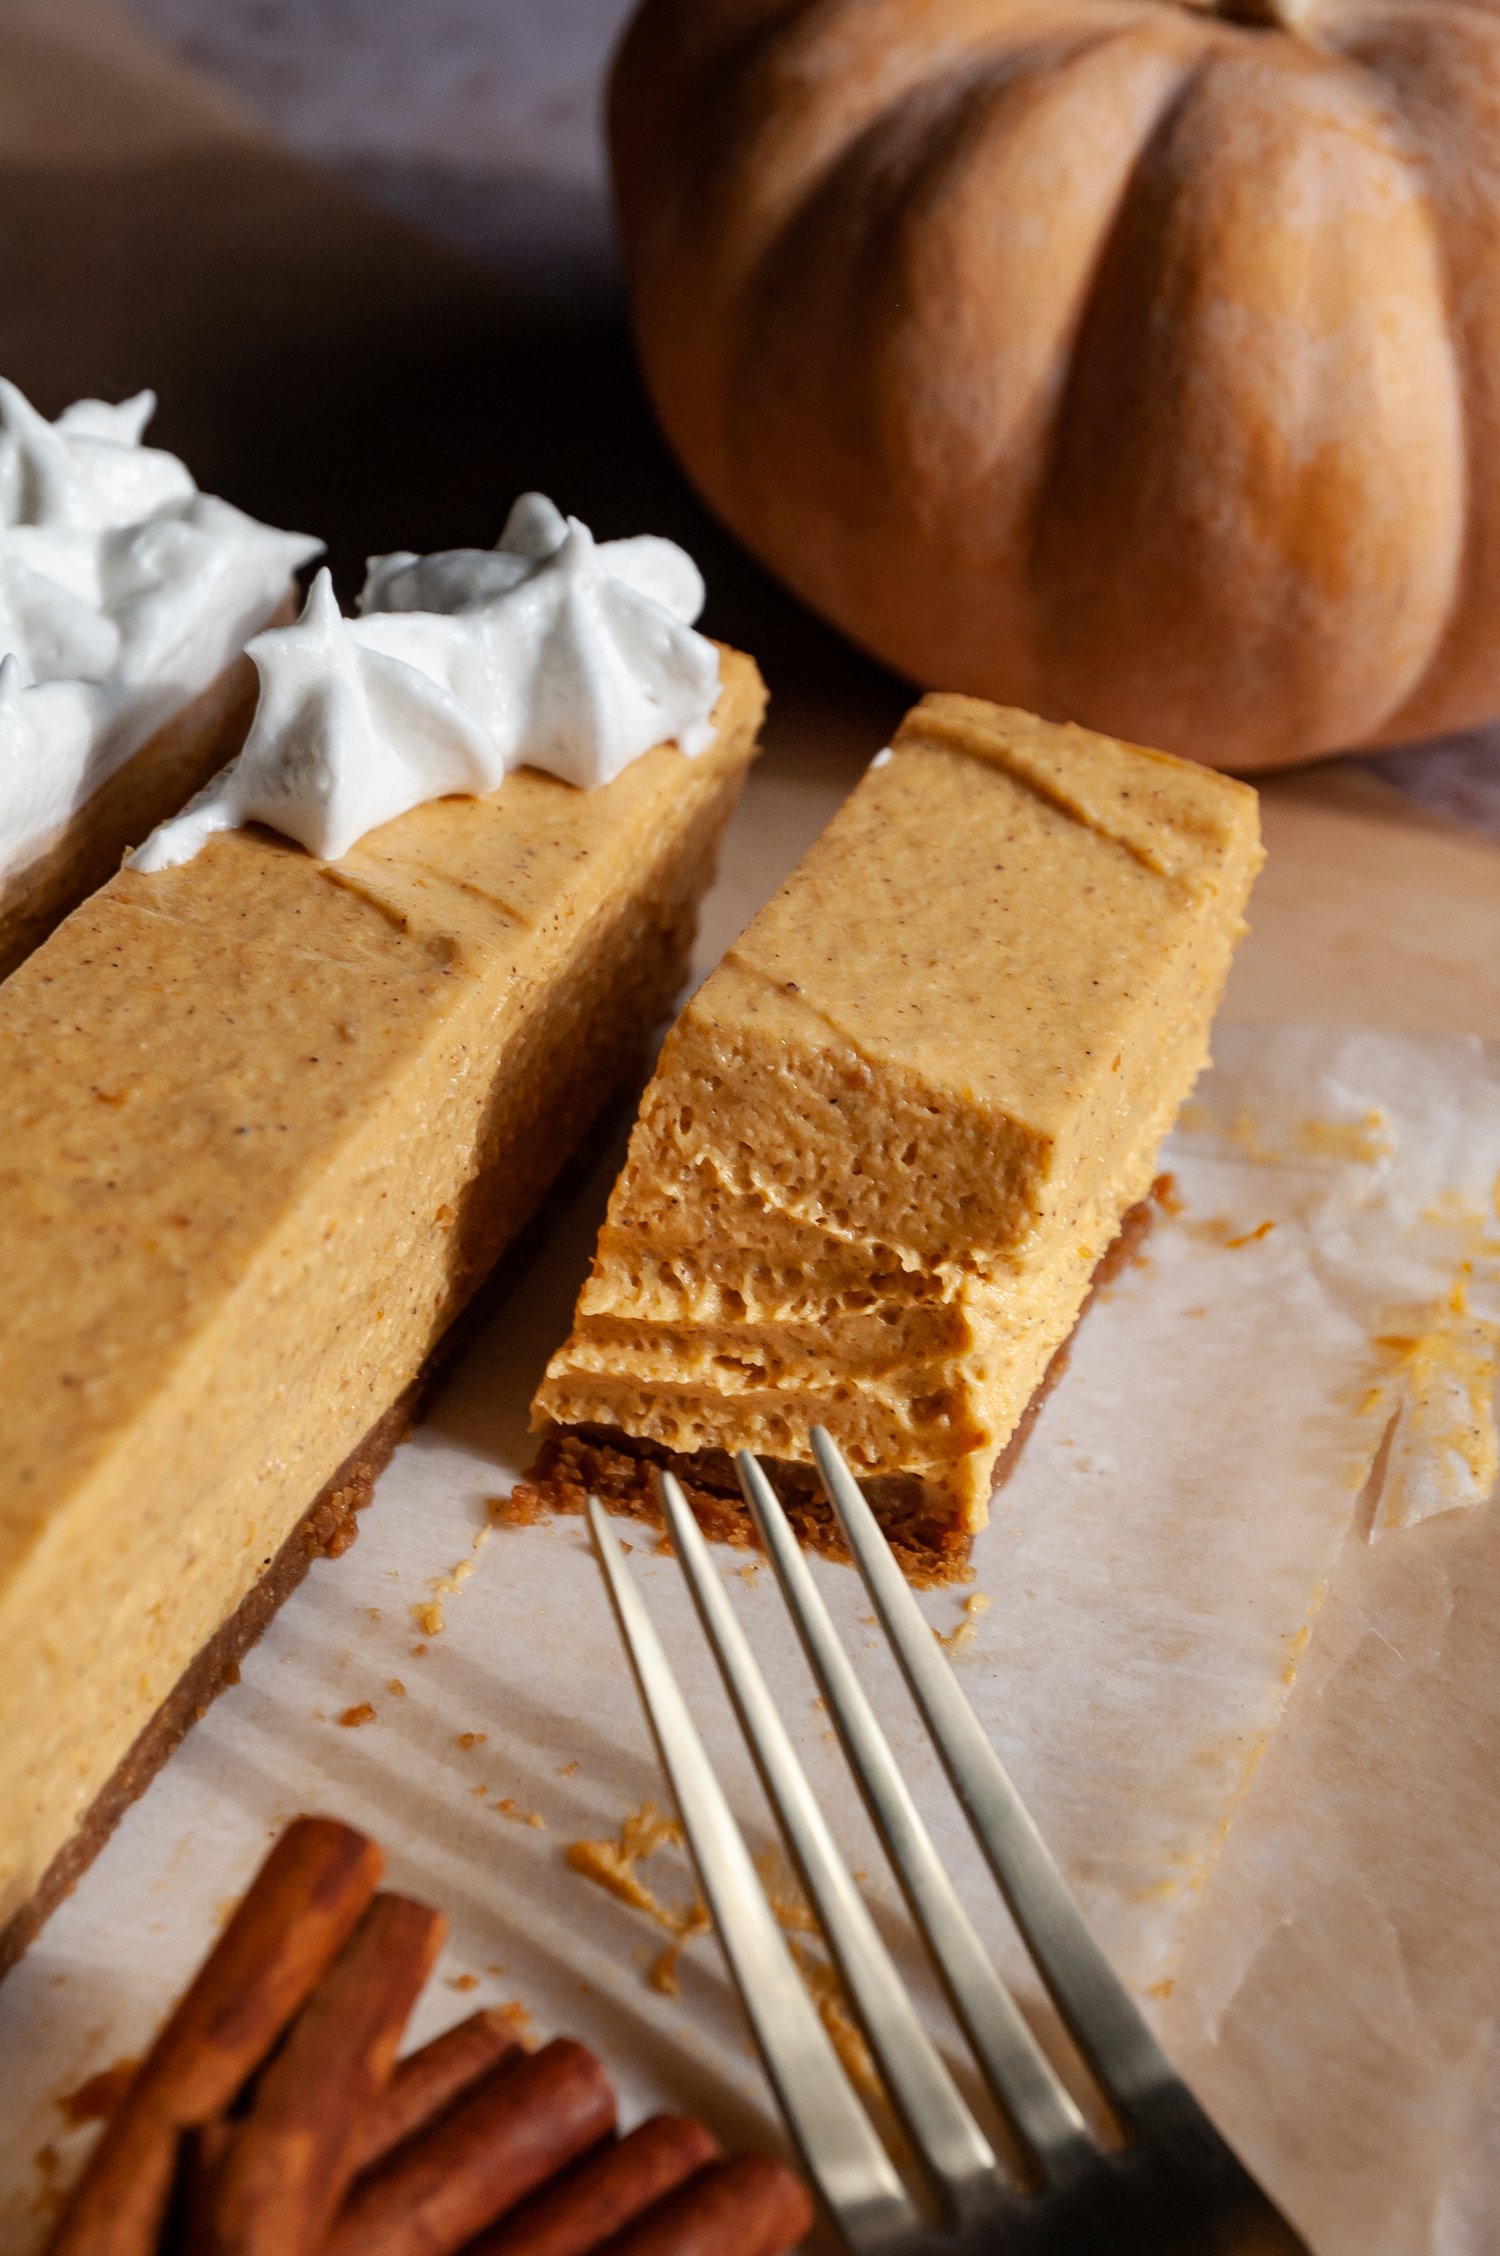
These gluten-free pumpkin cheesecake bars are delightfully creamy and light, packed with real pumpkin flavor, and the crust adds the perfect delicious texture crunch to balance out the creaminess.
The Story:
These no-bake pumpkin cheesecake bars now sit near the top of the list of my top favorite creations. So rich in pumpkin flavor that it tastes like pumpkin pie, but with with an even more indulgent flavor and texture. I hadn’t planned on bringing this dish to Thanksgiving, but it's just too dreamy and easy to make, that it is a must. Sure to become an annual tradition! Bonus, you can prepare 2 days ahead of the big celebration ro make room in the cooking schedule. These bars boast wins for so many dietary restrictions too: gluten free, grain free, dairy free, AND vegan. Win, win, win! Happy Thanksgiving friends!
Jump to:
The Ingredients:
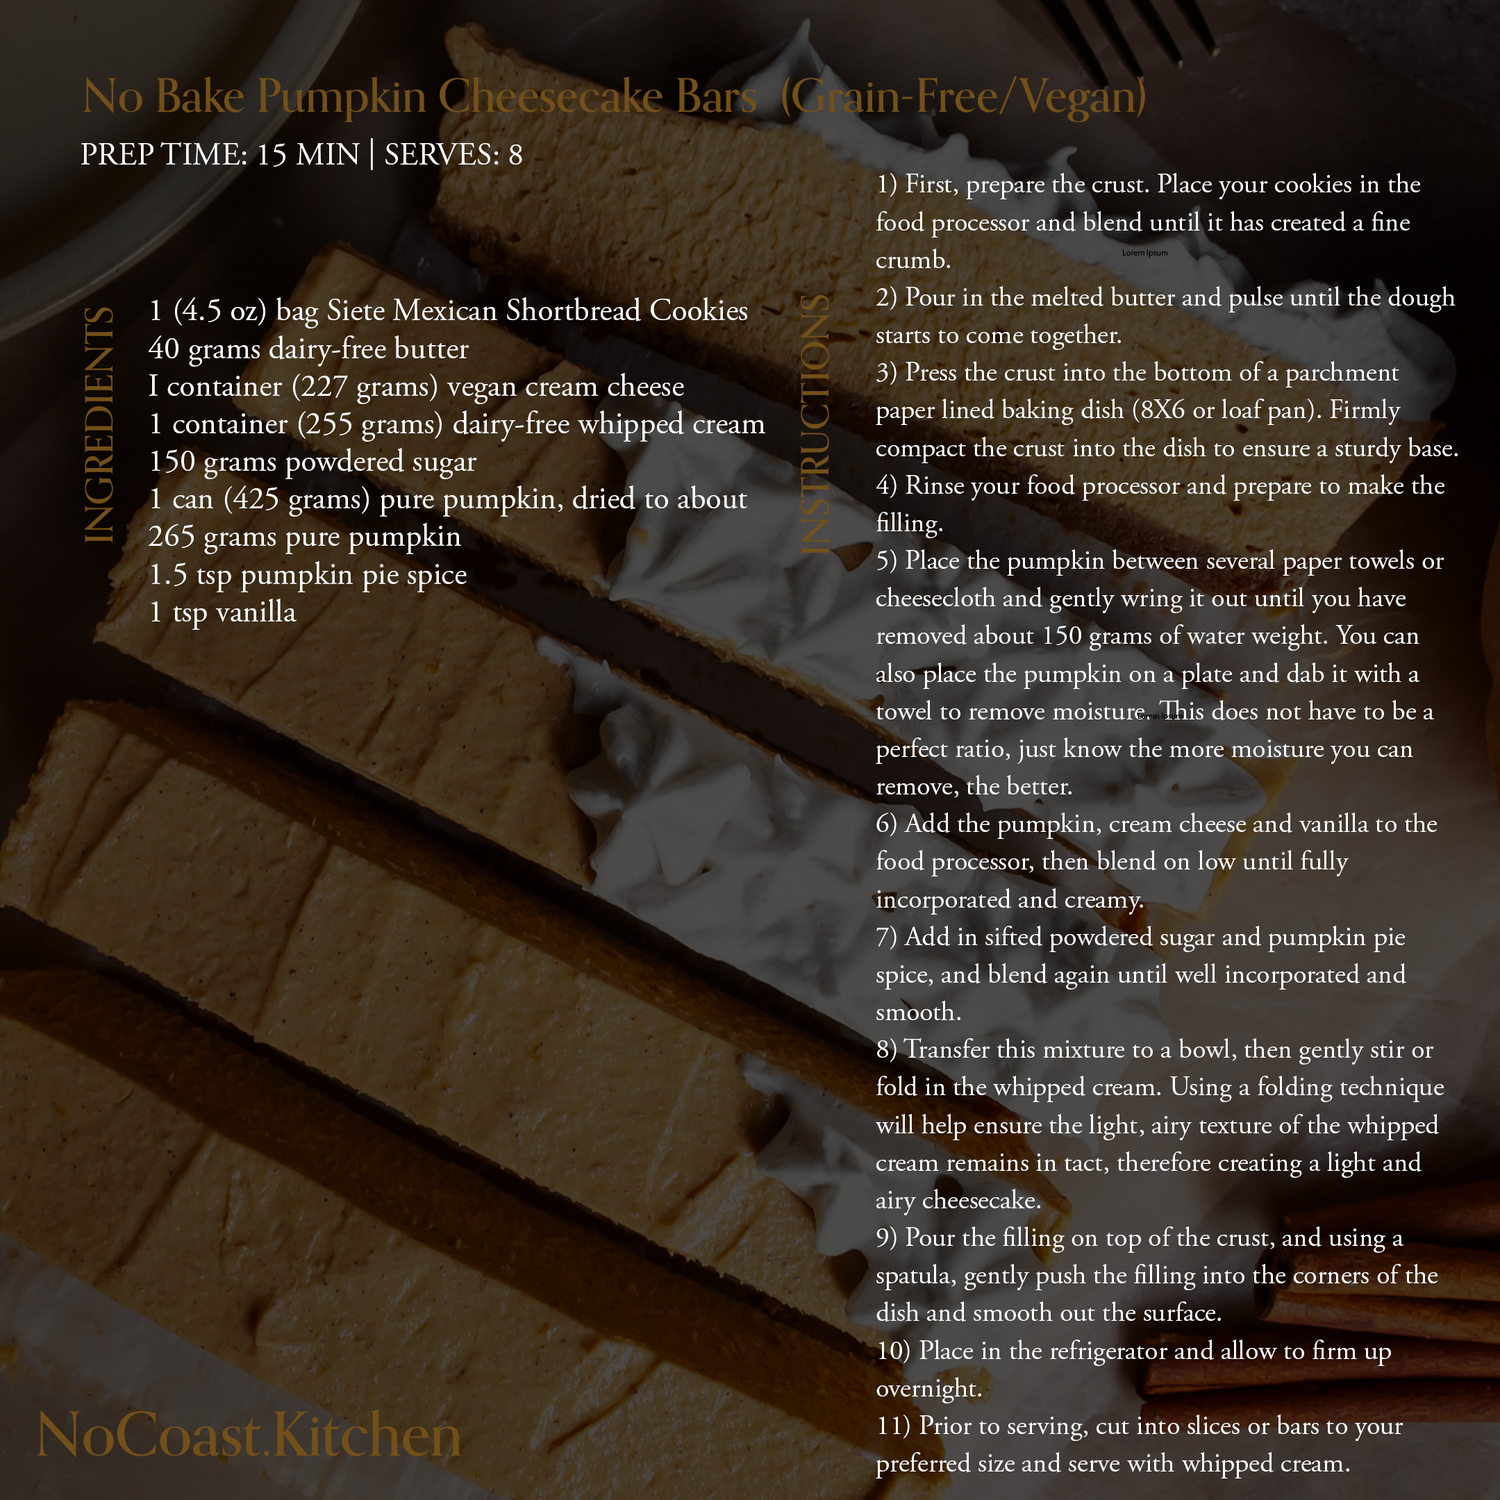
Here is the list of ingredients you will need to prepare these no bake pumpkin cheesecake bars.
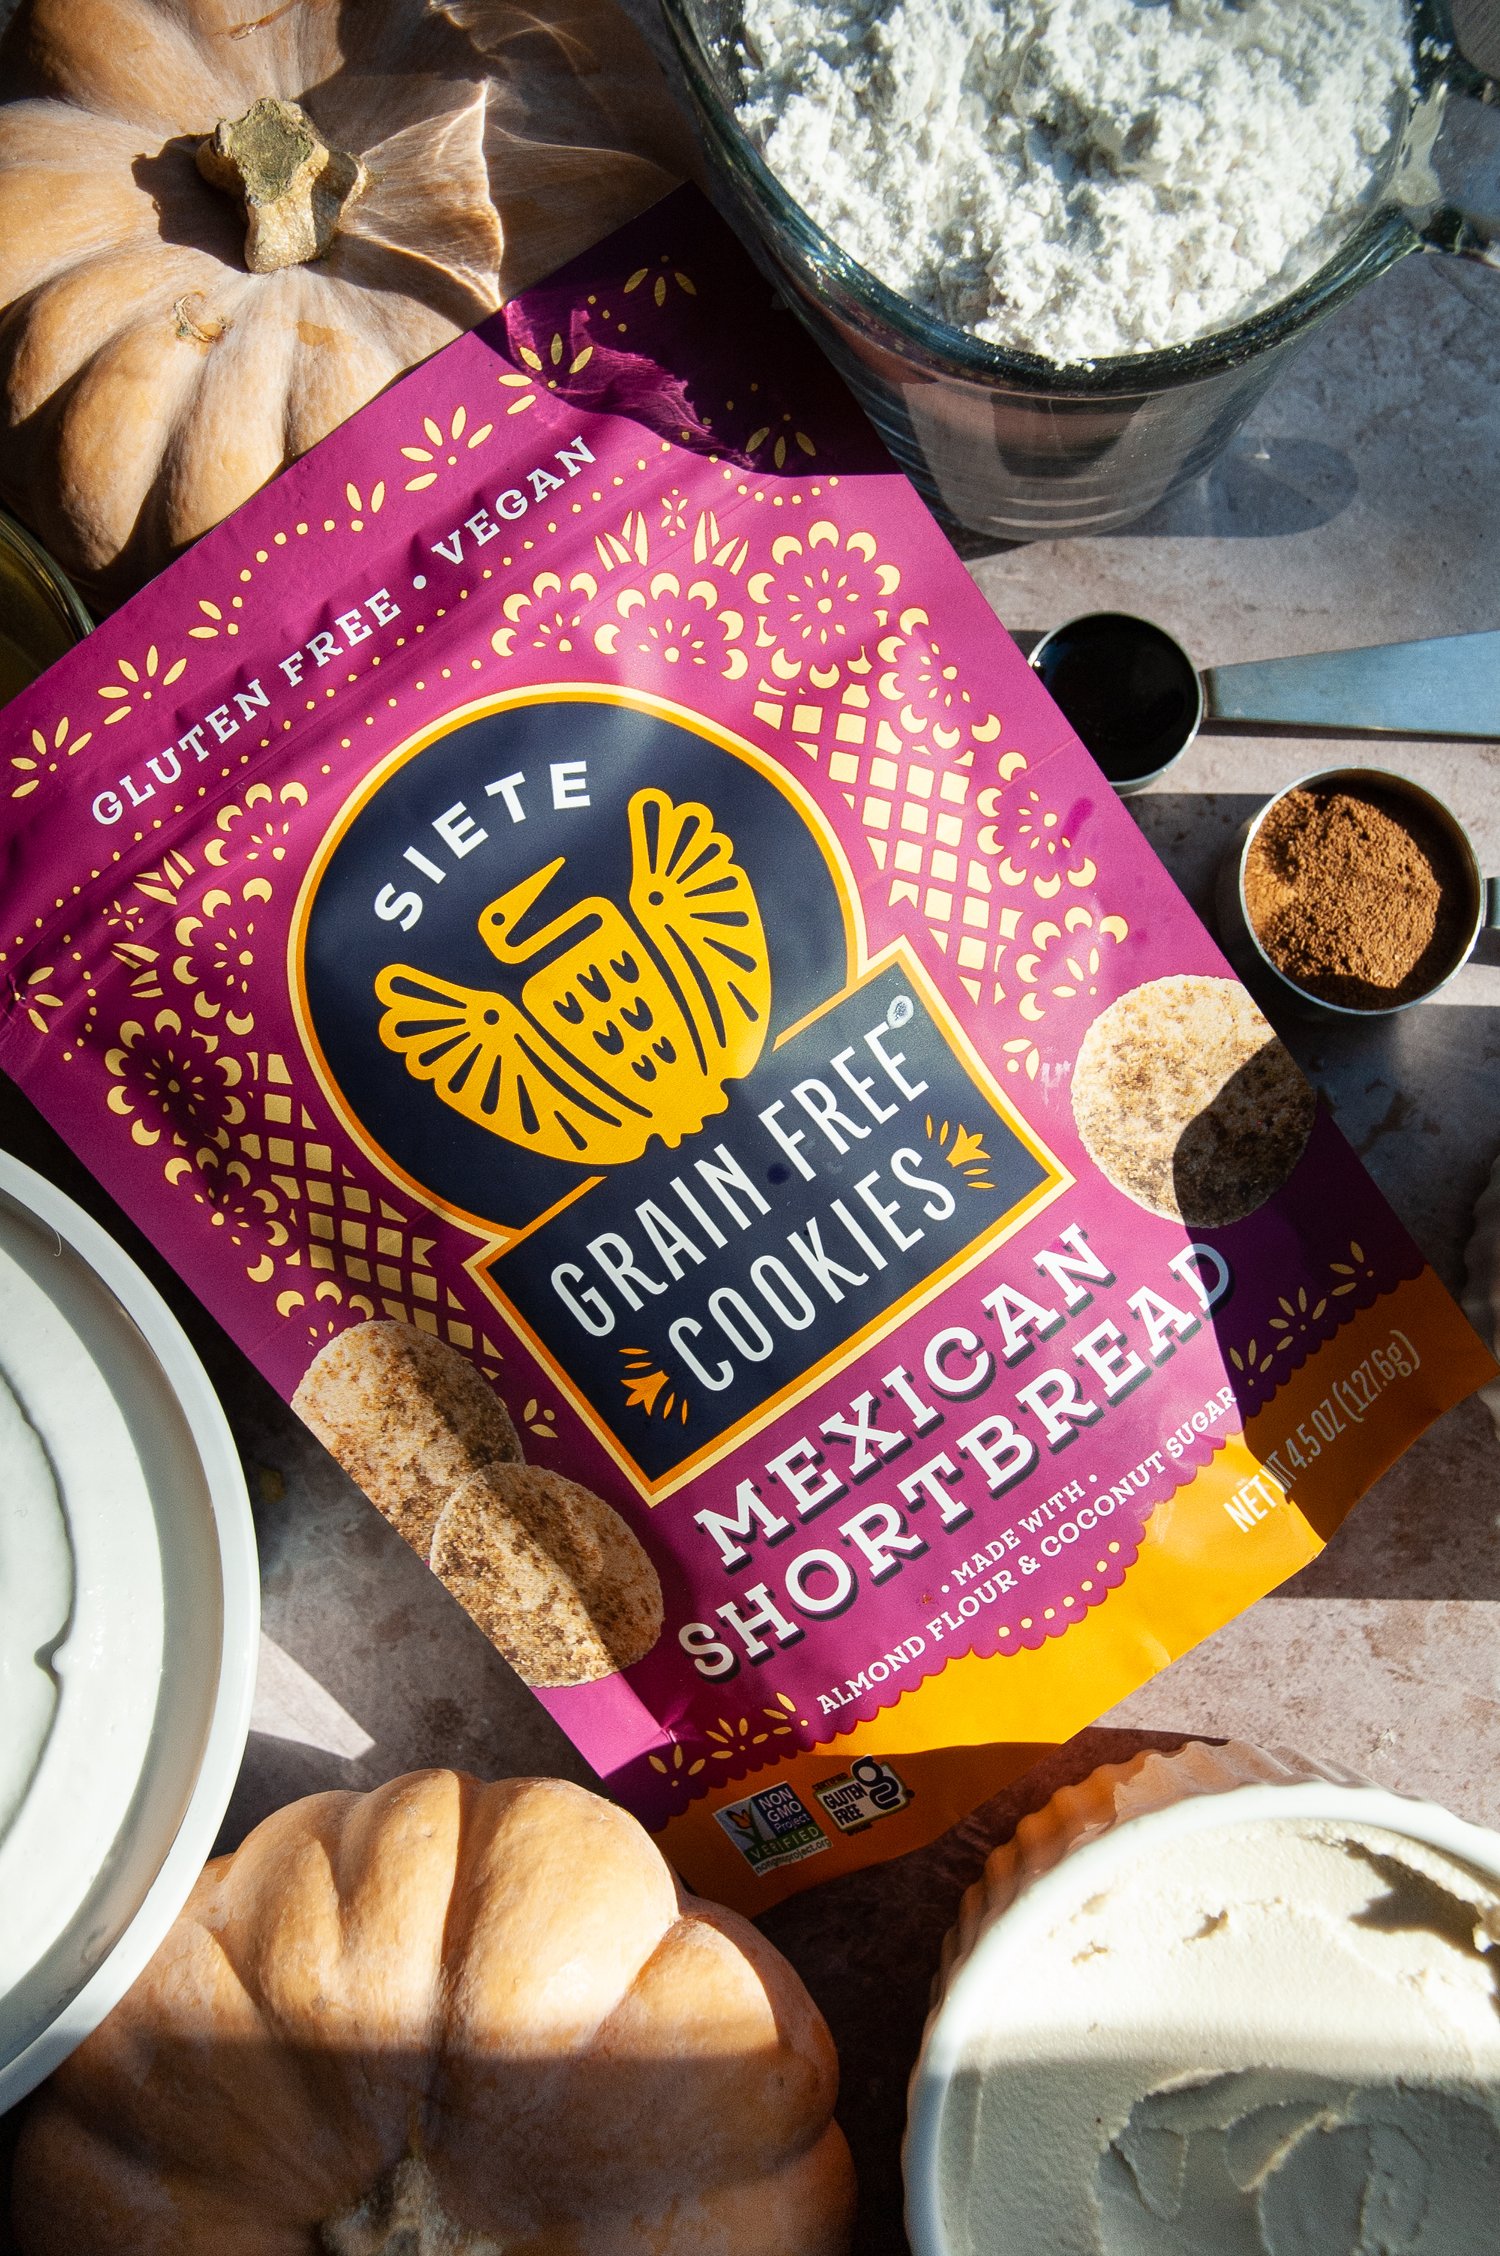
- Siete Mexican Shortbread Cookies: One of my very favorite brands that I am truly thankful for is Siete Foods. They have so many grain free options and they taste amazing. I love their Mexican shortbread cookies for snacking and I knew they would create a perfect cheesecake crust. And I was right. Perfection- buttery, full of cinnamon flavor and created the perfect, sturdy base for these cheesecake bars.
- Dairy-Free Butter: My very favorite vegan butter is Earth Balance. It maintains its structure during baking and has a great, buttery flavor.
- Vegan Cream Cheese: I like using Miyoko’s vegan cream cheese. It has a nice tangy flavor and a thick consistency so you get firm cheesecake. If you are used to dairy cream cheese, it does have a more tangy flavor so you will need more sugar to balance it out for this cheesecake.
- Dairy-Free Whipped Cream: I’m obsessed with So Delicious Cocowhip. It is so spot on to the Cool Whip I grew up with. It’s so nostalgic on a piece of pie during the holidays! It creates a perfect light and airy texture for vegan cheesecake.
- Pure Pumpkin: You should be able to use any canned, pure pumpkin for this. It is important to remove moisture from your canned pumpkin before adding it to your baked goods. Extra moisture can create soggy baked goods, so I always drain mine to begin with, for a more ideal texture and concentrated pumpkin flavor.
- Powdered Sugar: Organic powdered sugar gets added to the filling for the perfect sweet balance of flavor. I use the Good and Gather brand of organic powdered sugar. It does not contain corn starch and is easy to find at your local Target.
- Vanilla: Some vanilla extract gets added for rich flavor.
- Pumpkin Pie Spice: Every pumpkin dessert needs some pumpkin pie spice for warmth and nostalgic flavor!
Step By Step Instructions:
The preparation here is a super easy, no-bake process! The food processor does most of the work for you and you don’t even have to turn on the oven. Win!
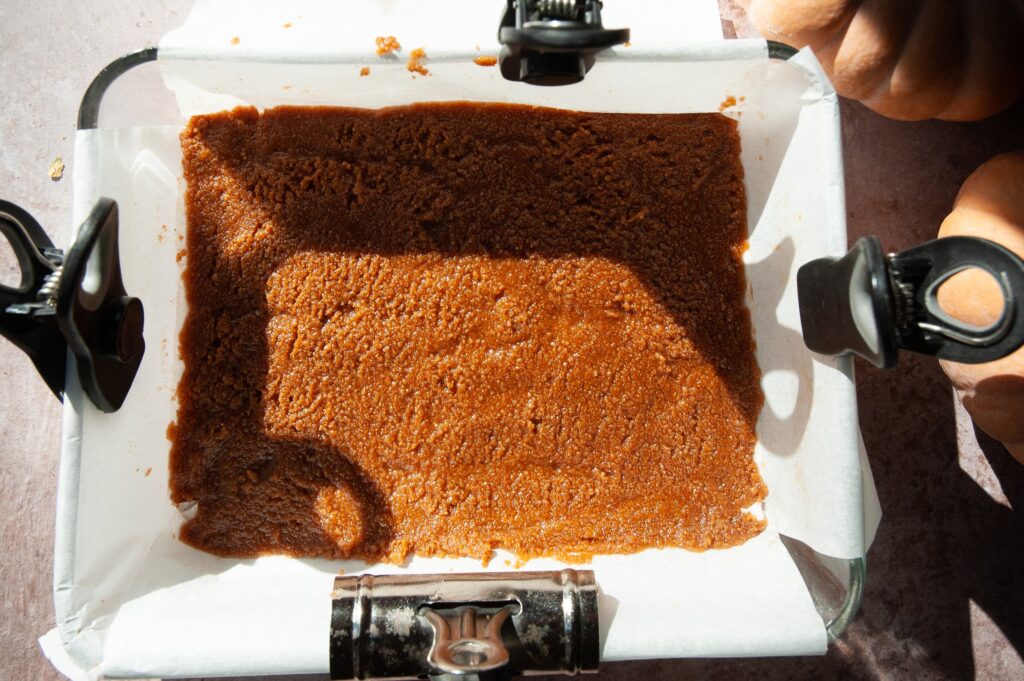
- Step 1: First, prepare the crust. Place your cookies in the food processor and blend until it has created a fine crumb. Pour in the melted butter and pulse until a dough starts to come together. Press into the bottom of a parchment paper lined baking dish. For these bars, I used an 8X6 baking dish, or you could use a bread loaf pan. Firmly compact the crust into the dish to ensure a sturdy base.
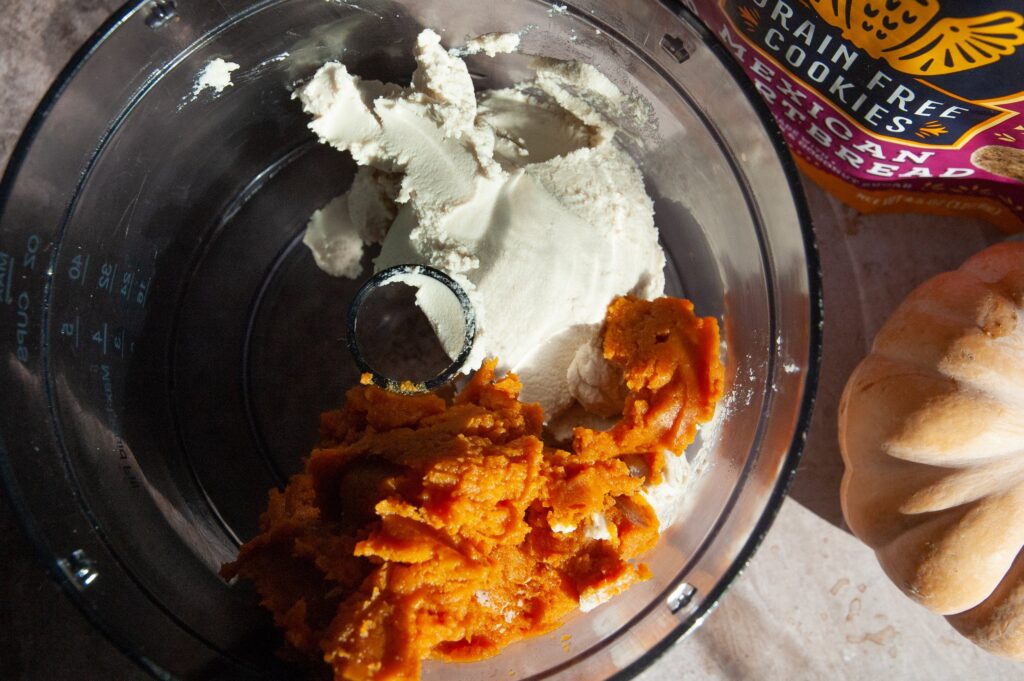
- Step 2: Rinse your food processor and prepare to make the filling. Place the pumpkin between several paper towels or cheesecloth and gently wring until you have removed about 150 grams of water weight. This does not have to be a perfect ratio. Just know, the more moisture you can remove, the better. You know how pumpkin pie sometimes as a watery or soggy texture? This is what we are trying to avoid. The removal of access moisture creates a creamy cheesecake. You can also place the pumpkin on a plate and dab it with a towel to remove moisture.
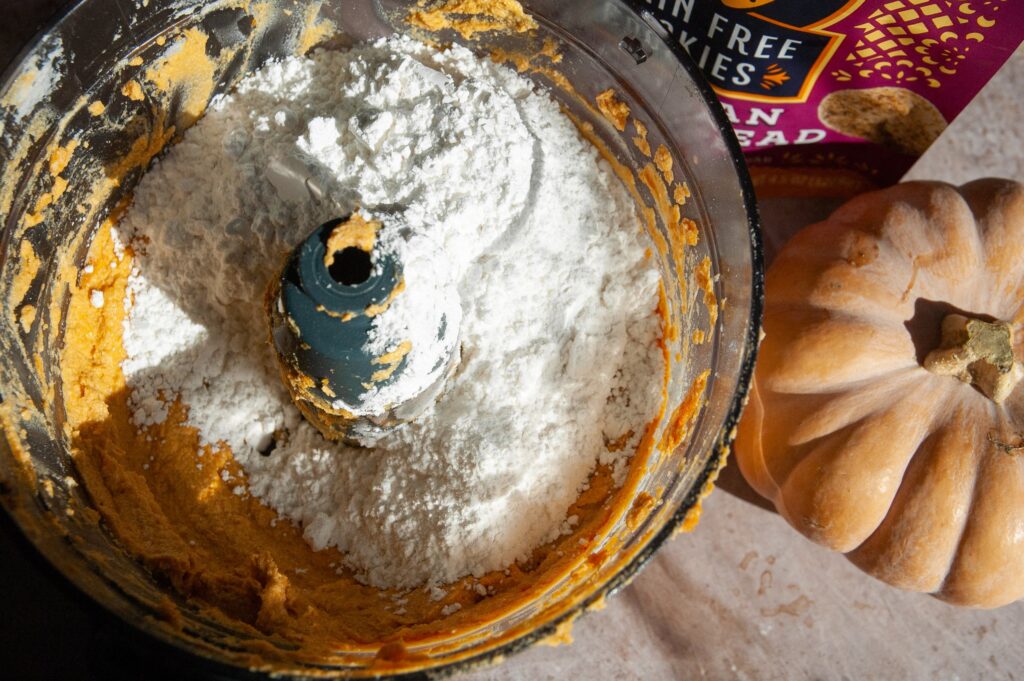
- Step 3: Add the pumpkin, cream cheese and vanilla to the food processor, then blend on low until fully incorporated and creamy. Add in sifted powdered sugar and pumpkin pie spice, and blend again until well incorporated and smooth.
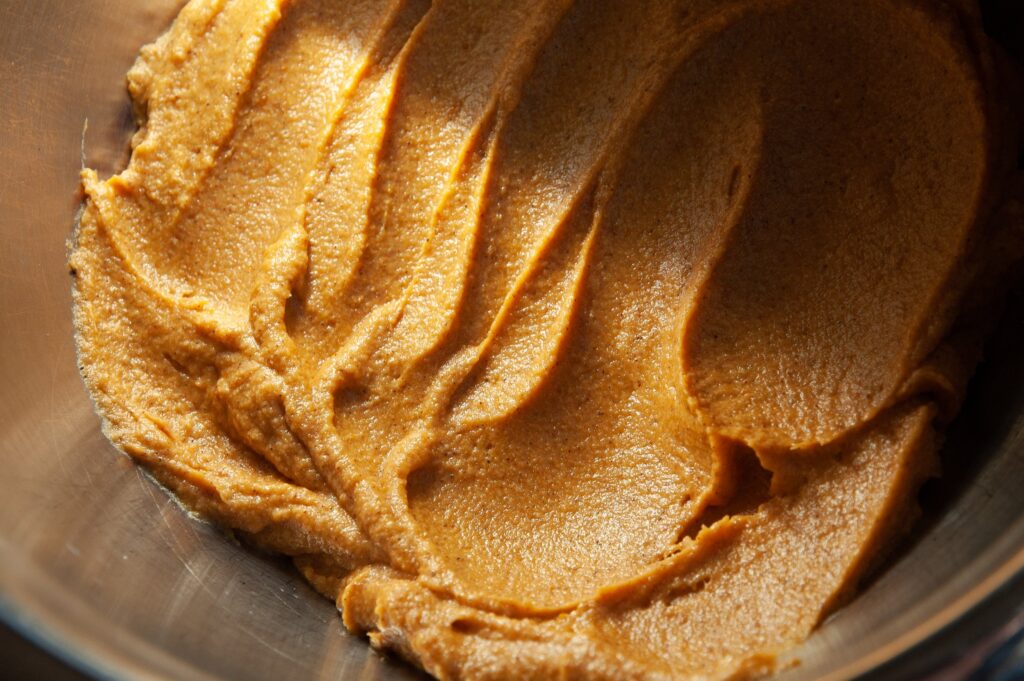
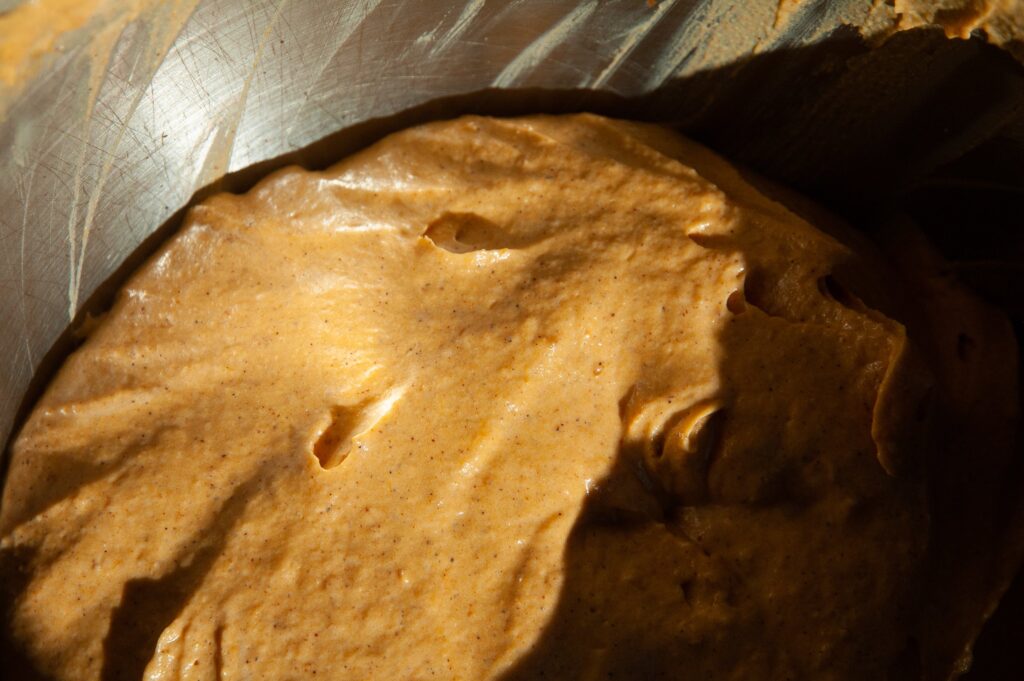
- Step 4: Transfer this mixture to a bowl, then gently stir or fold in the whipped cream. Using a folding technique will help ensure the light, airy texture of the whipped cream remains in tact, therefore creating a light and airy cheesecake.
- Step 5: Pour the filling on top of the crust, and using a spatula, gently push the filling into the corners of the dish and smooth out the surface.
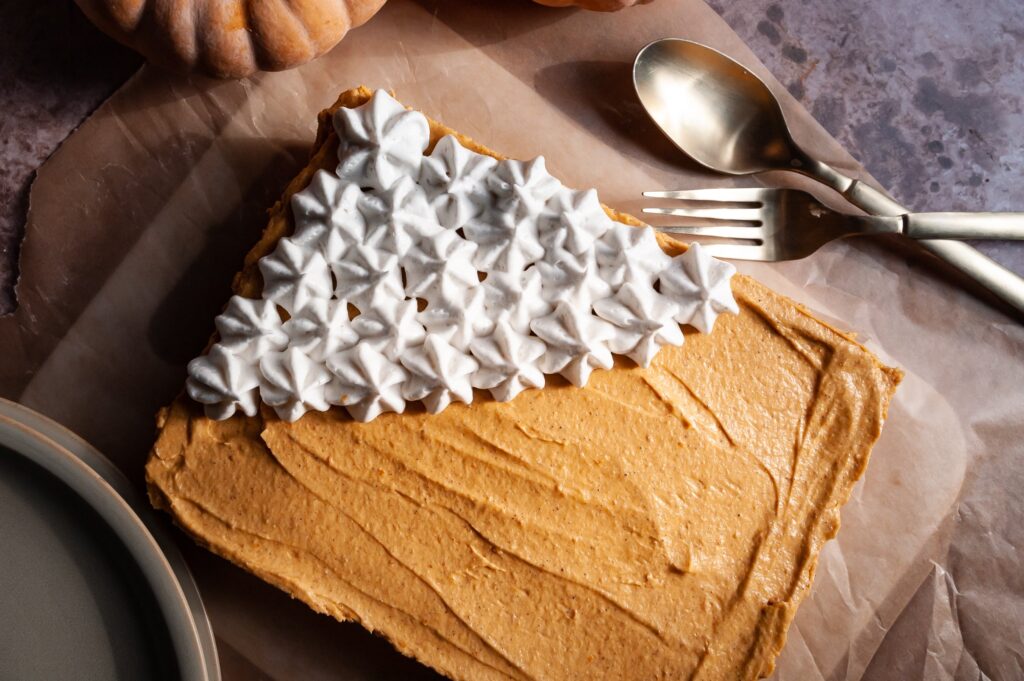
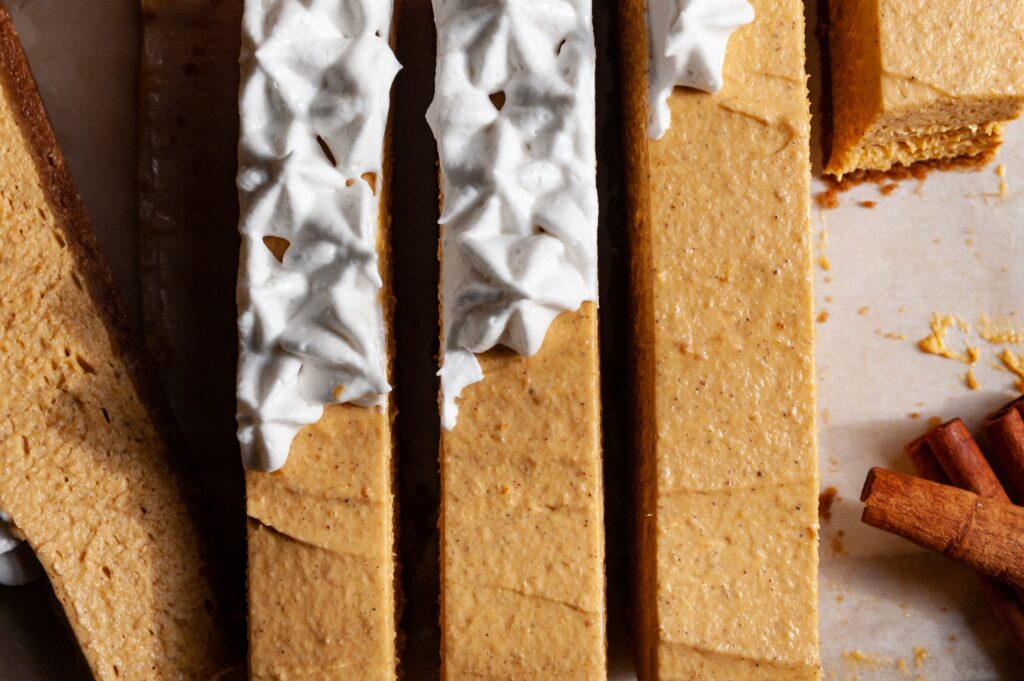
- Step 6: Place in the refrigerator and allow to firm up overnight. It becomes even better after a day or 2, so feel free to make ahead of your Thanksgiving or Fall gathering. Prior to serving, cut into slices or bars to your preferred size and serve with whipped cream.
- Preparation Tip: Prepare the recipe as is for a smaller gathering, or double the recipe and prepare as a normal cheesecake using a springform pan.
Additional Seasonal Dessert Recipes:
The Recipe:
The Finished Product:
An absolutely delicious, show stopping, allergy friendly, no bake dessert to grace the Thanksgiving table. I hope you all have a full, happy, and gratitude filled Thanksgiving!




Leave a Reply