A chewy, soft, grain-free, dairy-free, EASY-to-work-with cut out sugar cookie topped with dairy-free buttercream.
The Story:
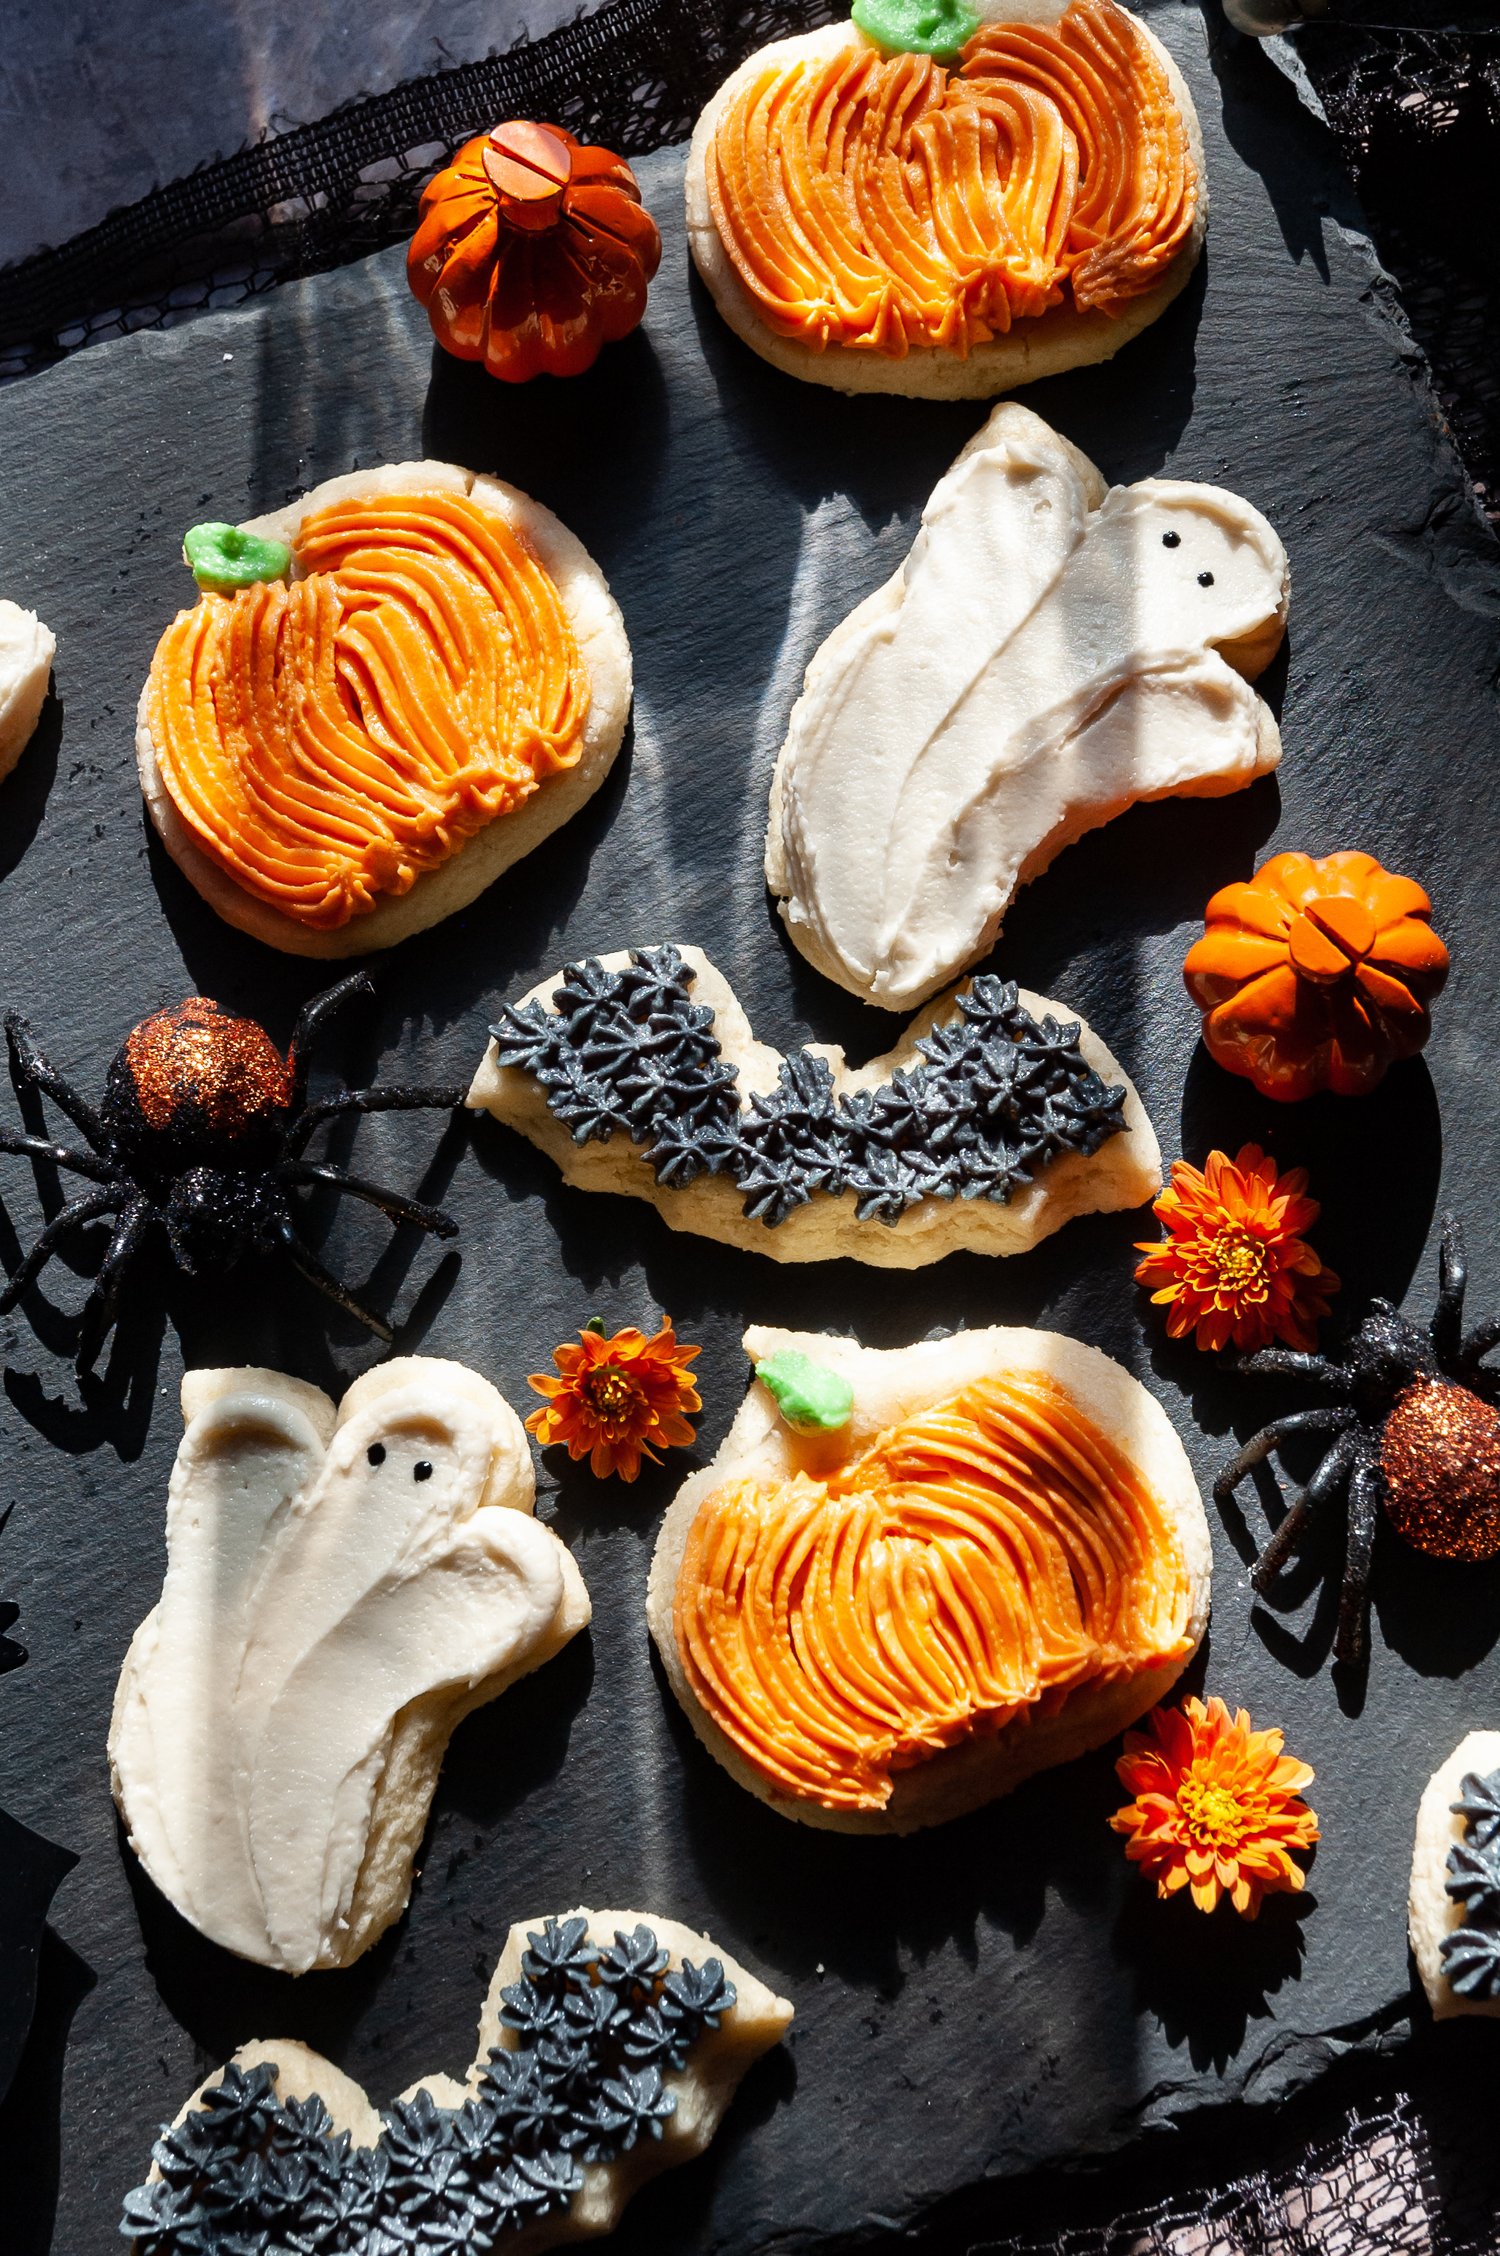
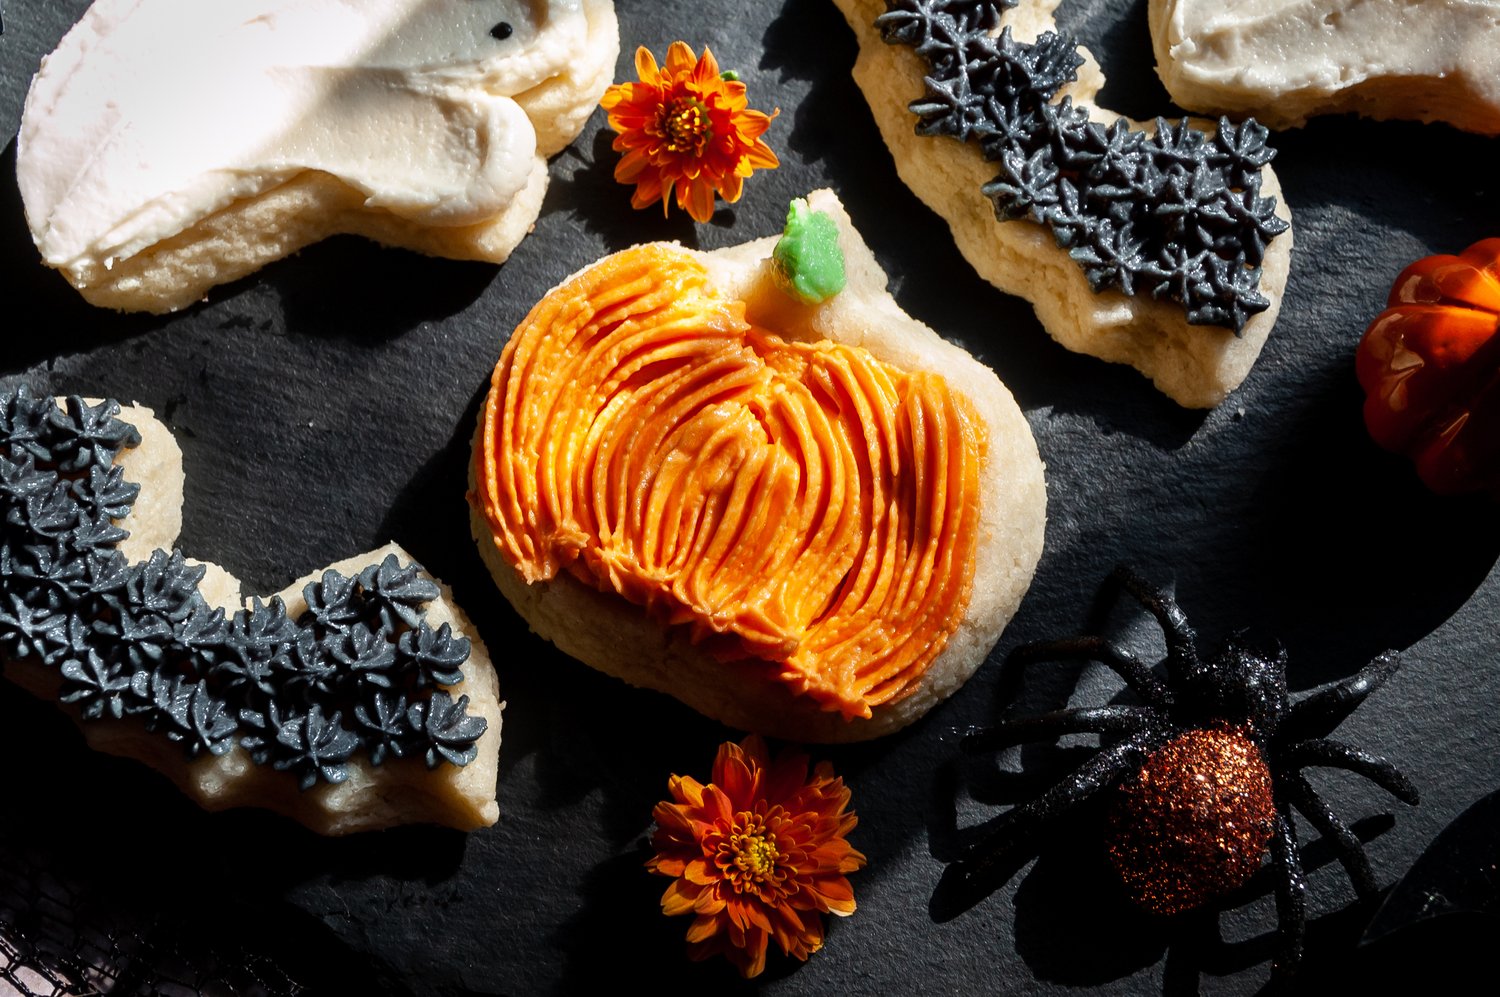
A delicious sugar cookie flavored with almond extract, then topped with almond flavored buttercream for the quintessential sugar cookie flavor. So fun to make personalized for each season! I love Halloween and it is right around the corner, so I turned these into ghosts, pumpkins, and bats, and I love how they turned out! I do not claim to be a cookie decorator, but if you stick to some simple piping techniques, limited colors, with just a few designs, then your cookies will have a more cohesive look to them.
Jump to:
The Ingredients:
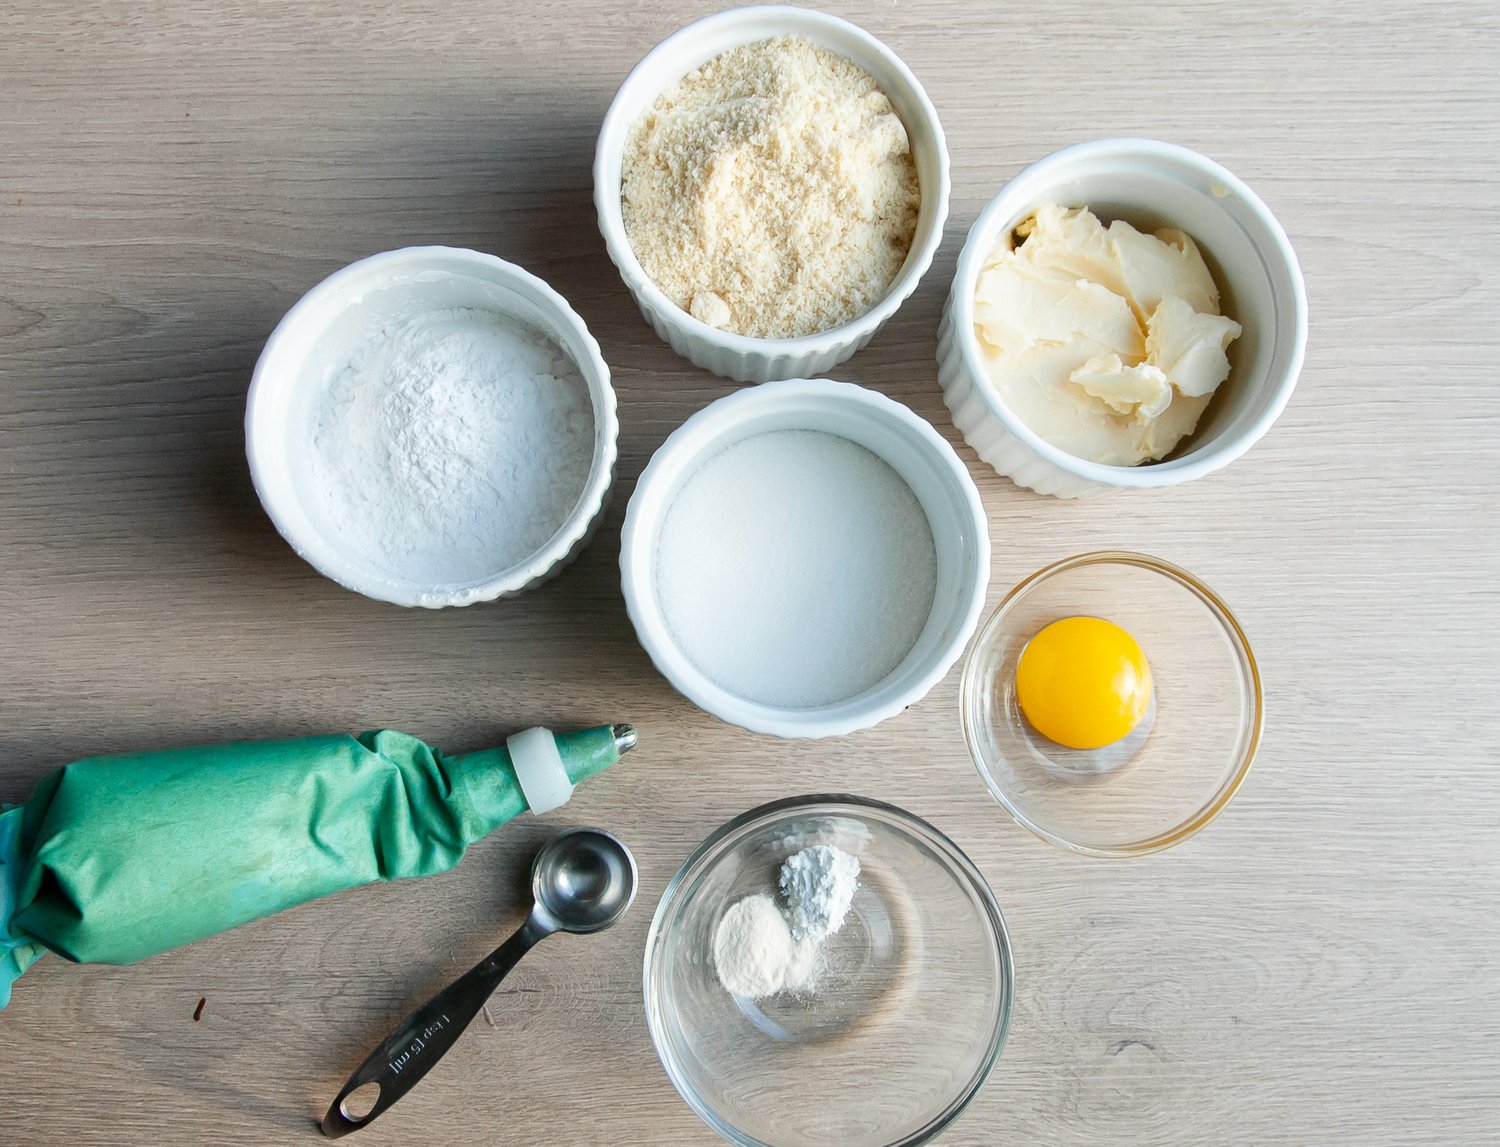
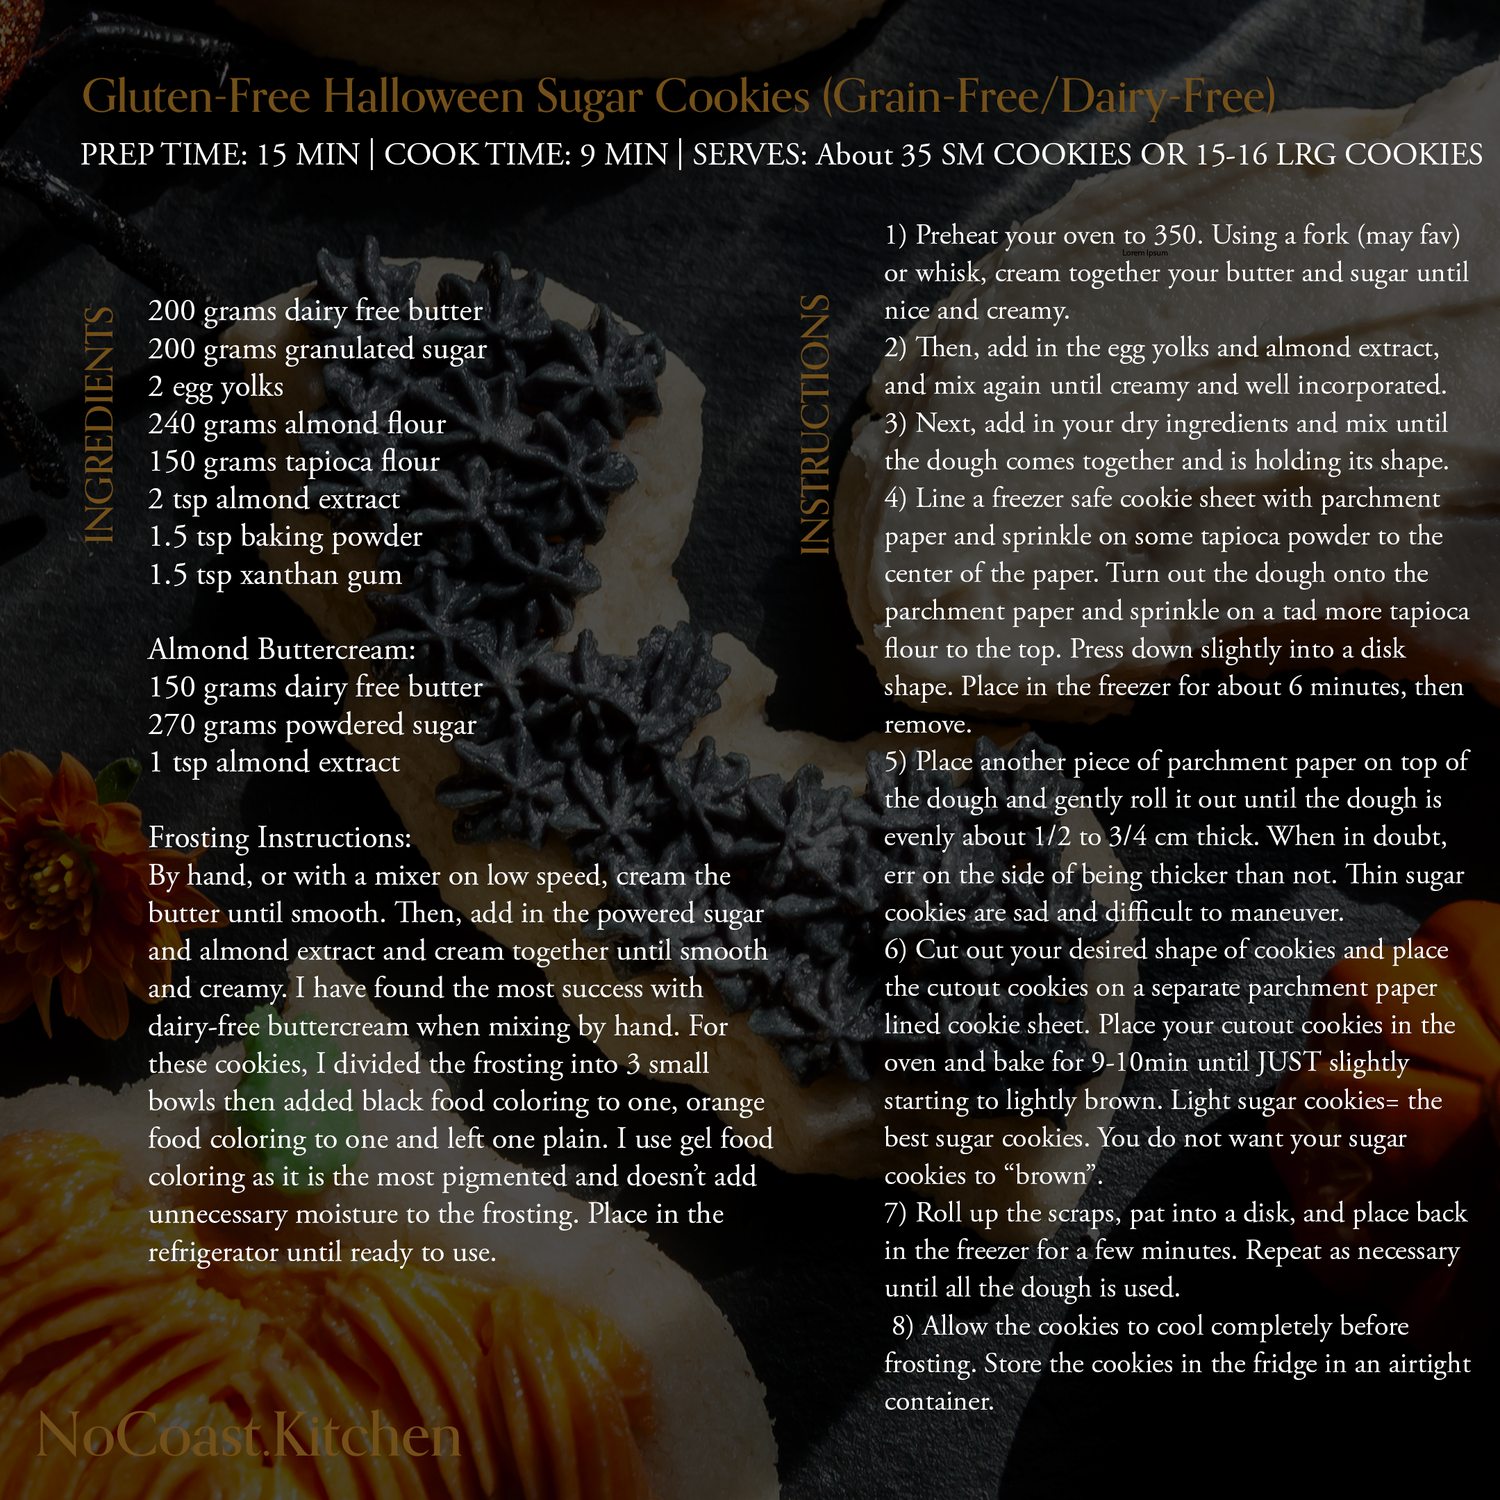
Here is the list of ingredients you will need for these gluten-free halloween sugar cookies.
- Almond Flour: This grain free flour gives structure to the cookies and helps them retain some of their moisture and chewy texture.
- Tapioca Flour: This grain free flour is a starch flour that aids in a great crumb and helps absorb the liquid ingredients.
- Granulated Sugar: Of course, sugar cookies need sugar.
- Dairy-Free Butter: I used Earth Balance butter for sugar cookies, in both the cookie dough and frosting, and it worked beautifully. I would not use Country Crock plant based butter for this recipe. I love its flavor, but it tends to melt quicker which would cause these cookies to spread, and retaining shape is super important for this recipe.
- Egg Yolk: I used an egg yolk and it adds the perfect amount of structure and binding properties for these cookies.
- Baking Powder: Just a bit of baking powder so the cookies rise and cook properly, but not enough that they over-inflate.
- Xanthan Gum: This helps the cookies retain their texture and helps bind the ingredients together so that the cookies are not too crumbly.
- Almond Extract: In my opinion, the star ingredient! I love almond extract. It’s such a unique flavor and helps round out the flavor profile to these cookies.
- Dairy-Free Buttercream: I made my own buttercream frosting, using just 3 ingredients: dairy free butter, grain free powdered sugar and almond extract. Again, the more almond the better, IMO! You can use regular buttercream, a glaze frosting or store bought frosting. Whatever you prefer!
Step By Step Preparation Instructions:
There are 3 main components to making these gluten free Halloween sugar cookies: making the dough, making the frosting, and decorating!
- Step 1: Preheat your oven to 350. First, prepare the frosting. By hand, or with a mixer on low speed, cream the butter until smooth.
- Step 2: Then, add in the powered sugar and almond extract and cream together until smooth and creamy. I have found the most success with dairy-free buttercream when mixing by hand. Dairy-free butter can become soft very quickly when using a mixer, so just go slow and err on the side of under-mixing to begin with.
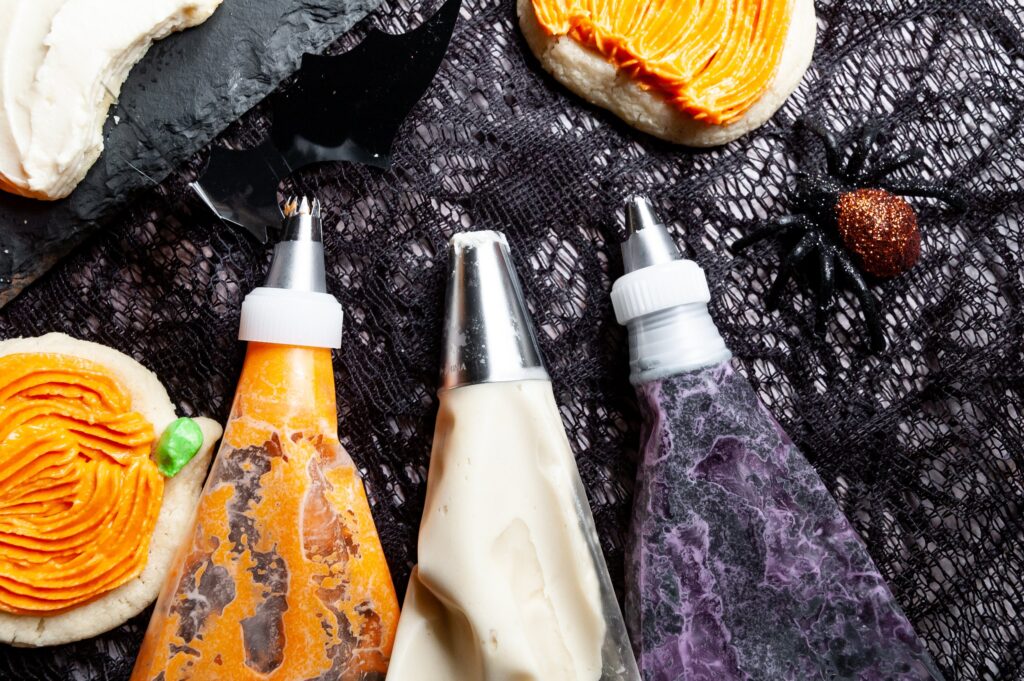
- Step 3: For these cookies, I divided the frosting into 3 small bowls then added black food coloring to one, orange food coloring to one and left one plain. I use gel food coloring as it is the most pigmented and doesn’t add unnecessary moisture to the frosting. Color according to your desire! Place in the refrigerator until ready to use.
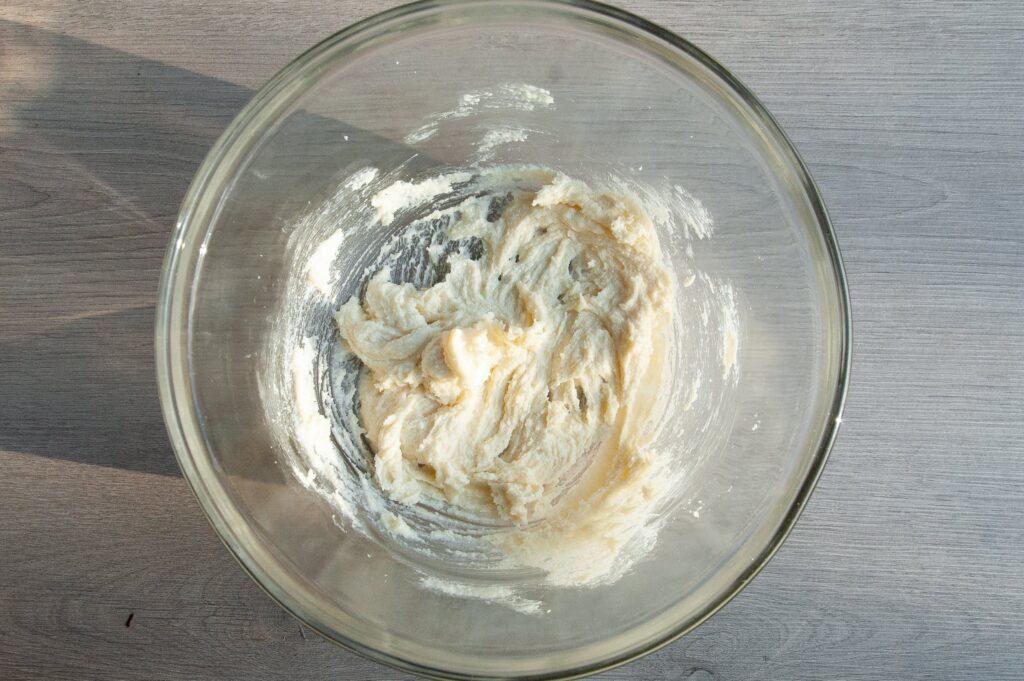
- Step 4: Using a fork (my fav) or whisk, cream together your butter and sugar until nice and creamy.
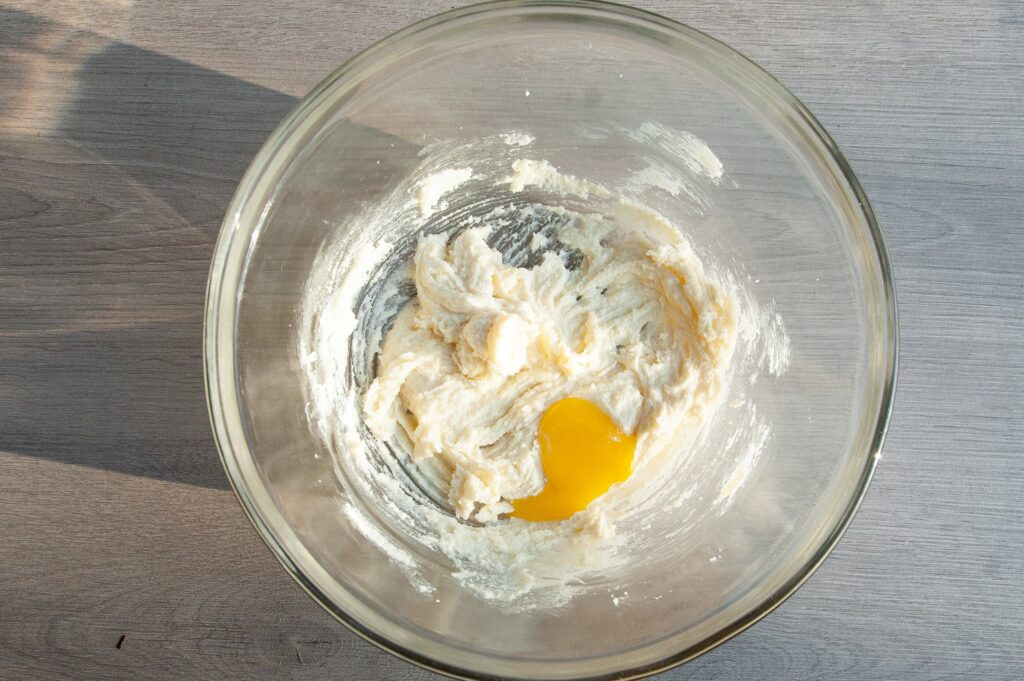
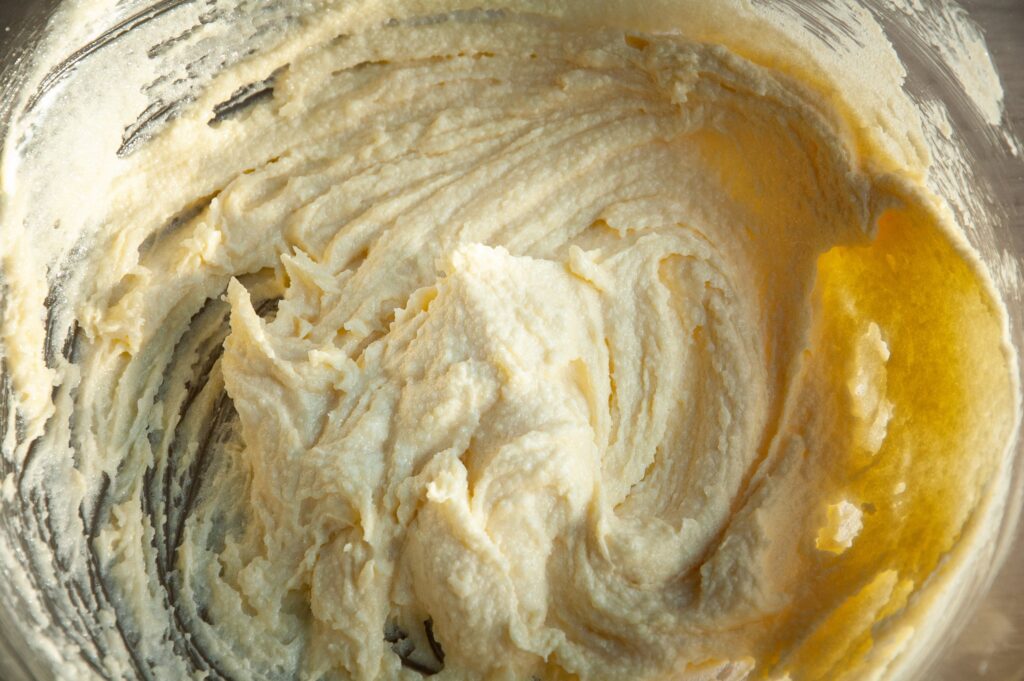
- Step 5: Then add in the egg yolk and almond extract and mix again until creamy and well incorporated.
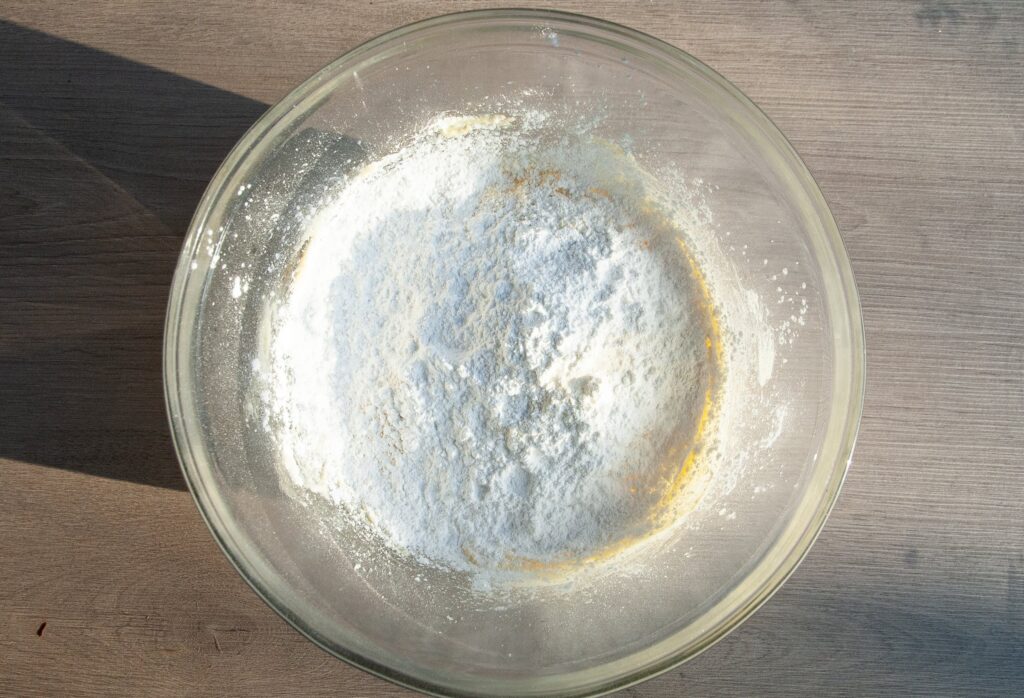
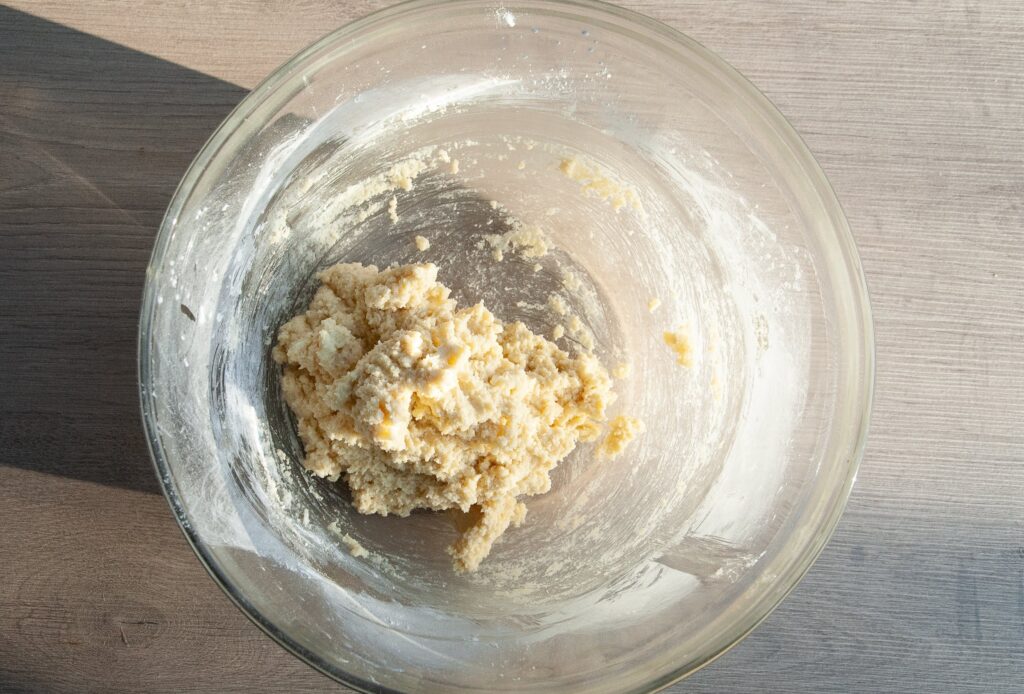
- Step 6: Next, add in your dry ingredients and mix until the dough comes together and is holding its shape.
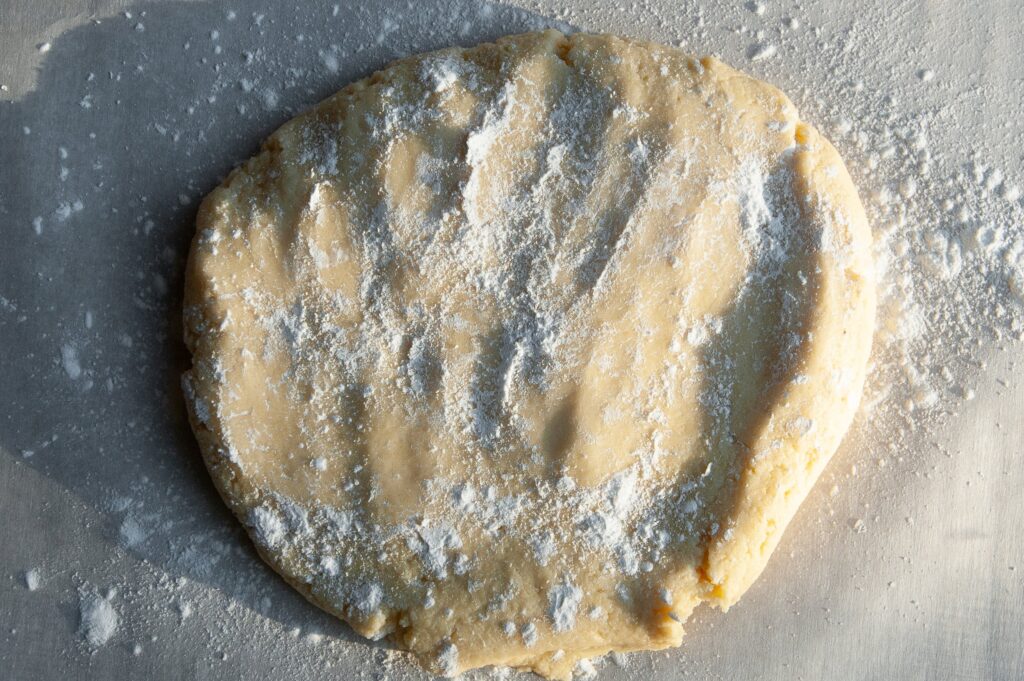
- Step 7: Line a freezer safe cookie sheet with parchment paper and sprinkle on some tapioca powder to the center. Turn out the dough onto the parchment paper and sprinkle on a tad more tapioca flour to the top. Press down slightly into a disk shape.
- Step 8: Place in the freezer for about 6 minutes, then remove. Place another piece of parchment paper on top of the dough and gently roll it out until the dough is evenly about ½ to ¾ cm thick. When in doubt, err on the side of being thicker than not. Thin sugar cookies are sad and difficult to maneuver-enter the tricky part that people talk about. Their sugar cookies are probably too thin!
- Step 9: Cut out your desired shape of cookies and place them on a separate parchment paper lined cookie sheet. Place your cutout cookies in the oven and bake for 9-10min until JUST slightly starting to lightly brown. For larger cookies, you may need to add a minute or two. Light sugar cookies= the best sugar cookies. You do not want your sugar cookies to “brown” or they lose the desirable chewy texture.
- Step 10: Roll up the scraps, pat into a disk again and place back in the freezer for a few minutes. Repeat as necessary until all the dough is used.
- Step 11: Allow your cookies to cool completely before frosting. Store in the fridge in an airtight container.
Tips for Decorating:
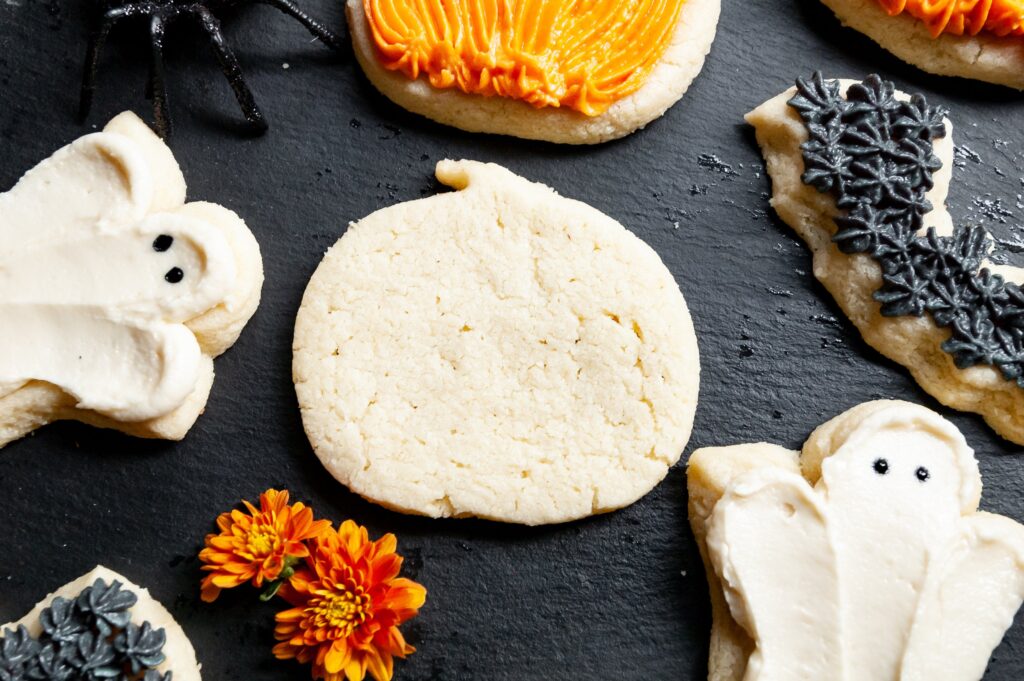
- For the pumpkins: I used a french star tip and piped on the frosting in a curved line, following the natural curve of the cookie. Start piping on the frosting from the outside, and work your work towards the center of the cookie. Mirroring each side helps create that uniform look you are going for. The piped frosting reflects the look of the natural lines of a pumpkin. Then, you can add a little green dollop of frosting for the stem!
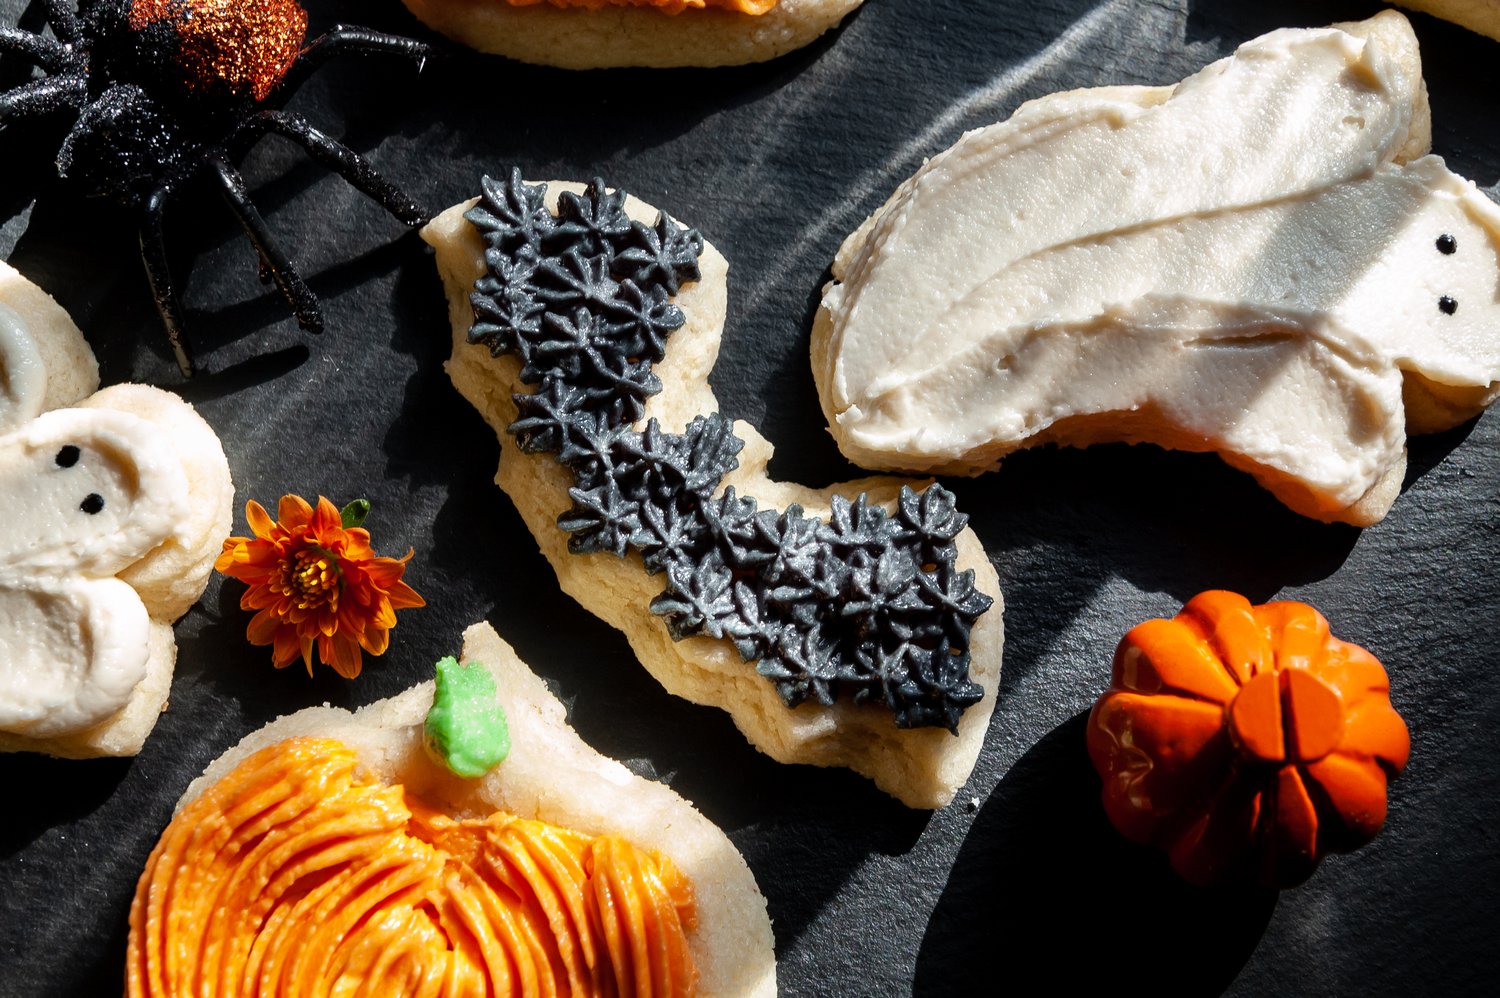
- For the bats: I used a small star tip and outlined the shape of the bat, then filled in the middle with more “stars”. Aim to apply the same number of “stars” to each side so that they look uniform.
- For the ghosts: I used a large open tip, and applied a dollop of frosting to the head and each arm, then applied a large dollop in the middle. I then used an offset spatula to gently push the frosting to the edges. I then dipped a toothpick into the black gel dye and gently applied 2 black dots for the eyes of the ghost.
Additional Seasonal Recipes:
The Recipe:
The Finished Product:
I am obsessed with this almond flour sugar cookie recipe. It’s simply perfect. The cookies stay chewy even after being in the fridge for a few days and they taste like they are right out of the bakery. Happy Halloween! As always, if you make one of my recipes, please tag me on instagram! I love to see my recipes out there in the world and in your kitchens!




Leave a Reply