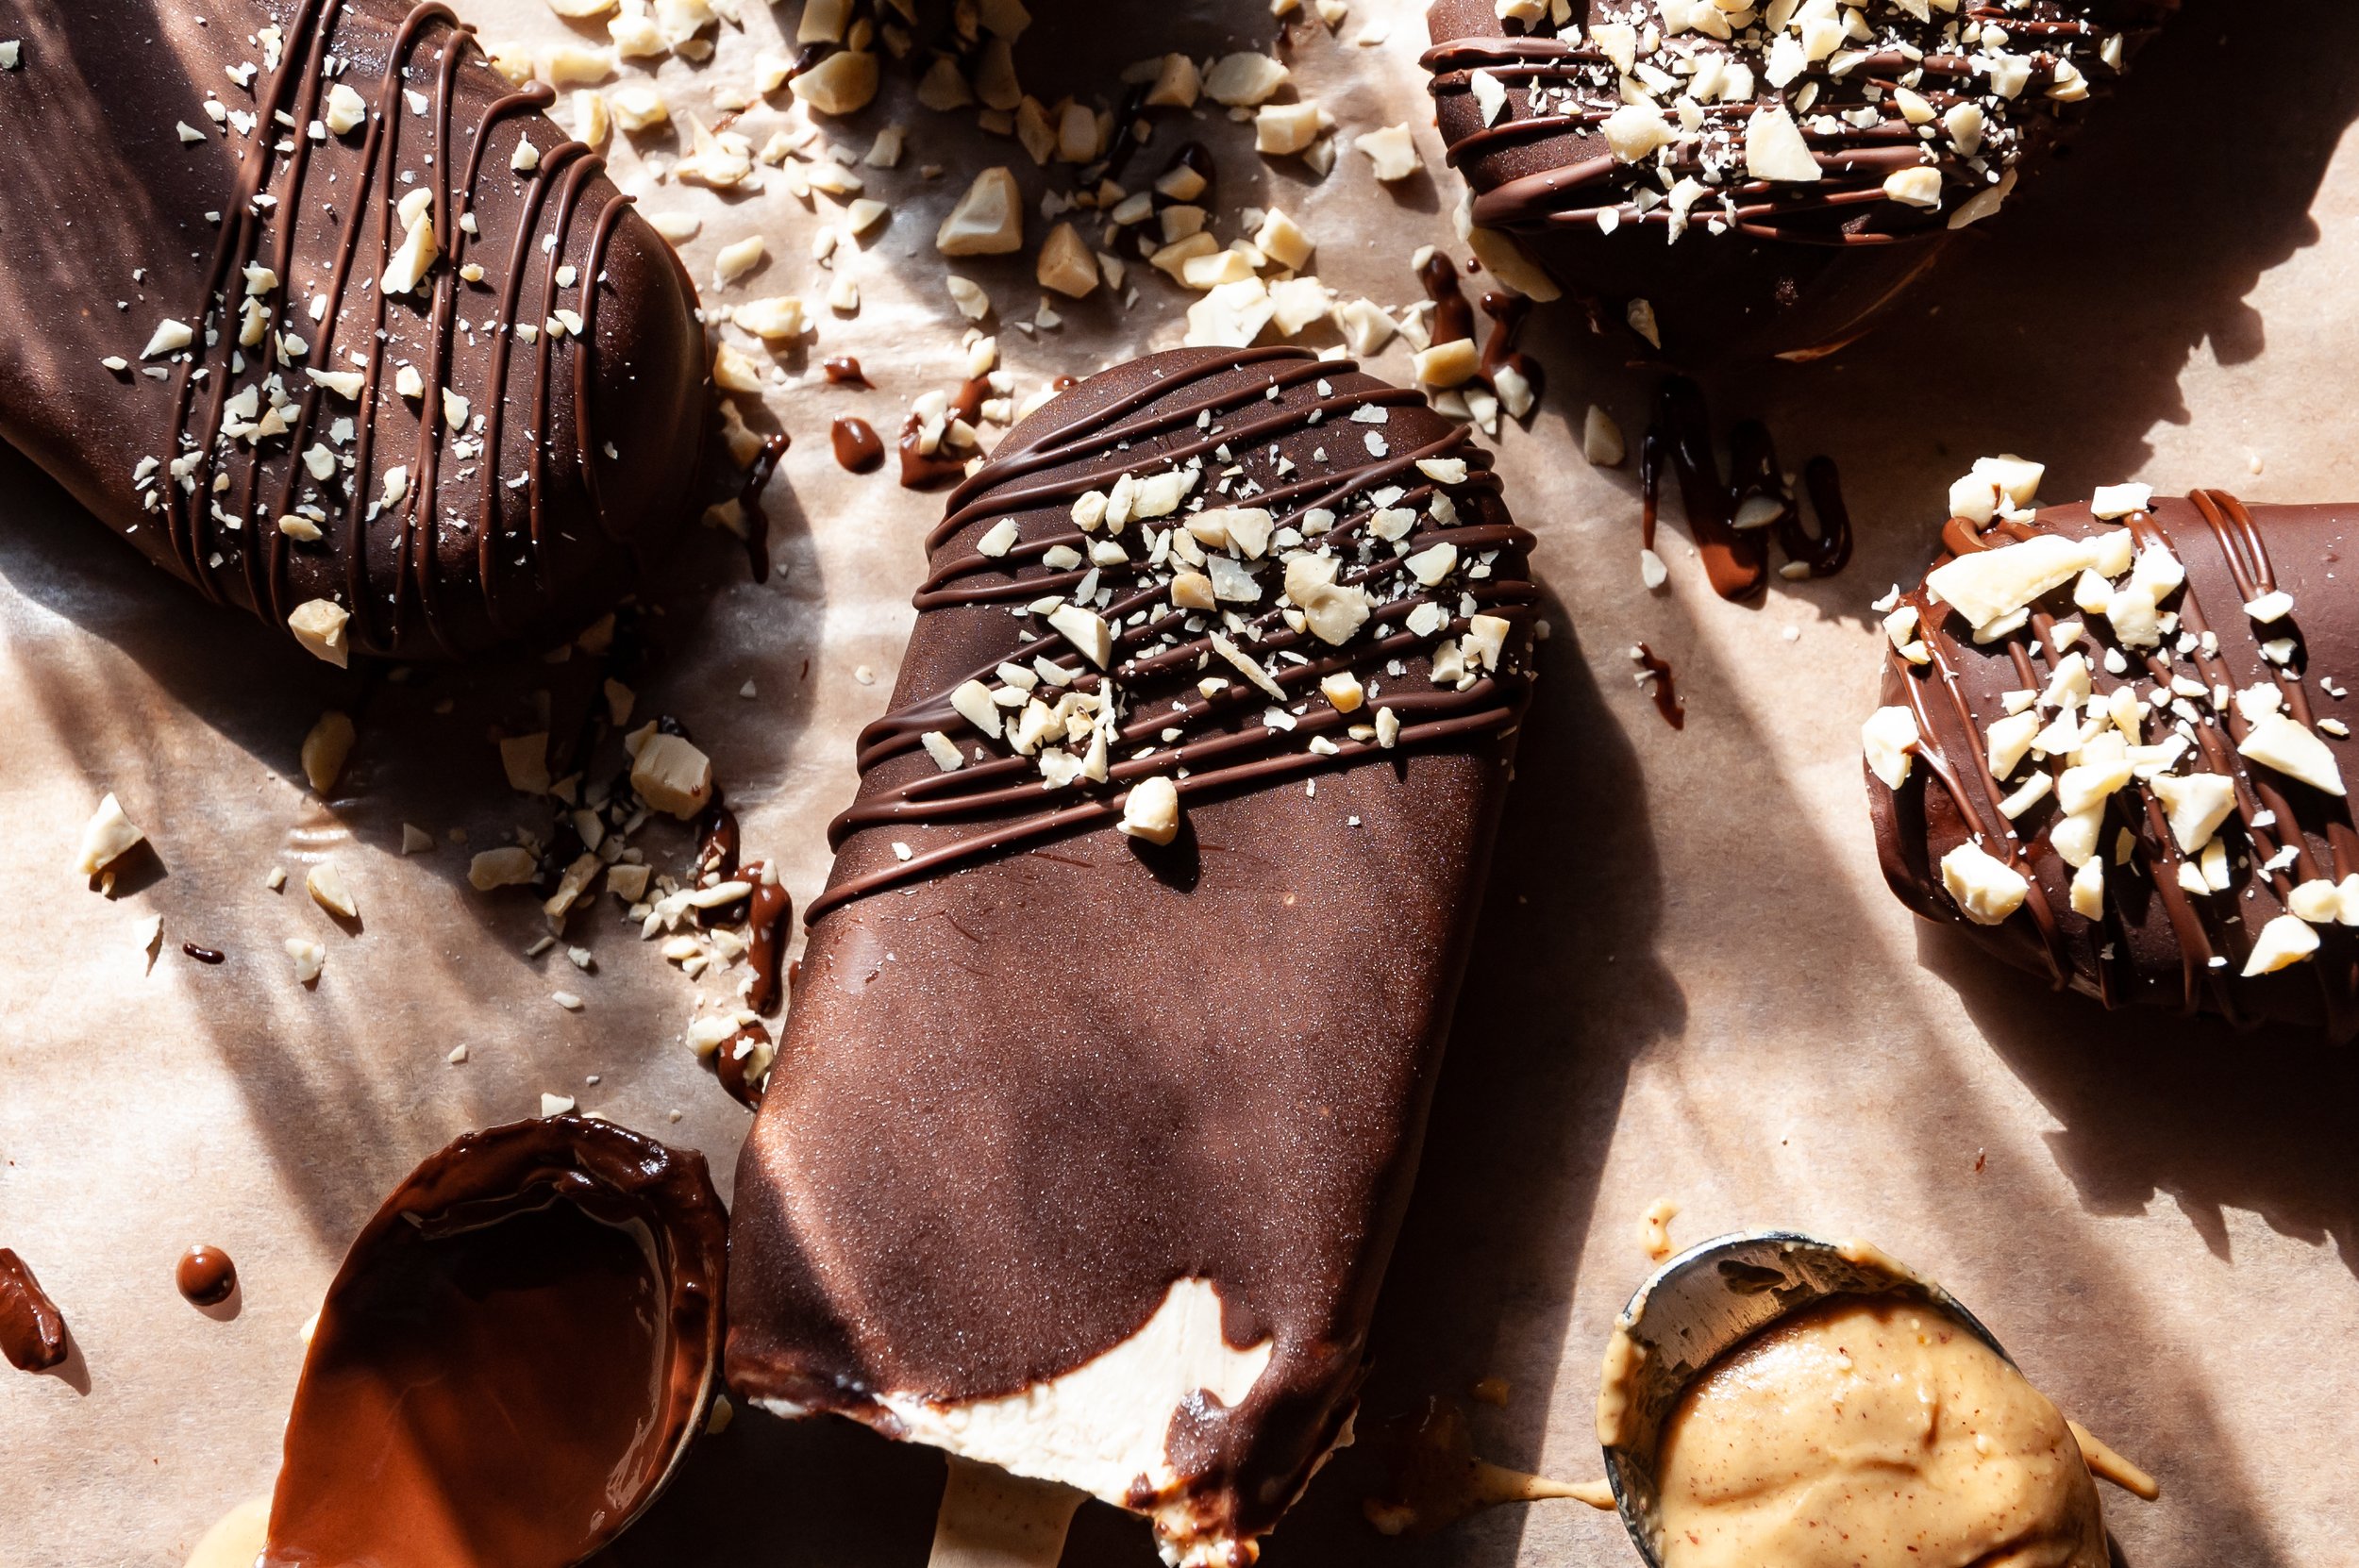
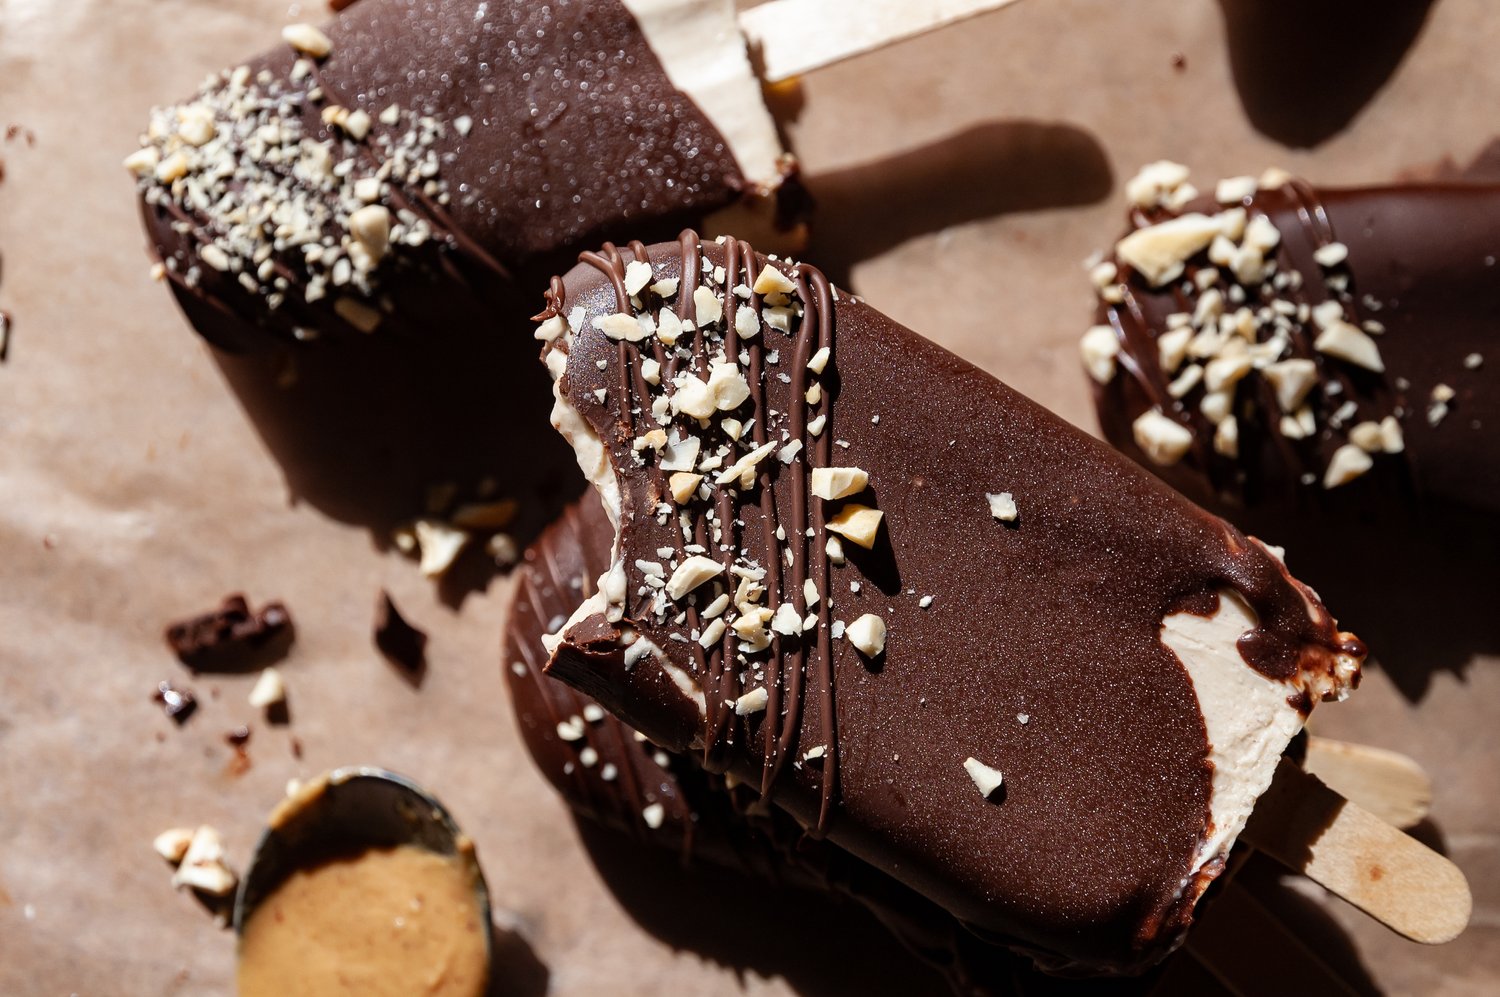
5 ingredient, peanut butter ice cream bars that are creamy, peanut buttery, chocolatey and super easy!
The Story:
An easy little treat that hits the spot and ranks high on the indulgence scale with a creamy, peanut butter ice cream bar, then coated in dairy-free chocolate. Even better, these peanut butter ice cream bars only require 5 ingredients to make. Summer is upon us and I like to have my freezer stashed with healthier treats! Throw the ingredients in the blender, freeze, then coat in chocolate. That’s it!
Jump to:
The Ingredients:
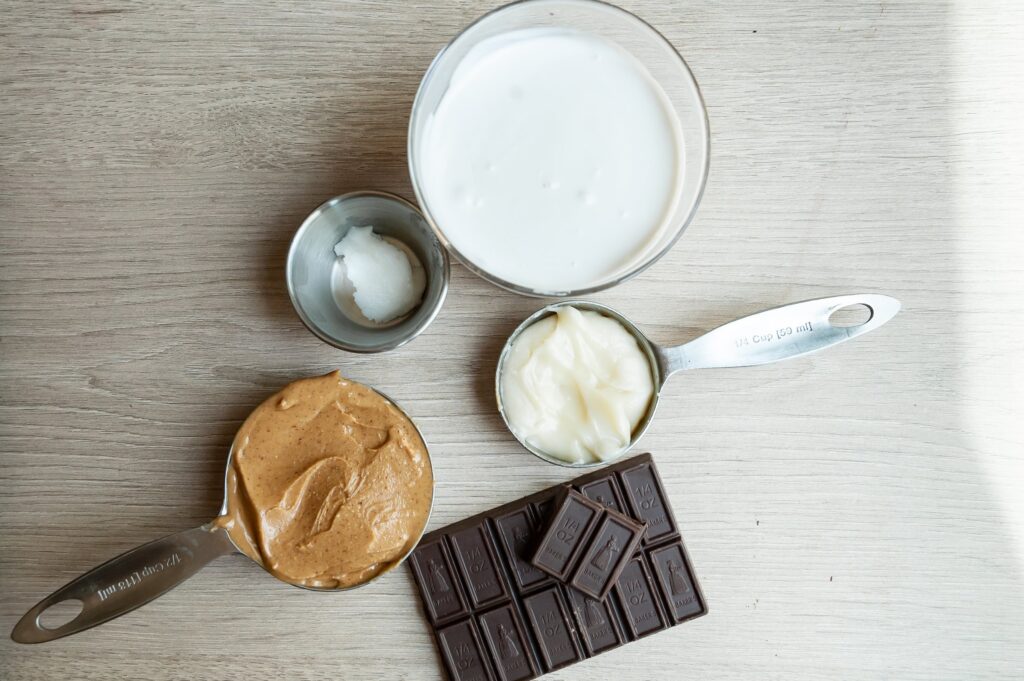
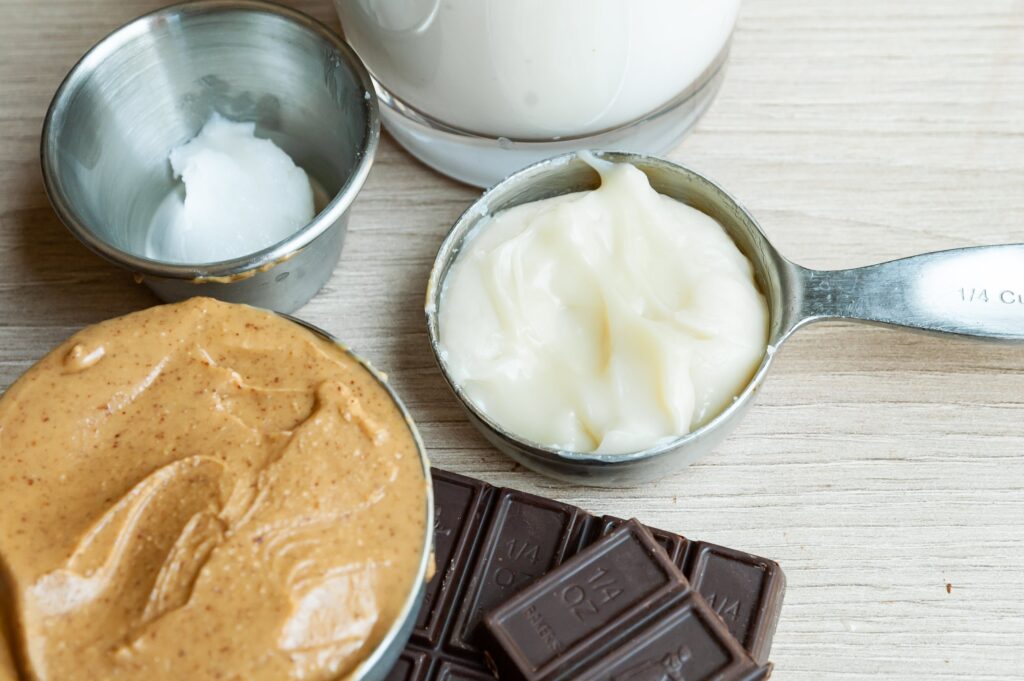
Here is the list of ingredients you will need to make these peanut butter ice cream bars:
- Coconut Milk: Full fat coconut milk from a can will yield the creamiest consistency. Do not use coconut milk from a carton as that will produce an icy, watery texture.
- Sweetened Condensed Coconut Milk: Using some sweetened condensed milk helps create an even creamy consistency, as well as adding some sweetness to the ice cream base. Natures Charm has such a silky, delicious sweetened condensed coconut milk. You can find it at most health groceers!
- Peanut Butter: The star ingredient that flavors the ice cream bars! You will want to use creamy peanut butter for a deliciously thick and creamy consistency.
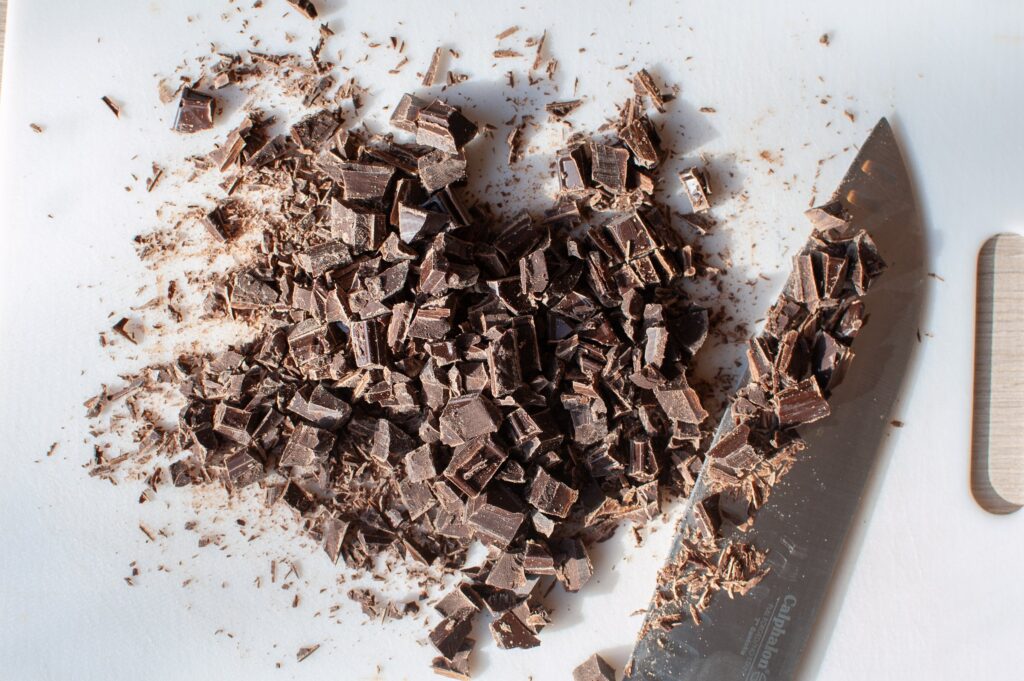
- Dairy-Free Chocolate: Melt down some dairy-free chocolate, either chips or a baking bar, and dunk your ice cream bars in it.
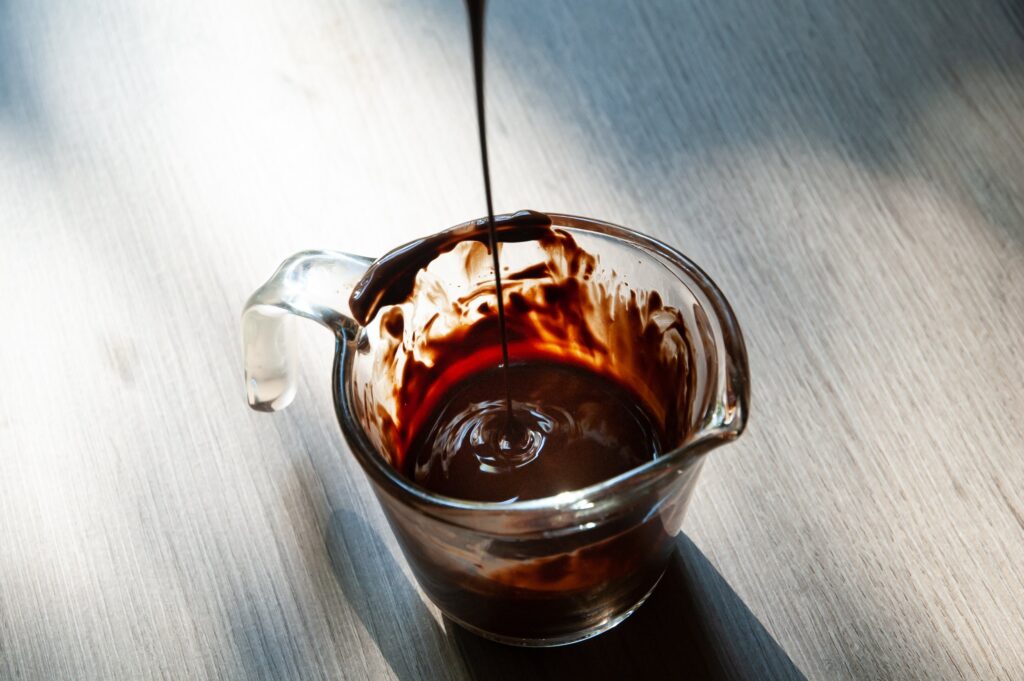
- Coconut Oil: Adding coconut oil to the chocolate helps it melt down smoothly and gives it a nice shiny texture. It also helps thin out the chocolate for ease of dipping.
Step By Step Preparation Instructions:
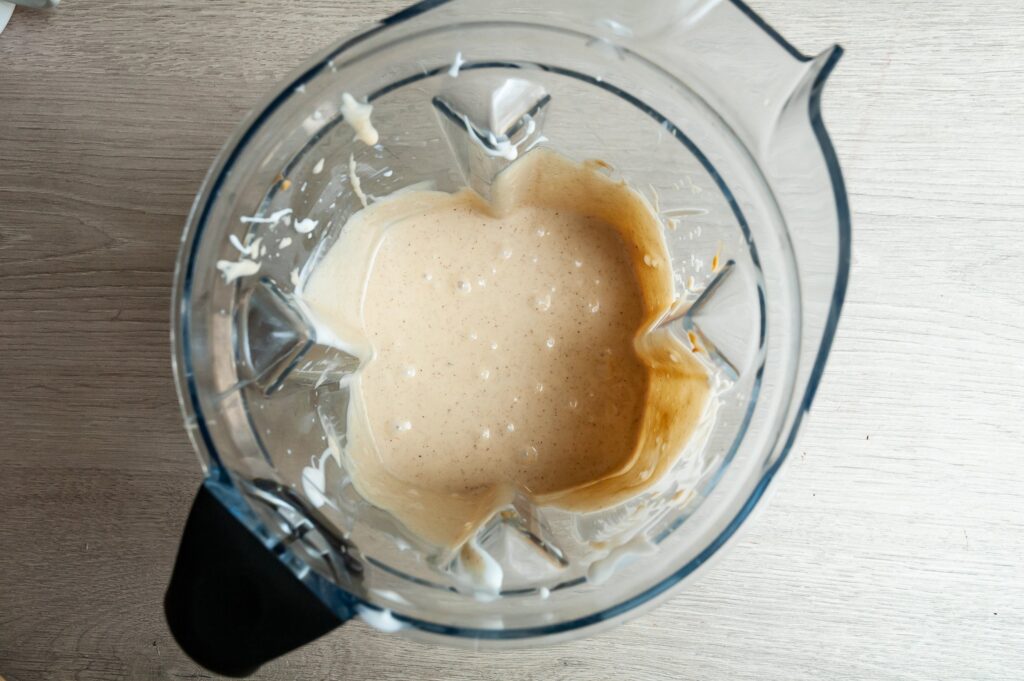
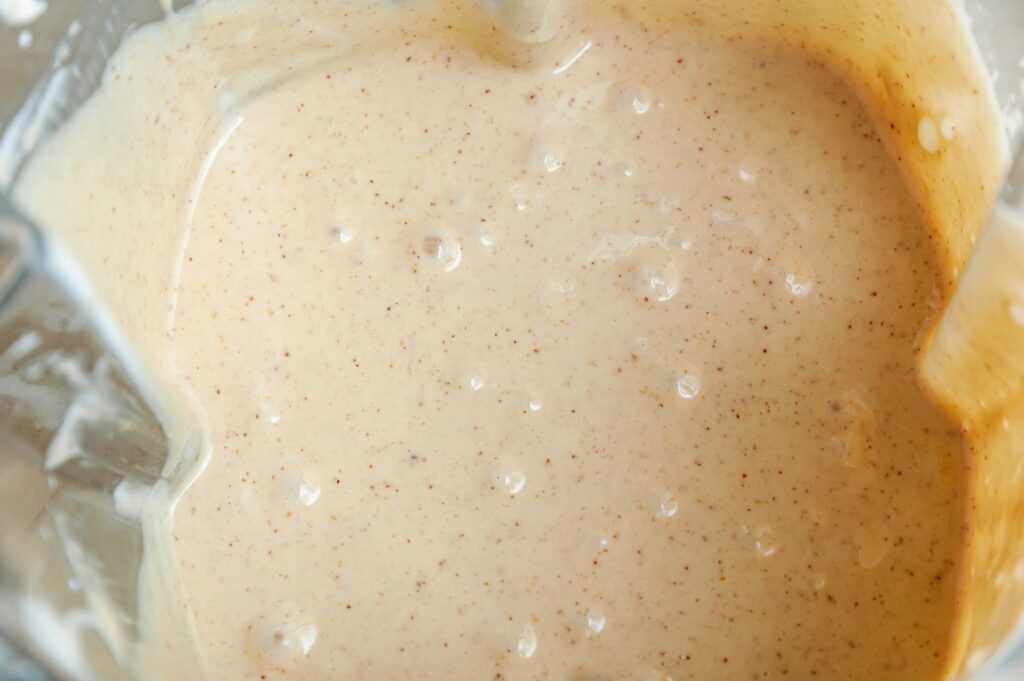
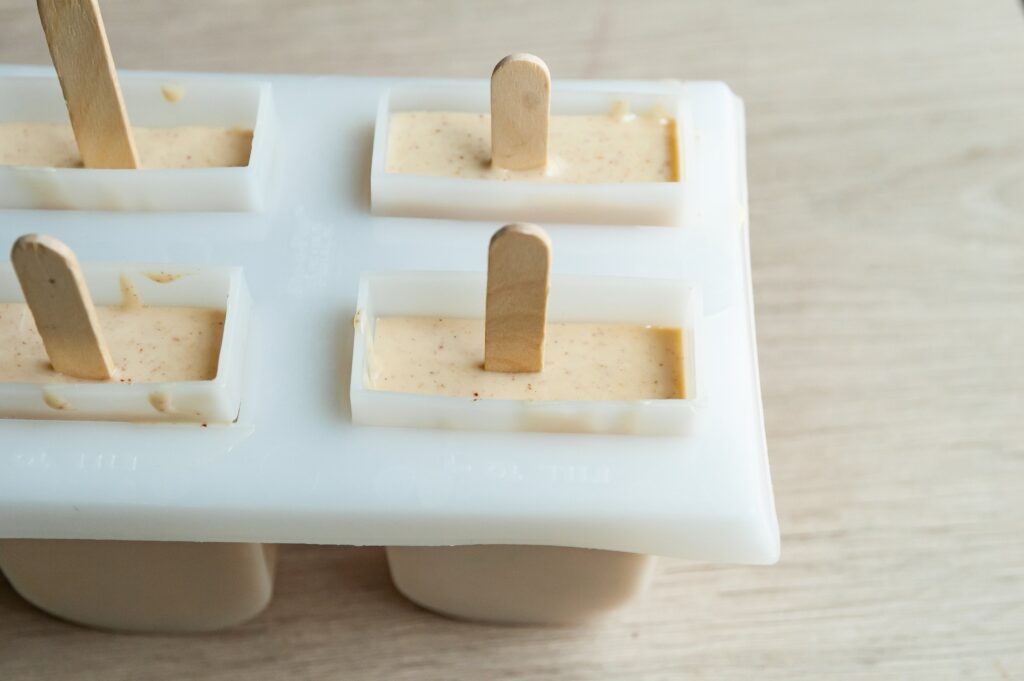
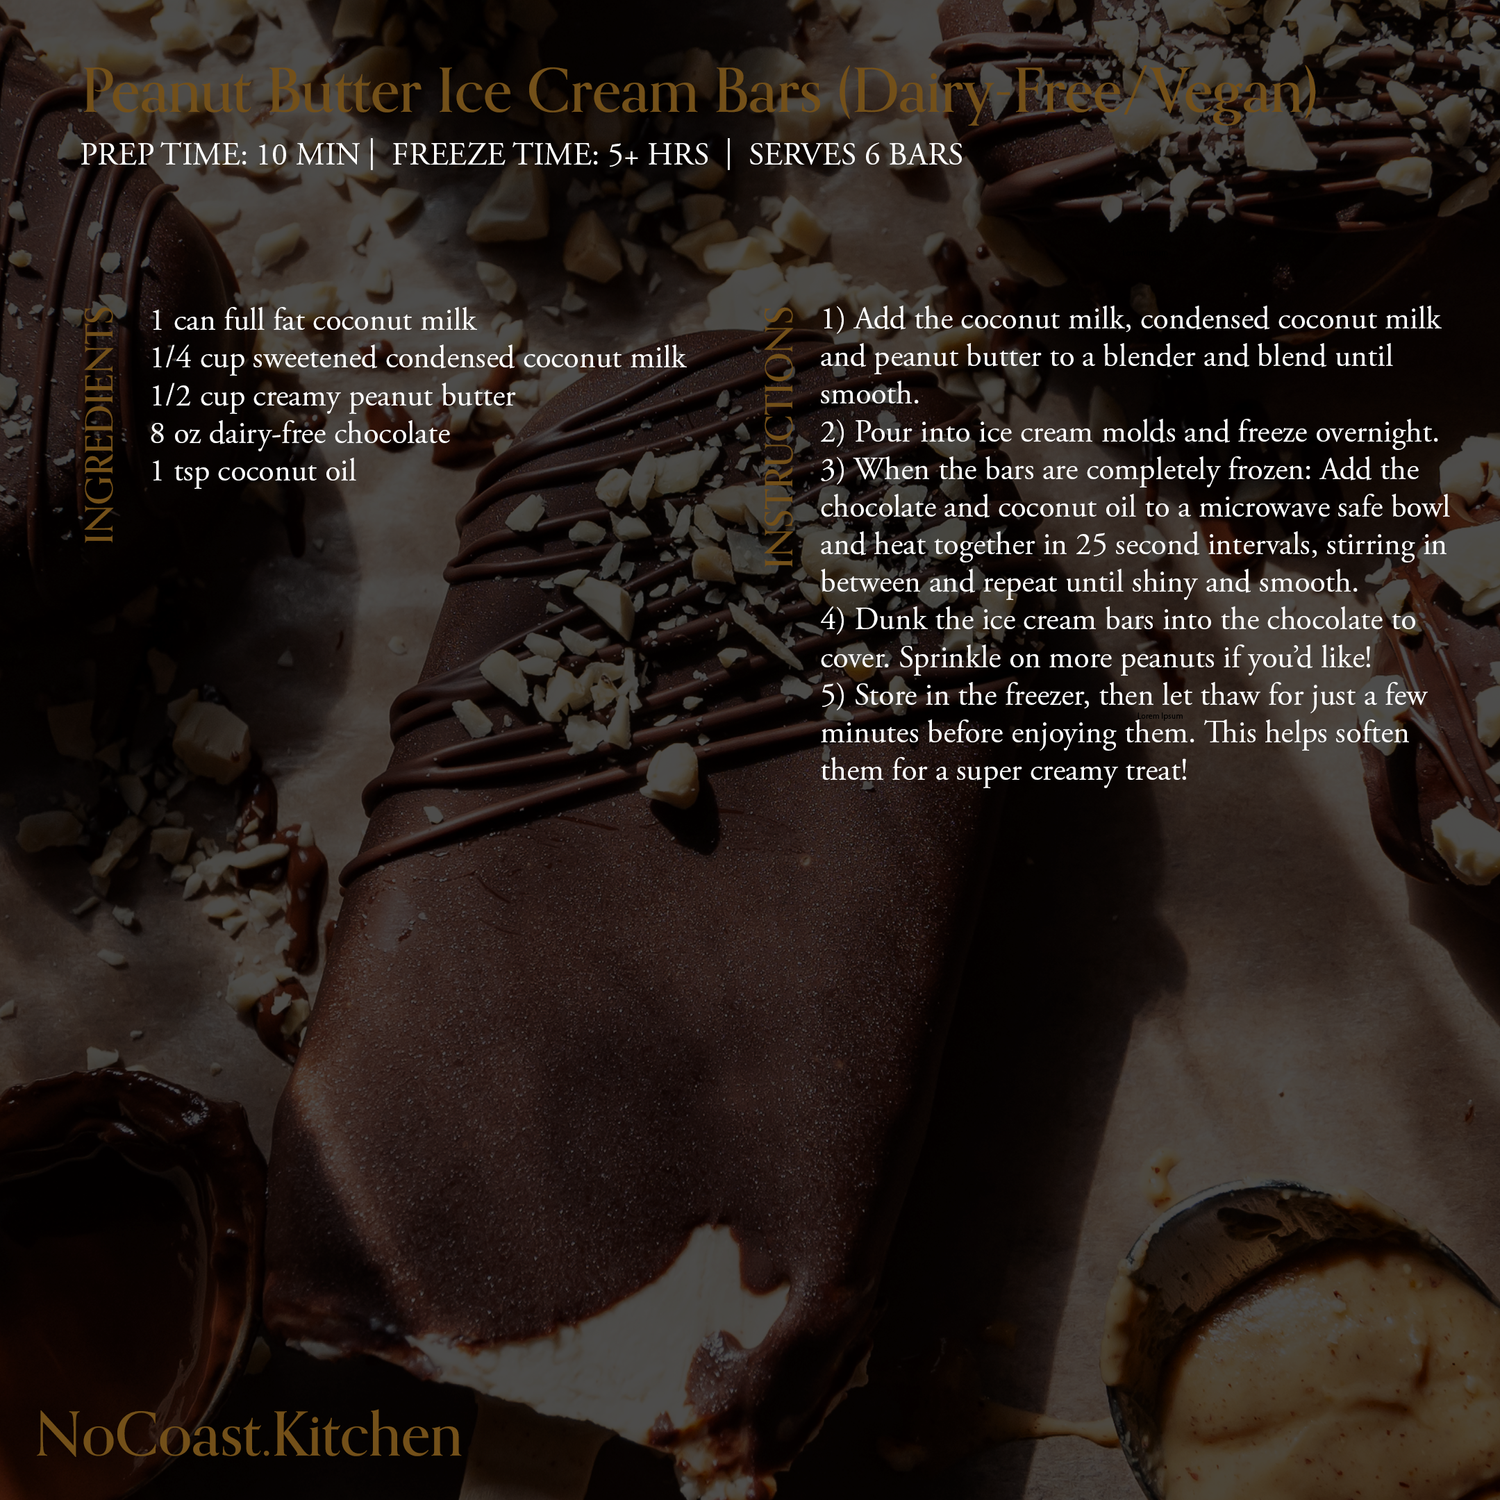
- Step 1: Add the coconut milk, condensed milk and peanut butter to a blender and blend until smooth. Pour into ice cream molds and freeze overnight.
- Step 2: When the bars have become completely frozen, melt down the chocolate with the coconut oil by adding them to a microwave safe bowl and heating in 25 second intervals. Stir in between and repeat until shiny and smooth. Dunk the ice cream bars into the chocolate to cover. If the chocolate starts to thicken too much, pop back in the microwave and heat until smooth again. Sprinkle on more peanuts if you’d like! That’s it!
- Step 3: Store in the freezer, then let thaw for just a few minutes before enjoying them. This helps soften them for a super creamy treat!
Recipe FAQ's:
- How long will these peanut butter ice cream bars last in the freezer? Because homemade ice cream does not contain any additives to preserve its freshness, these bars are best served within a few days of preparing.
- Can I make these peanut butter ice cream bars without coconut milk? You can! If you prefer oat or cashew milk, you can use those but they will not yield quite as creamy of a bar. Full fat coconut milk from a can has the highest percentage of fat out of most dairy alternative milks, which means it yields the creamiest ice cream. You can also replace the coconut milk with dairy cream or whole milk if you can tolerate dairy.
- Are these peanut butter ice cream bars considered vegan? They are! They do not contain any dairy or eggs, so they are suitable for those following a vegan diet.
- Are these peanut butter ice cream bars gluten-free? Of course! Everything here at No Coast Kitchen is gluten-free, including these delicious ice cream bars…they are also grain-free!
- Can I replace the peanut butter with another nut butter if I am allergic? Yes! Cashew butter, SunButter or almond butter would be a delicious replacement!
The Recipe:
The Finished Product:
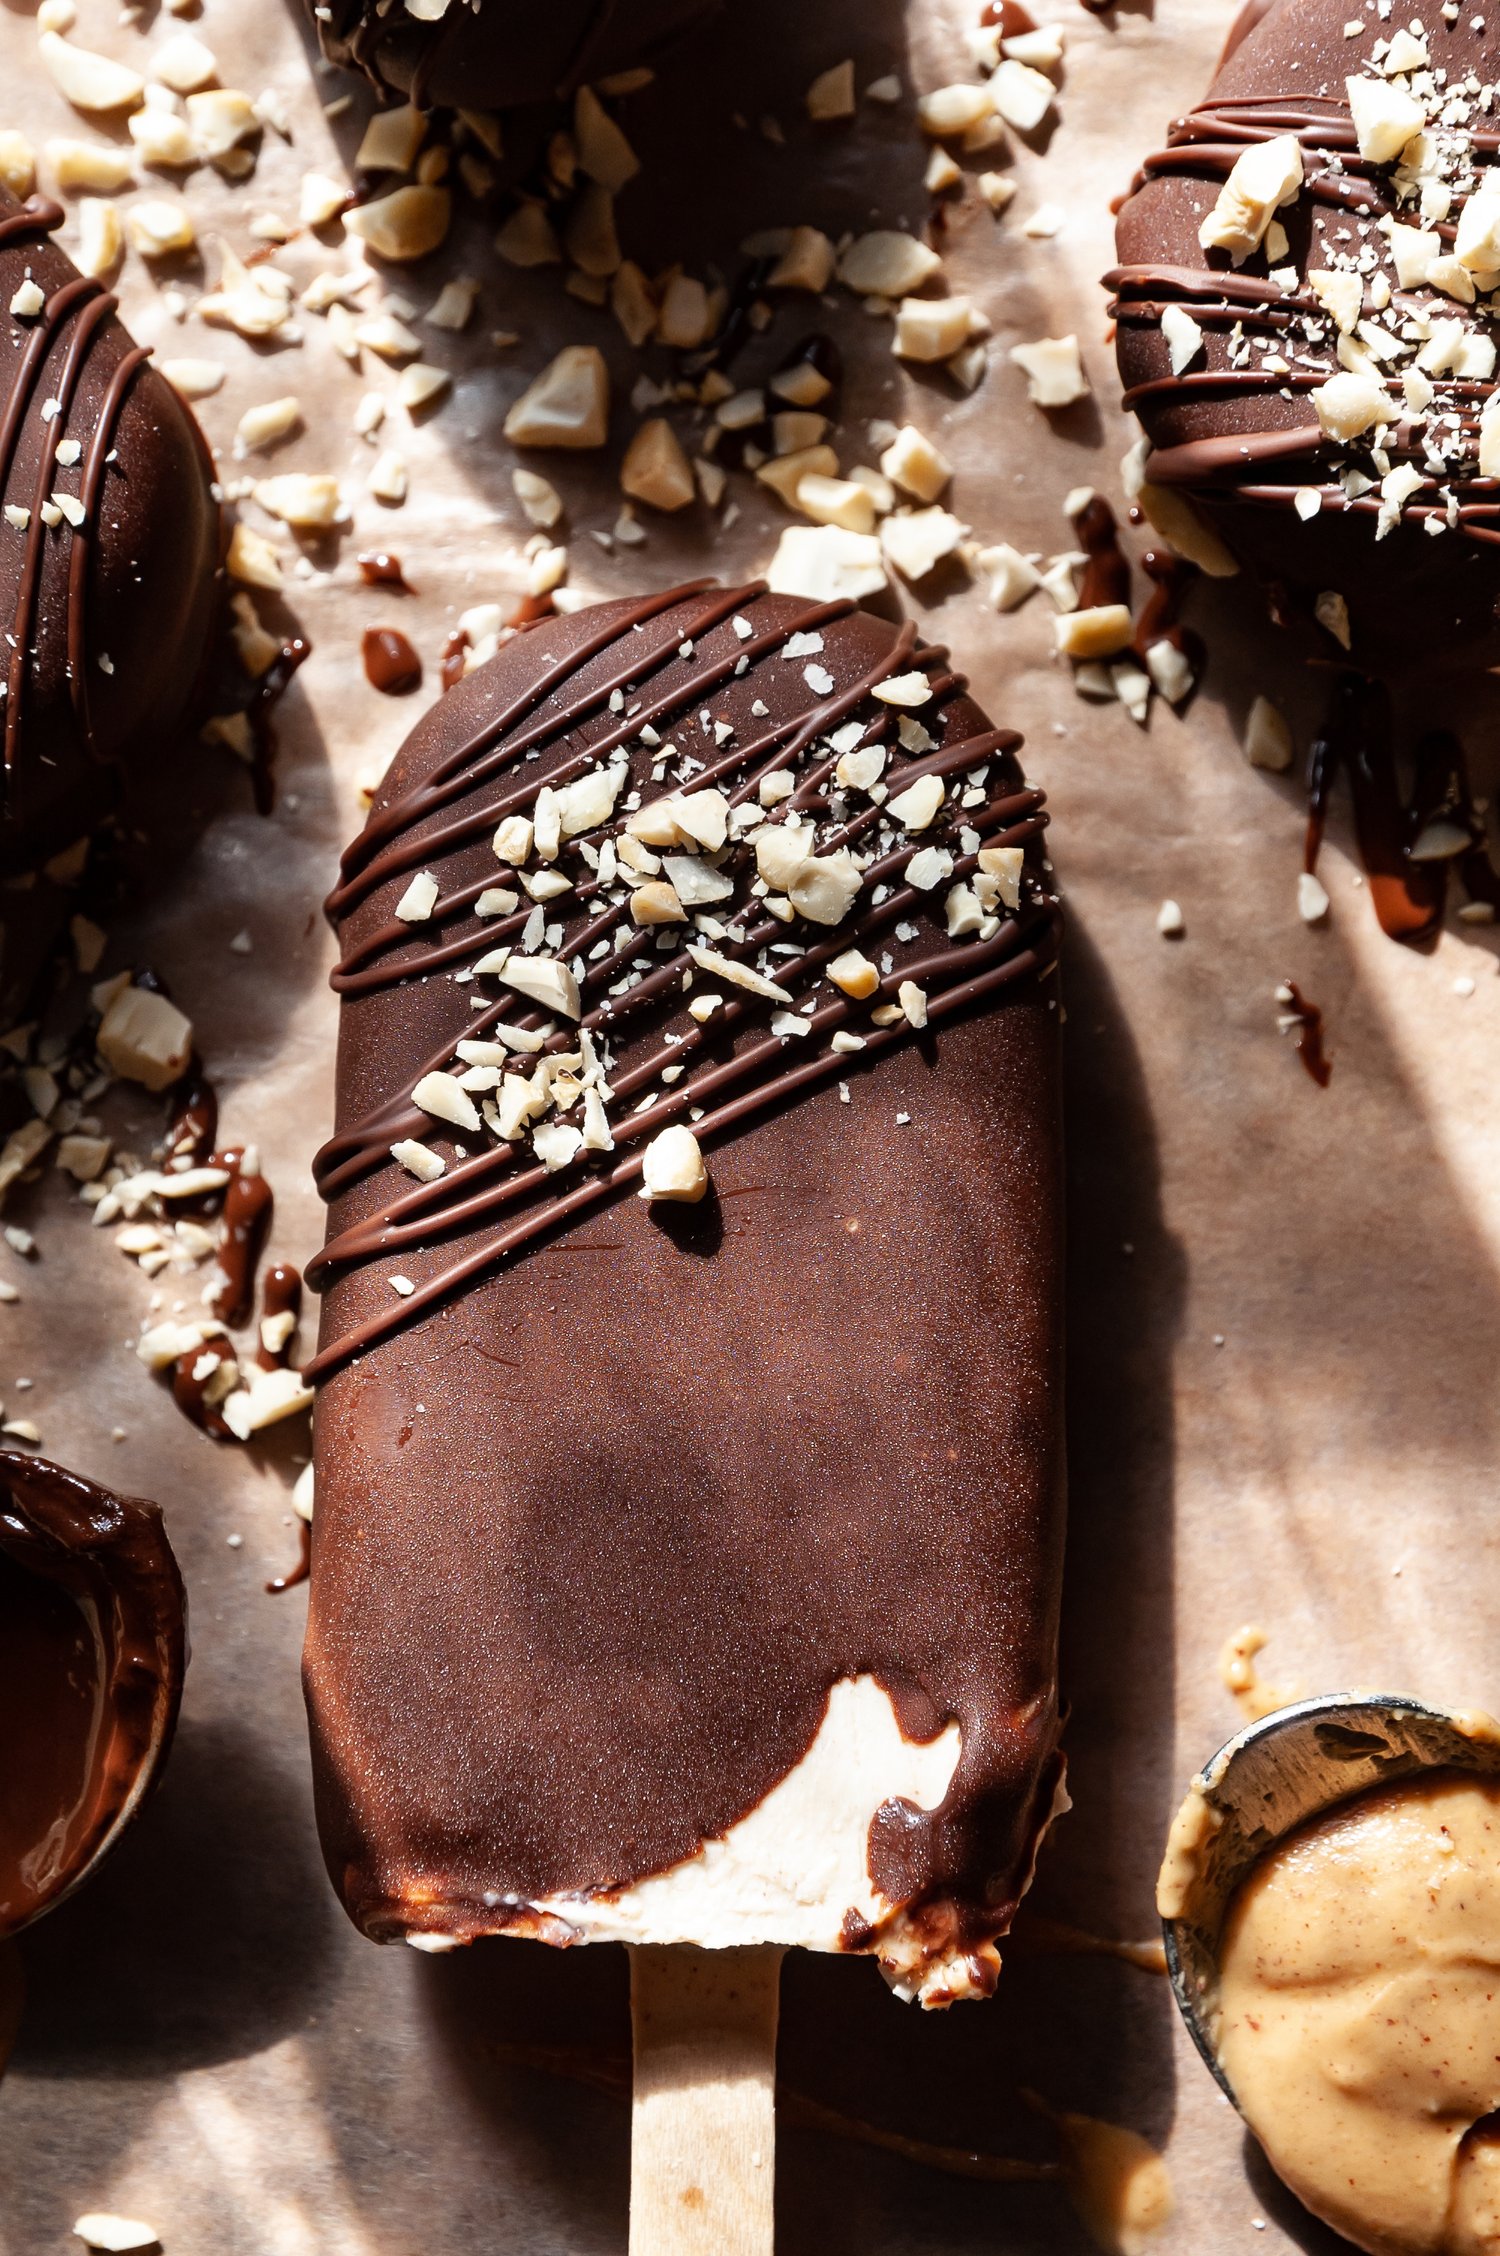
A quick and easy summer treat to cool you down this summer. These peanut butter ice cream bars are a sweet little treat!



Leave a Reply