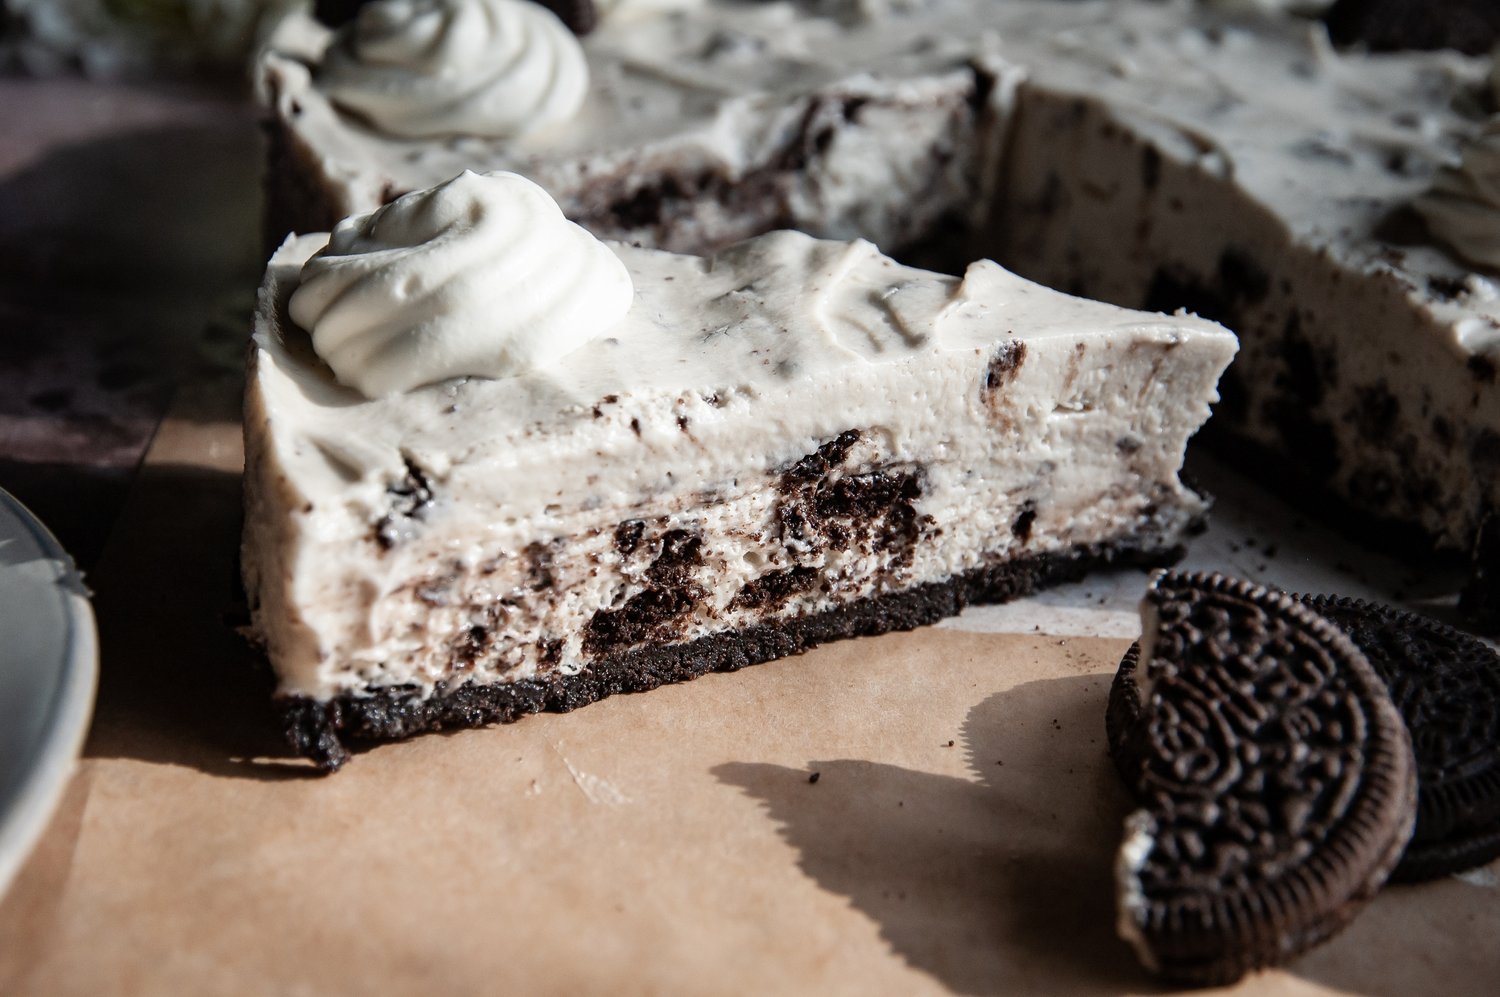
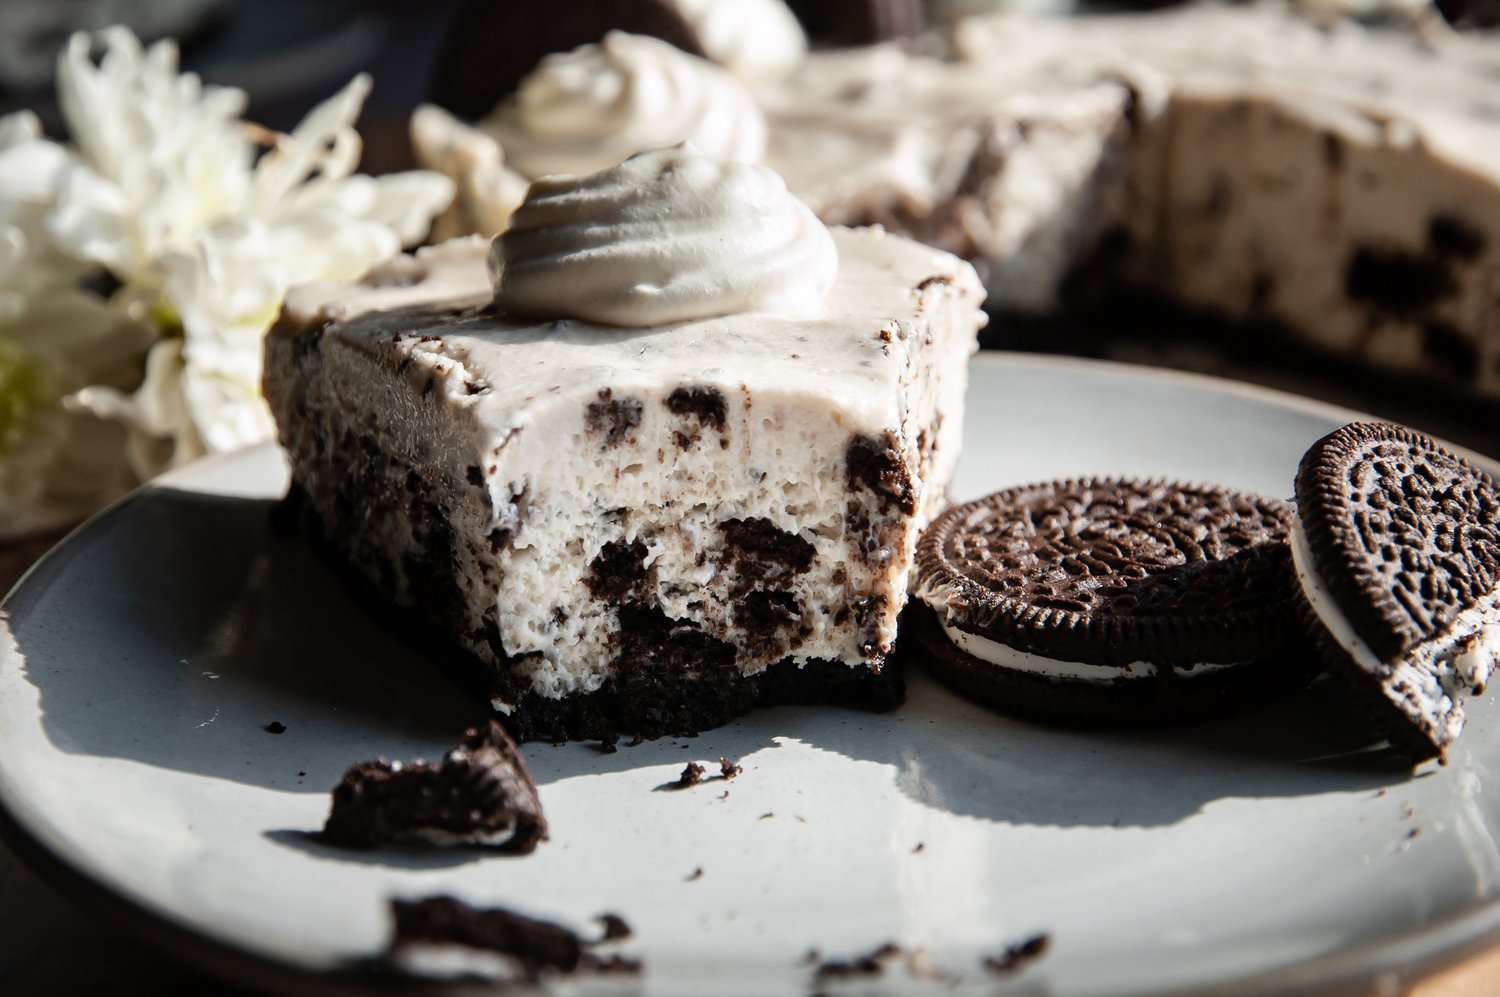
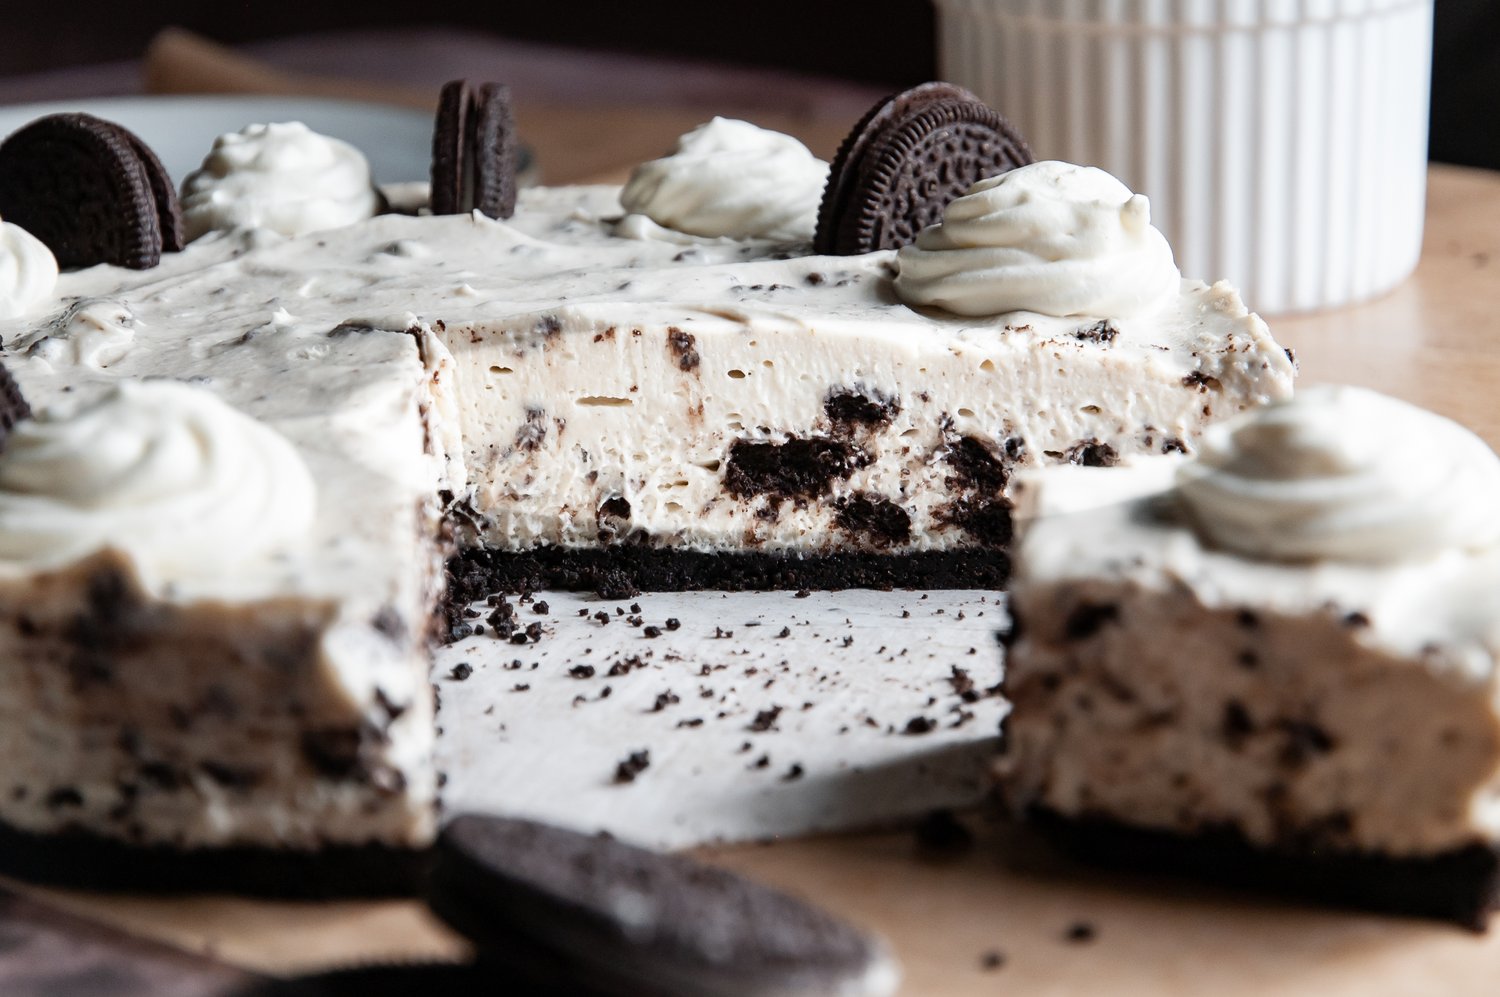
This gluten-free Oreo cheesecake is a creamy, tangy, indulgent cheesecake with large chunks of gluten-free Oreo cookies folded throughout, nestled on top of a crunchy gluten-free Oreo crust.
The Story:
Each bite boasts the flavor of Oreo! This gluten-free Oreo cheesecake is so creamy and light, is no-bake, and the food processor does all the work for you. I love a good no-bake dessert for Spring/Summer and this one takes the cake. It’s made with just a few tried and true gluten-free and dairy-free products to create a beautiful cheesecake, reminiscent of an indulgent dessert you’d get at a restaurant. If you love cheesecake, or the classic pairing of cookies and cream, you’ll love this Oreo Cheesecake!
Jump to:
🧾 The Ingredients:
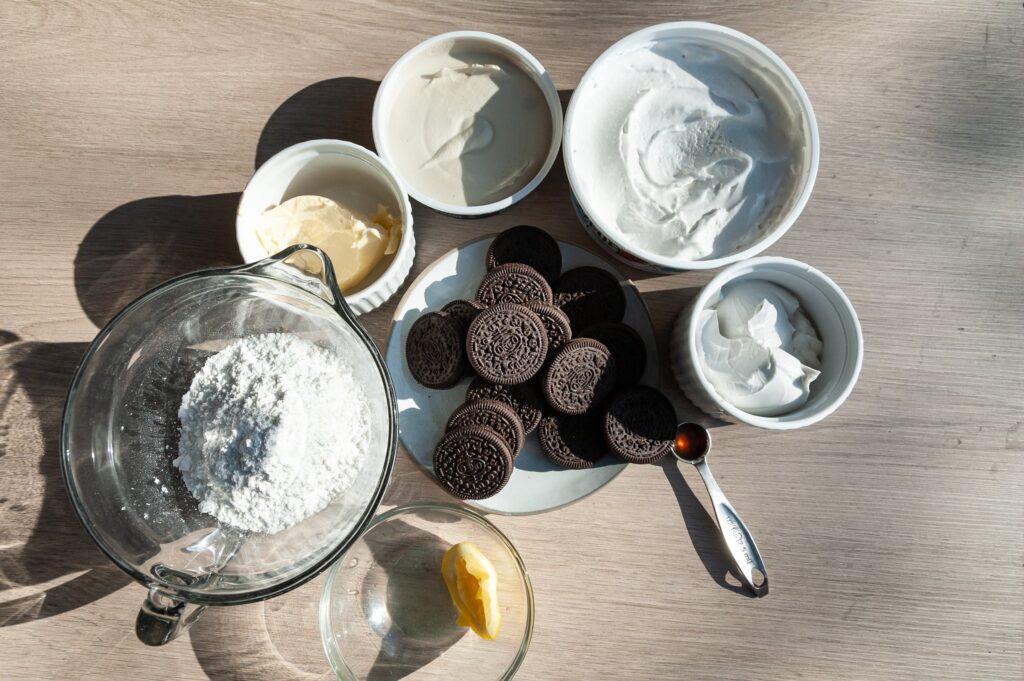
Here is the list of ingredients you will need for this gluten-free Oreo cheesecake.
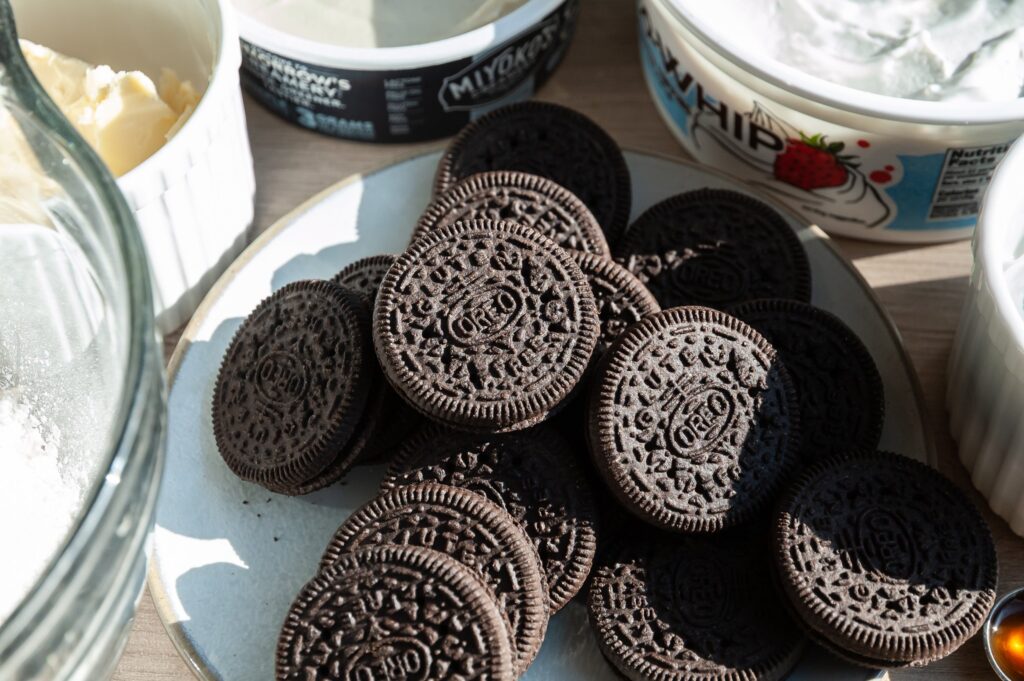
- Gluten-Free Oreos: The star ingredient! I’m so grateful that Oreo makes gluten-free Oreos. It’s such a nostalgic treat and I’m grateful to still be able to enjoy them.
- Dairy-Free Butter: A bit of butter gets added to the Oreo crust to help it hold together.
- Dairy-Free Cream Cheese: Look for any dairy-free/vegan cream cheese. I use Miyoko’s brand, as it is made with nourishing ingredients, has a great tangy flavor, and a nice sturdy texture.
- Dairy-Free Whipped Topping: You can certainly make your own whipped cream for this, but I find TruWhip or So Delicious Coco Whip to yield the best flavor and texture.
- Powdered Sugar: To sweeten the filling. I find that vegan cream cheese has a bit more tang than dairy cream cheese so the sugar helps to balance the flavor.
- Coconut Cream: Full fat coconut cream gets added to the filling for neutral flavor, creaminess and volume. Make sure to buy canned, unsweetened coconut cream. It should have minimal ingredients.
- Vanilla: A touch of vanilla for rounding out the flavor of the filling.
- Lemon Juice: A squeeze of lemon helps with flavor balance and enhances the cream cheese flavor.
Step By Step Preparation Instructions:
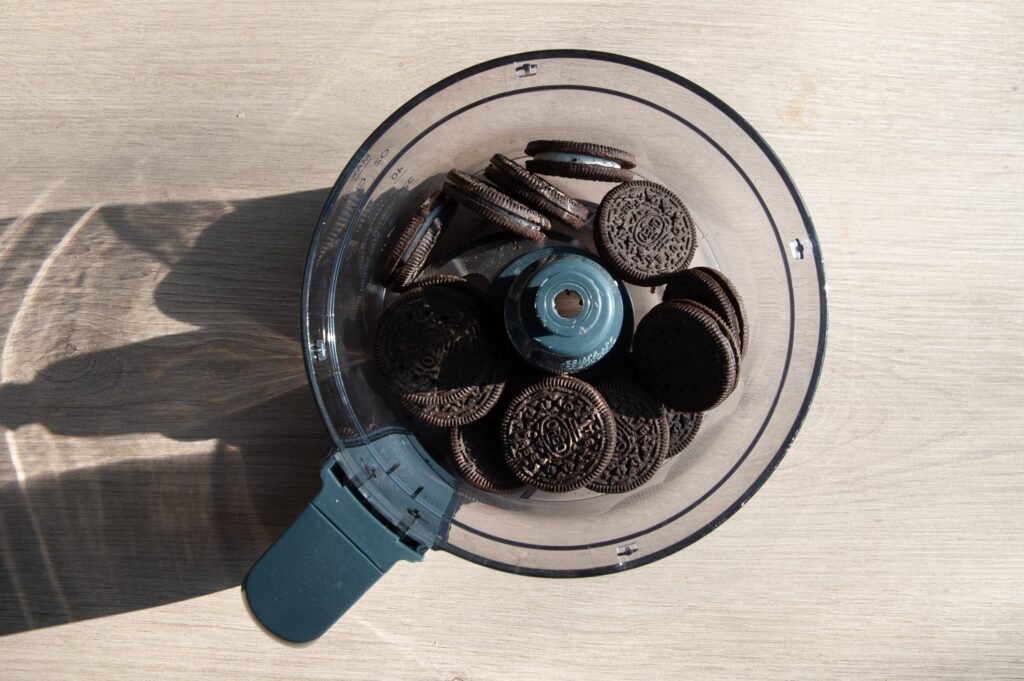
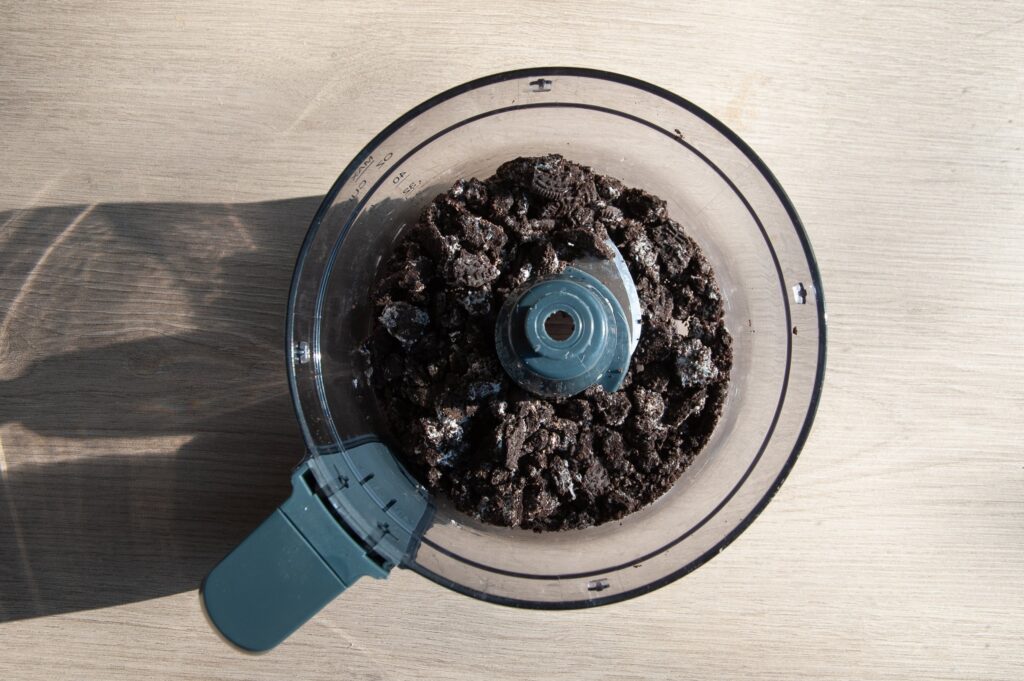
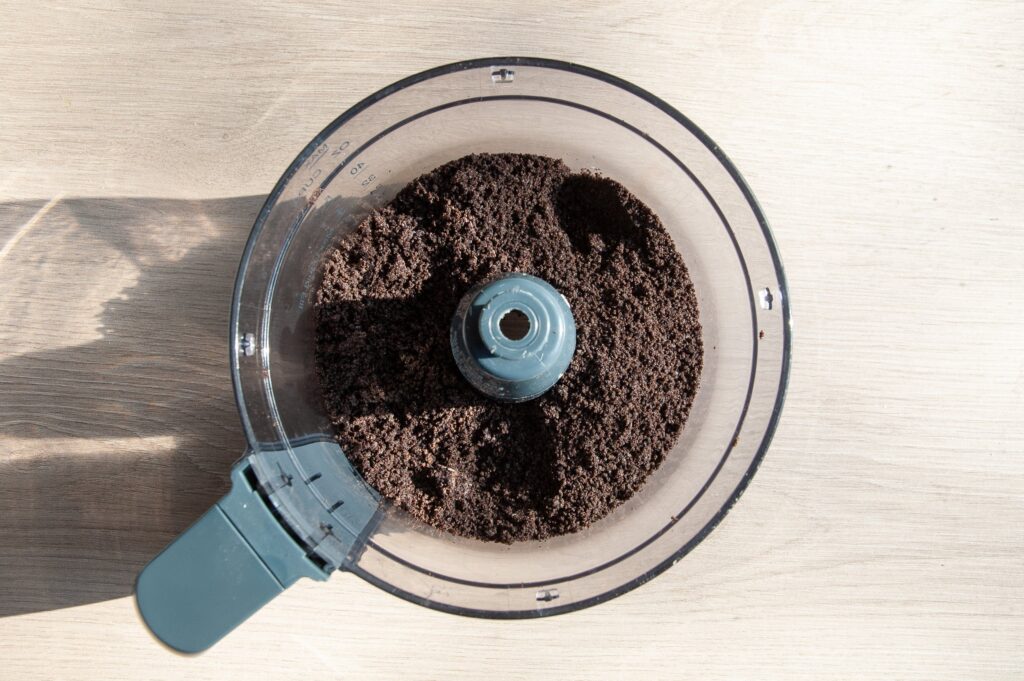
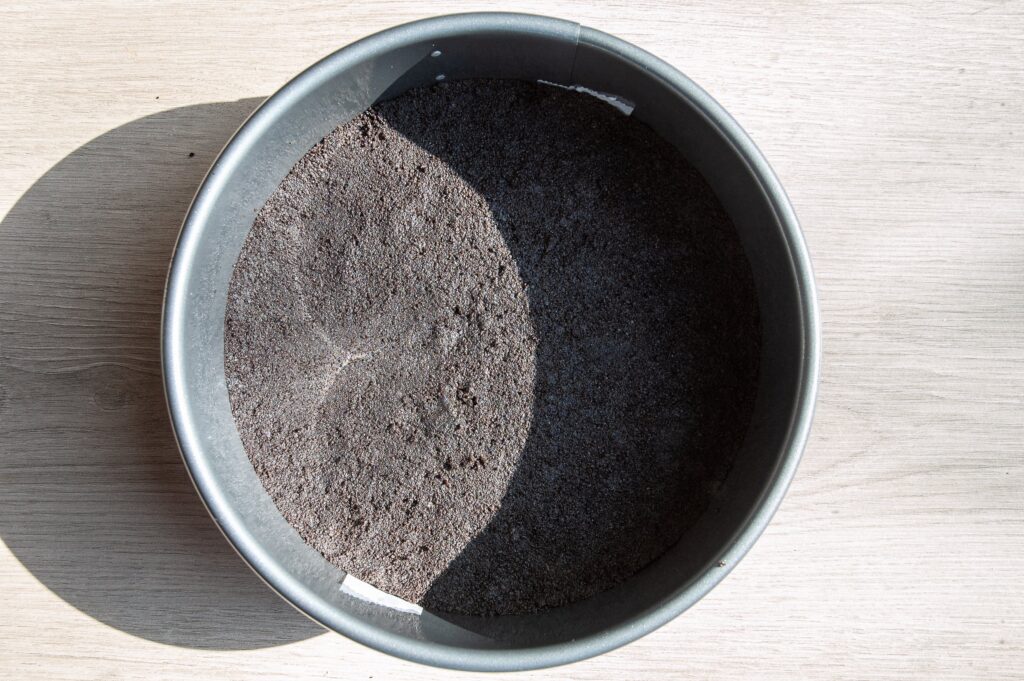
- Step 1: First, you are going to make the crust. You do not need to bake the crust, but if you need a sturdier base, it can help to bake it for 10 min. Add 15 gluten-free Oreos to the food processor until finely ground. Then add in the melted butter and pulse until a dough forms or the cookie crumbs start to come together. This will be your crust for the cheesecake. Press this mixture into a cheesecake pan, pressing down firmly and evenly to compact the crust.
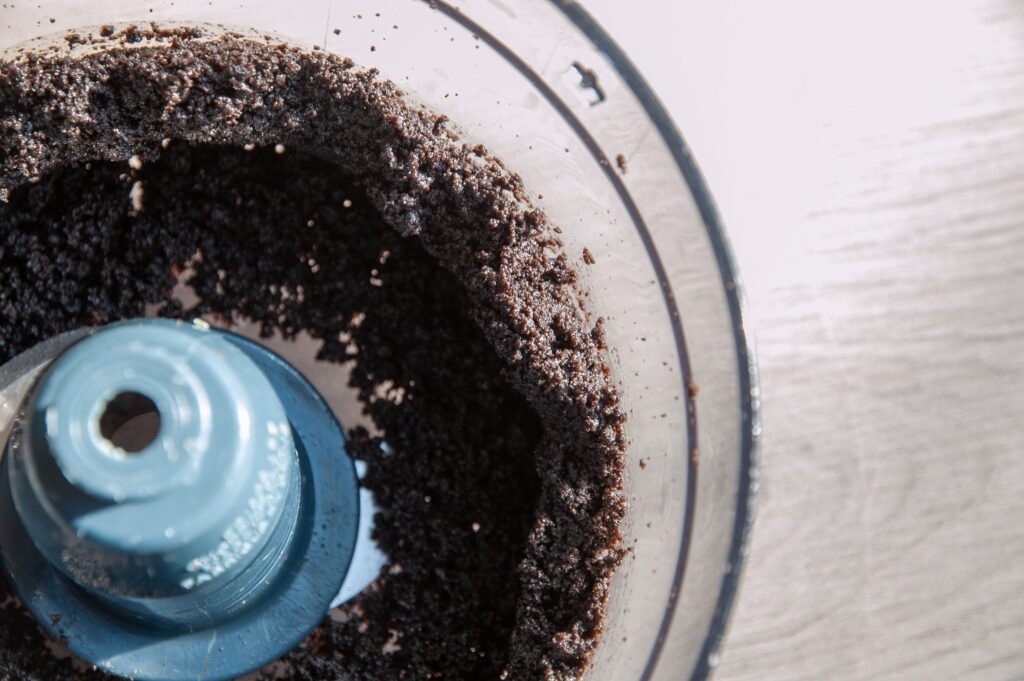
- Step 2: Now, add 15 Oreo cookies to the food processor and coarsely pulse them. For these crumbs, you want some nice chunks to it so that the cheesecake has pops of flavor and delicious crunchy bits of Oreo. Set aside.
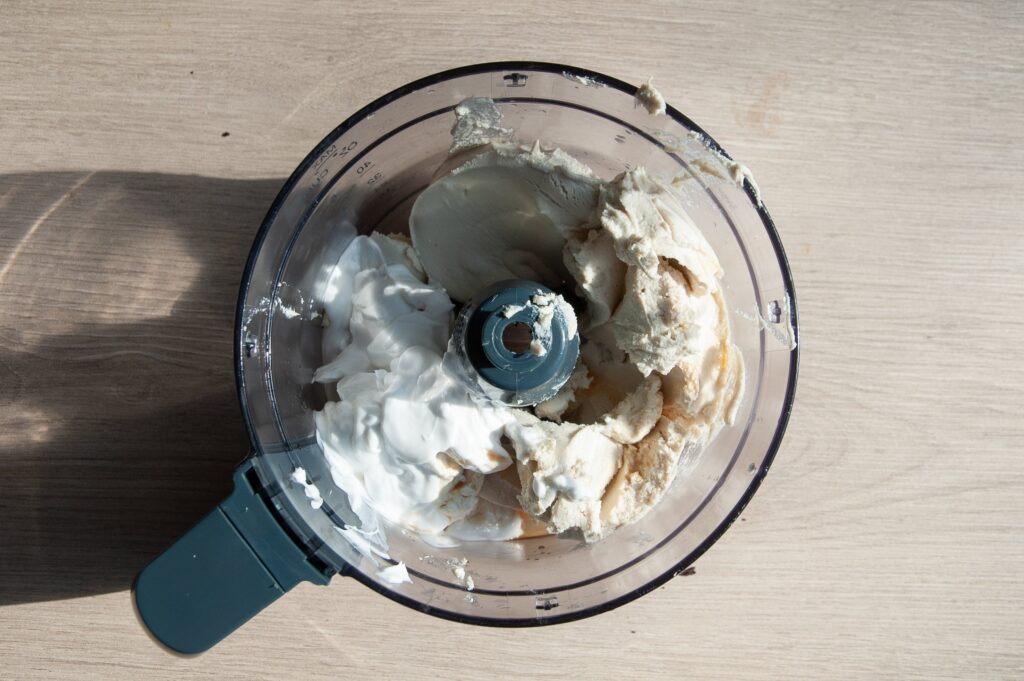
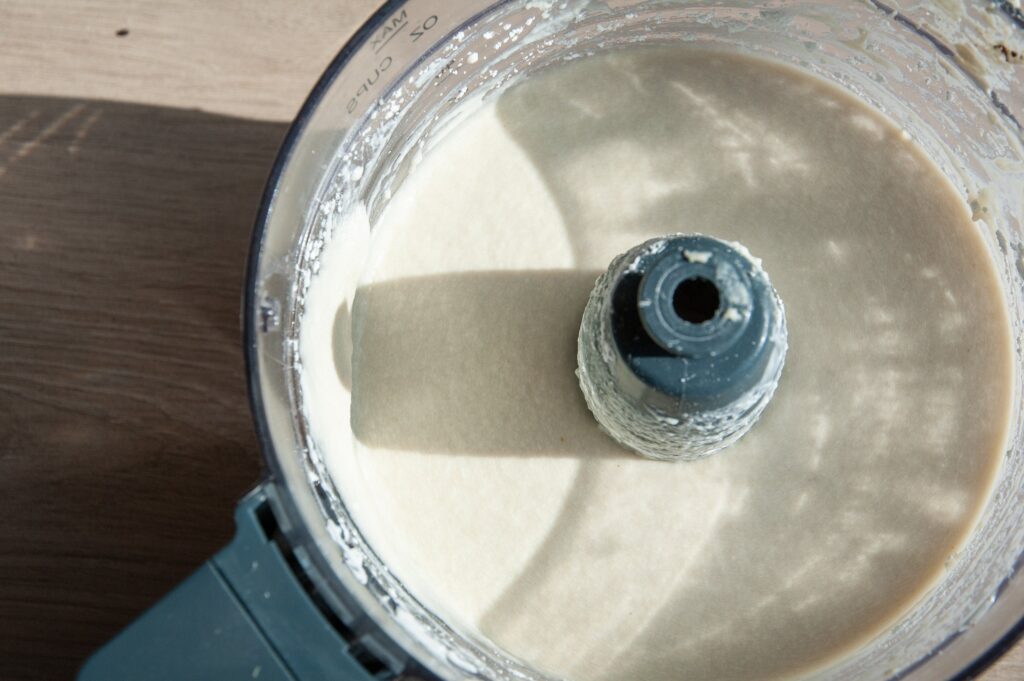
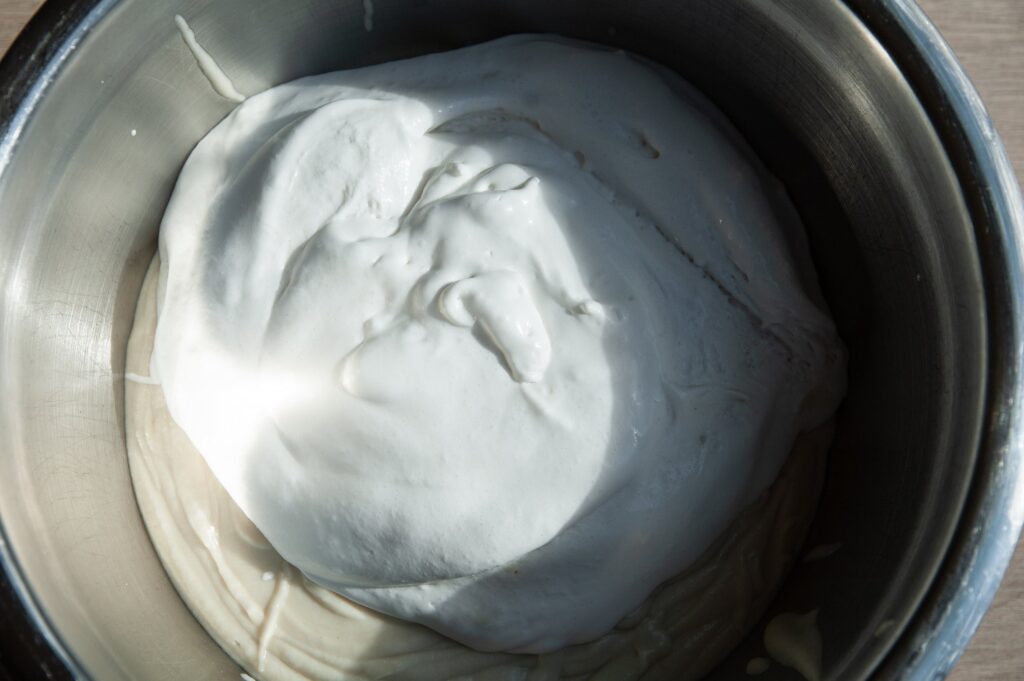
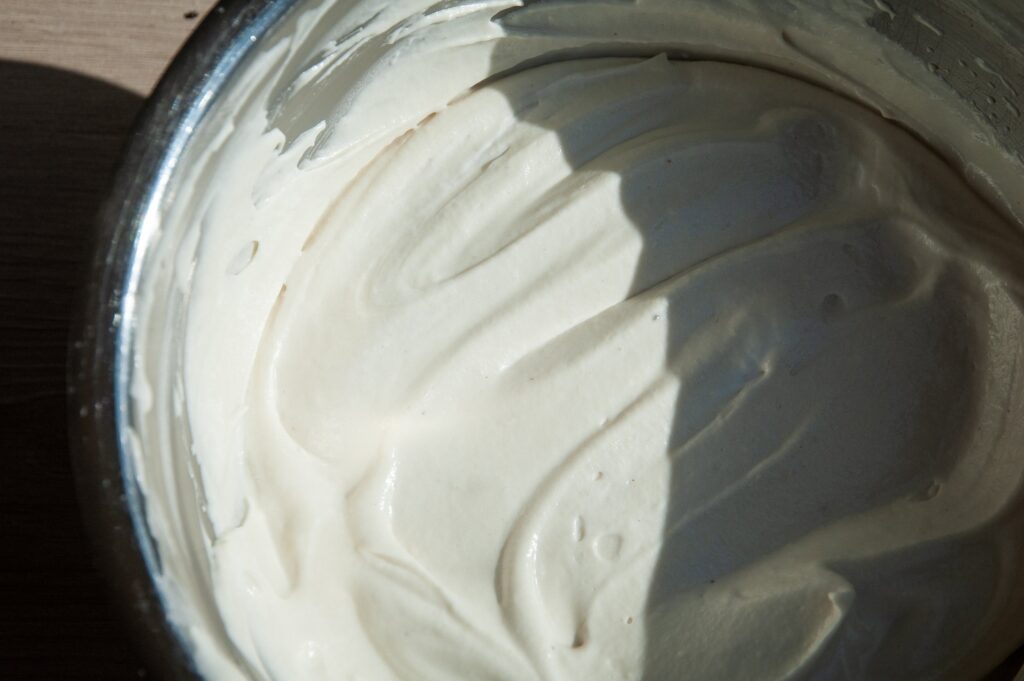
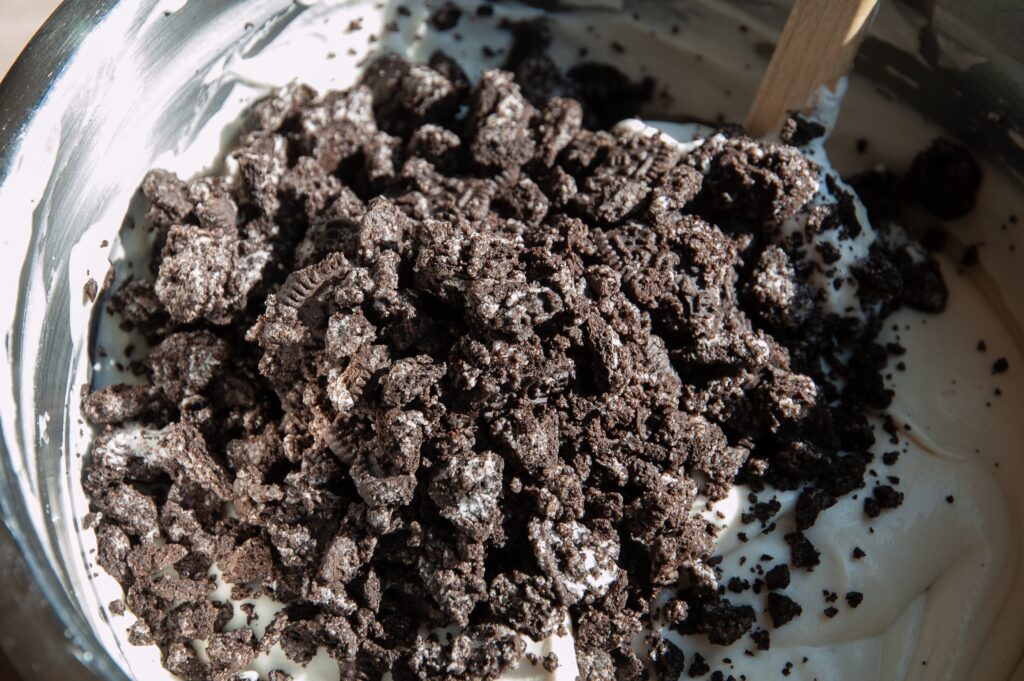
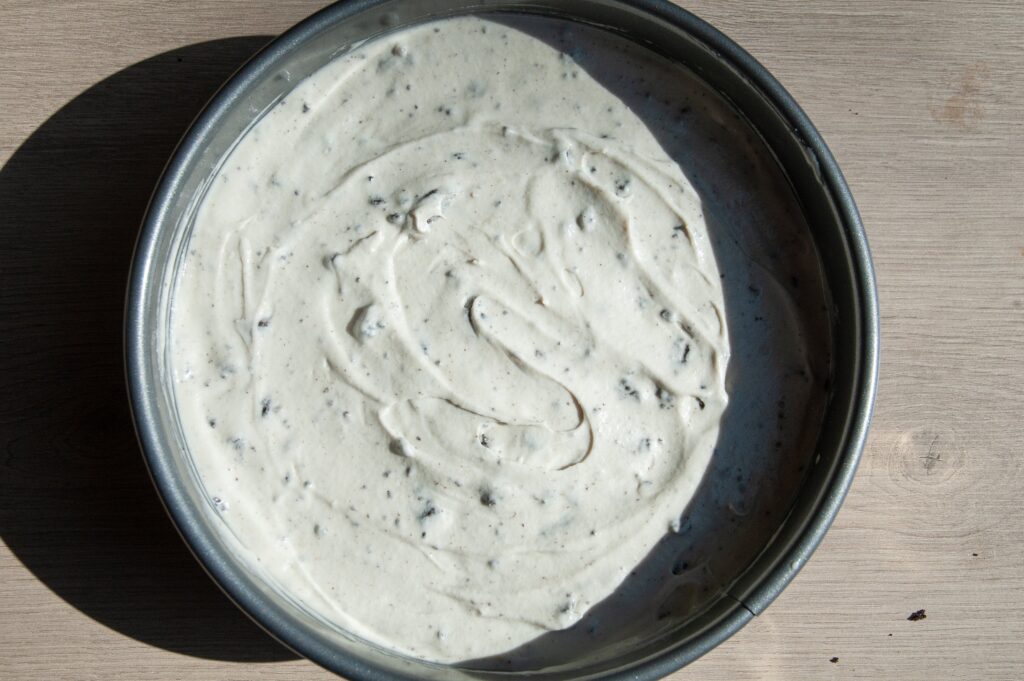
- Step 3: For the creamy filling: Add the cream cheese, coconut milk, lemon juice and vanilla to the food processor and run on low until creamy and well mixed. Sift in the powdered sugar and run on low again until smooth. Pour this mixture into a bowl. You are now going to fold in the whipped cream. This will help give the cheesecake a luxurious, fluffy texture as well as sweeten it up. Lastly, add in your coarsely chopped Oreo bits and fold them in until well dispersed.
- Step 4: Pour on top of the Oreo crust and set in the fridge for at least 5 hours or overnight. Top each slice with whipped cream and/or more crushed Oreos for a special dessert.
Recipe FAQ's:
- Is this gluten-free Oreo cheesecake recipe considered to be vegan? Yes, it is! All ingredients for this cheesecake are acceptable for vegans.
- Are Oreo’s considered to be dairy-free? Yes, they do not contain any milk ingredients.
- Can I use this gluten-free cheesecake recipe using traditional cheesecake ingredients? This recipe has been created to be allergen friendly, but you should be able to easily use traditional products in their place. Your filling may require a bit less sugar, as traditional cream cheese has slightly less tanginess to it. Flavor test the filling and gradually add in powdered sugar. It should work out beautifully though!
- How can I easily remove the cheesecake from the spring form cheesecake pan? First, cut to fit a piece of parchment paper in the bottom of your pan, before pressing the crust into the pan. This will help with being able to move the cheesecake once it has firmed up. Run a warm knife around the edge of the cheesecake. Then, remove the sides of spring form. Using a spatula, get underneath the cheesecake and move it slowly and slide it off onto your cake stand. You can also make this cheesecake in a large pie pan and no moving is required!
- How long does this gluten-free cheesecake last? I find this cheesecake to be best if enjoyed within 3-4 days. Store it in an airtight container in the refrigerator.
Have a craving? Here are some more gluten-free desserts:
📖 The Recipe:

Gluten-Free Oreo Cheesecake (Vegan/No-Bake)
Ingredients
- 1 package gluten-free Oreos
- 4 tablespoon dairy free butter
- 14 oz dairy free cream cheese
- 9 oz dairy free whipped cream
- 200 grams coconut cream
- 175 grams powdered sugar
- 1 teaspoon lemon juice
- 2 teaspoon vanilla extract
Instructions
- First, add 15 gluten-free Oreos to the food processor and process on low until they are finely ground. Then, add in the melted butter and pulse until a dough forms or the cookie crumbs start to come together.
- Then, add in the melted butter and pulse until a dough forms or the cookie crumbs start to come together. This will be the crust for the cheesecake.
- Press this mixture into a cheesecake pan, pressing down firmly and evenly to compact the crust.
- Now, add another 15 Oreo cookies to the food processor and pulse just until they become just coarsely chopped. For these crumbs, you want some nice chunks to it so that the cheesecake has pops of flavor and delicious crunchy bits of Oreo. Set aside.
- Give your food processor dish a quick rinse, as you will be using it for the filling also. For the filling, add the cream cheese, coconut milk, lemon juice and vanilla to the food processor and run on low until creamy and well mixed.
- Sift in the powdered sugar and run on low again until smooth. Pour this mixture into a bowl.
- Now, gently fold in the whipped cream until well mixed.
- Lastly, add in your coarsely chopped Oreo bits and gently fold them in until well dispersed.
- Pour the filling on top of the Oreo crust and smooth out with a spatula. Set the cheesecake in the fridge to chill and firm up for at least 4 hours or overnight.
- Top each slice with whipped cream and/or more crushed Oreos for a special dessert.
The Finished Product:
A delicious and indulgent gluten-free dessert that will have you celebrating! Cheesecake is just such a fun way to celebrate a special occasions, or if you just want to have a gratitude filled Sunday dinner. Let me know what you think!
