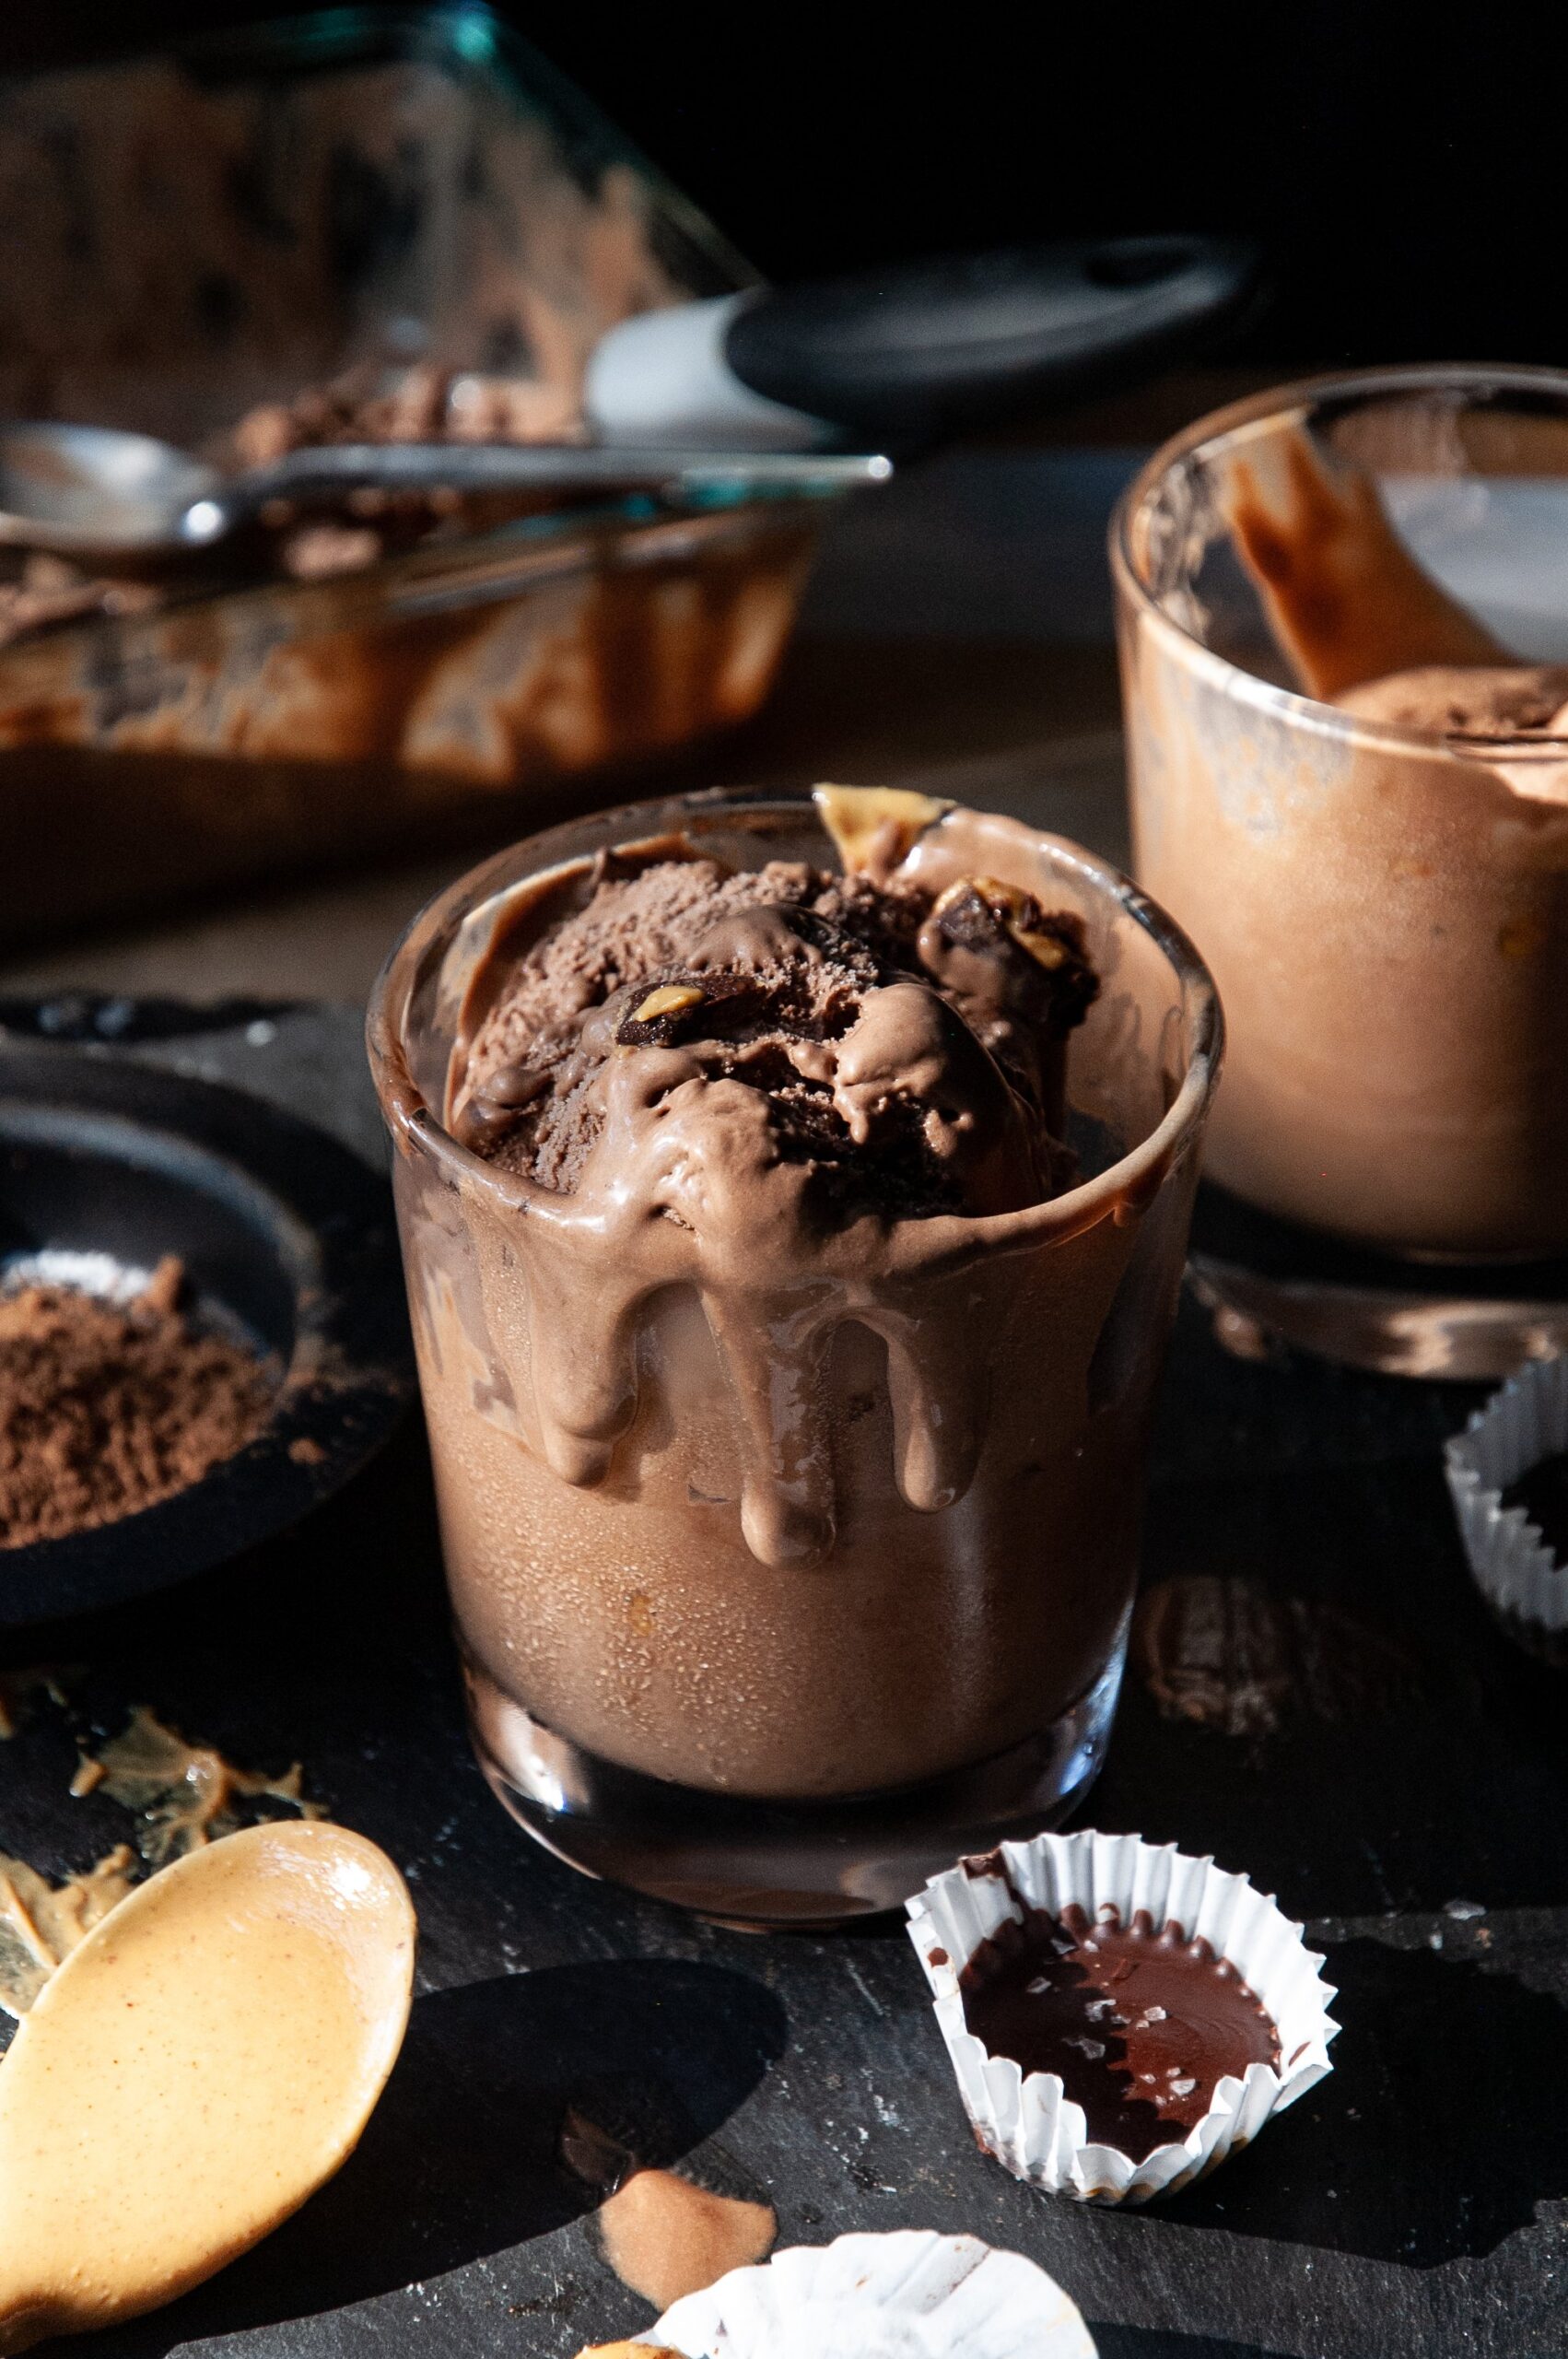
Sometimes you just need chocolate and peanut butter, and this chocolate peanut butter cup ice cream is one of the best iterations of those flavors!
The Story:
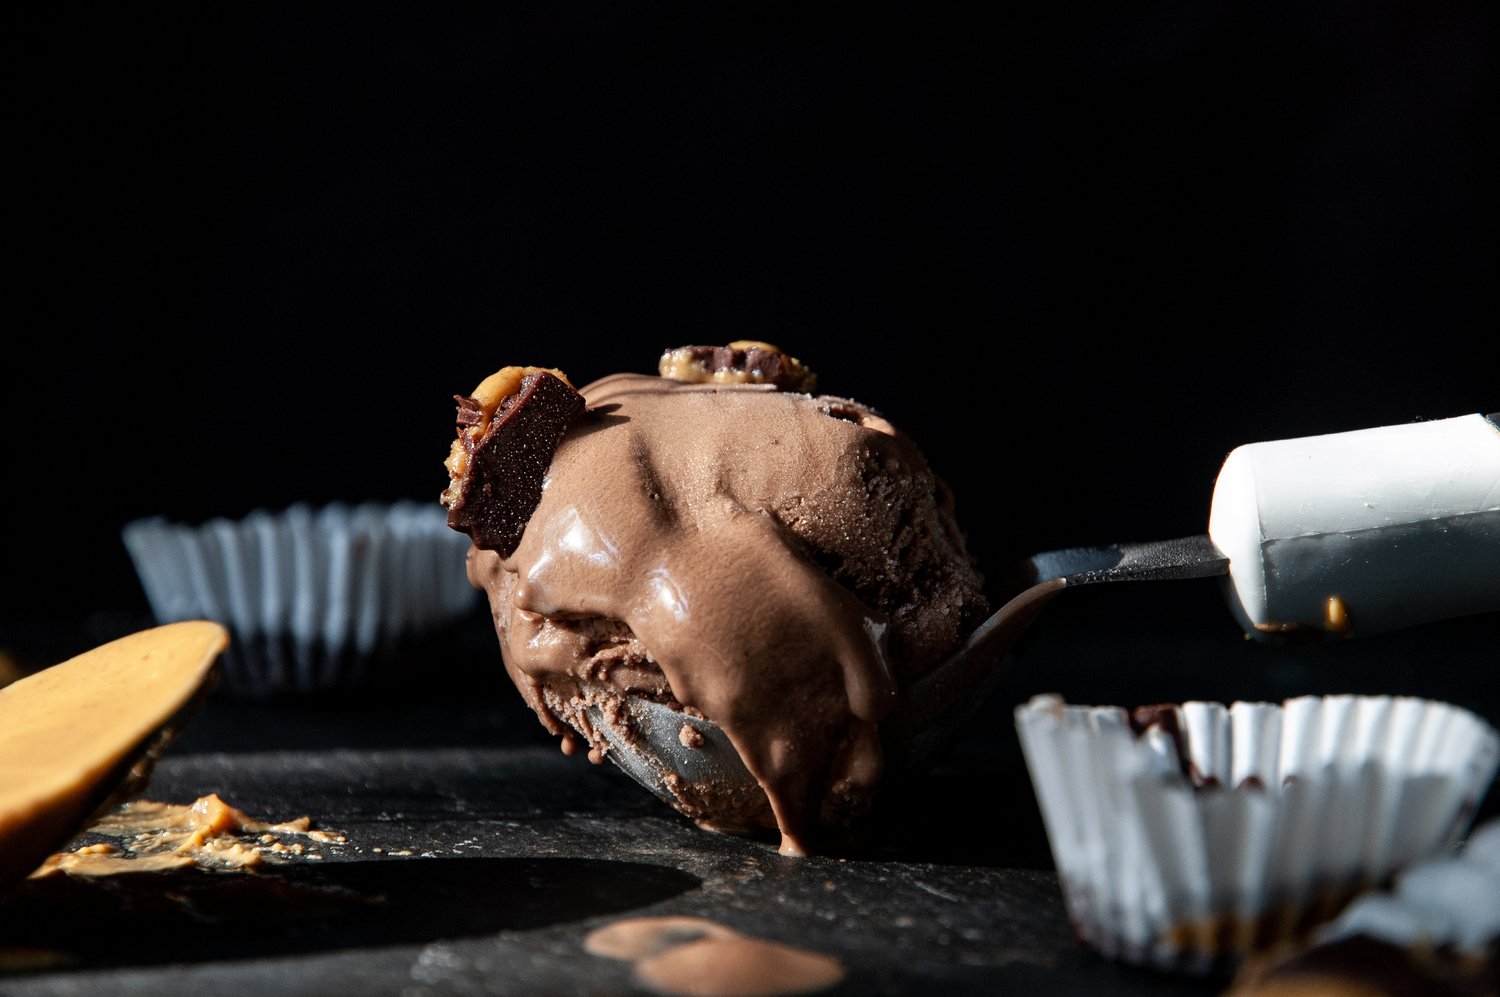
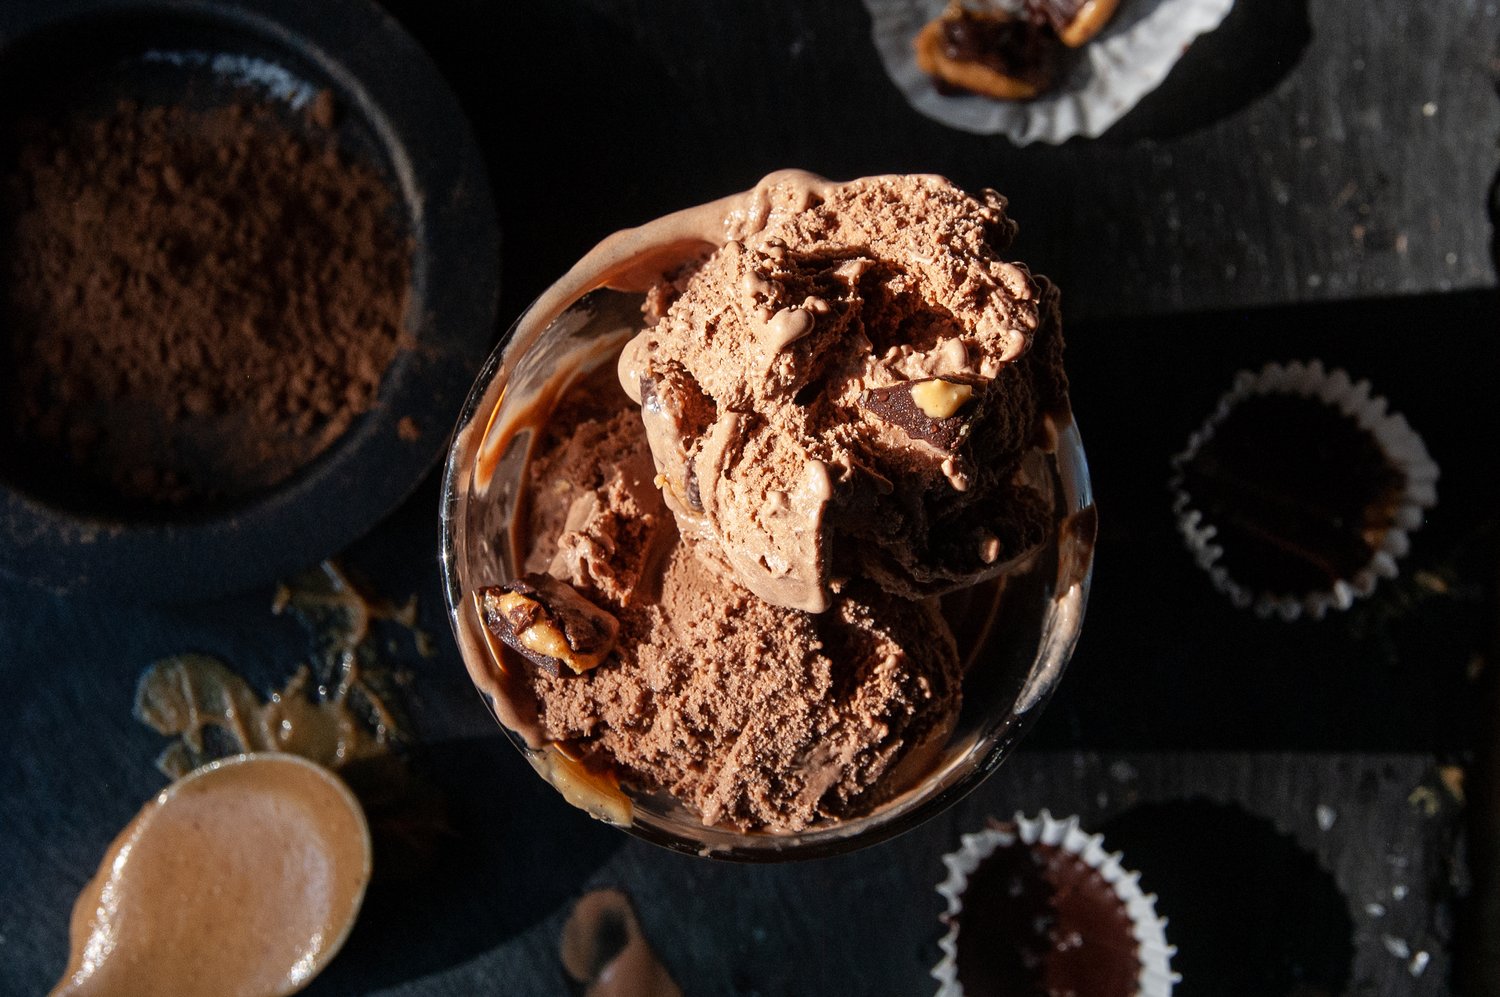
Incredibly rich, chocolate, dairy free ice cream, with large chunks of dairy free peanut butter cups tucked in throughout! It’s hard to feel like you are missing out when you’re enjoying a bowl of this ice cream, because you’re not! Eating with a restriction is more about replacement than elimination. Sometimes it’s nice to make a large, comforting meal, followed up by an overly indulgent dessert like this chocolate peanut butter cup ice cream, just to remind yourself that you can still thrive and eat deliciously.
Jump to:
🧾 The Ingredients:
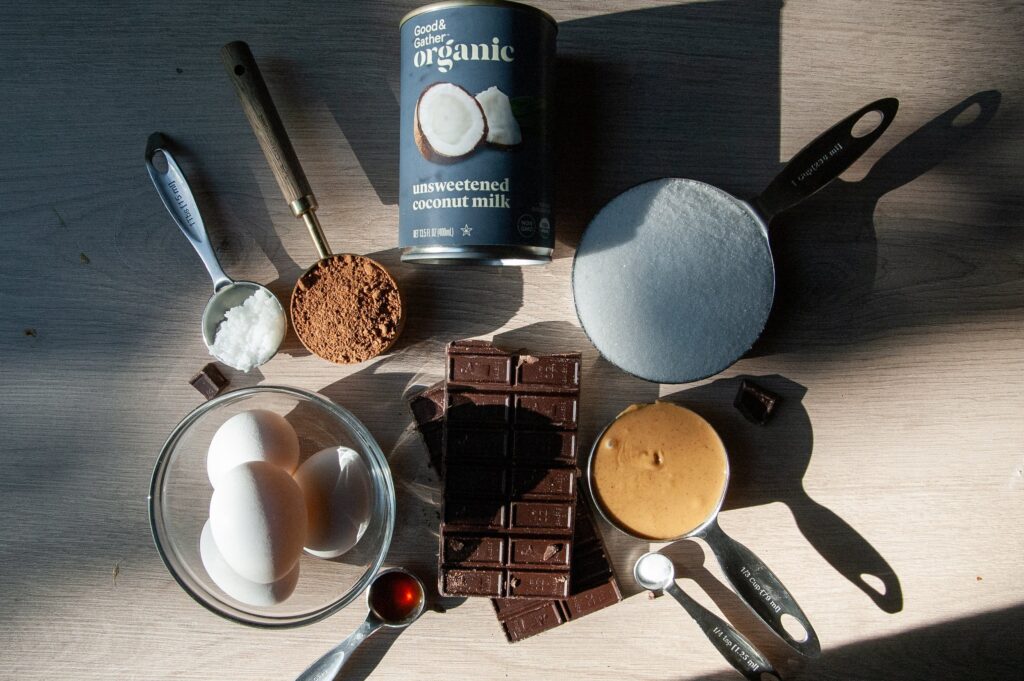
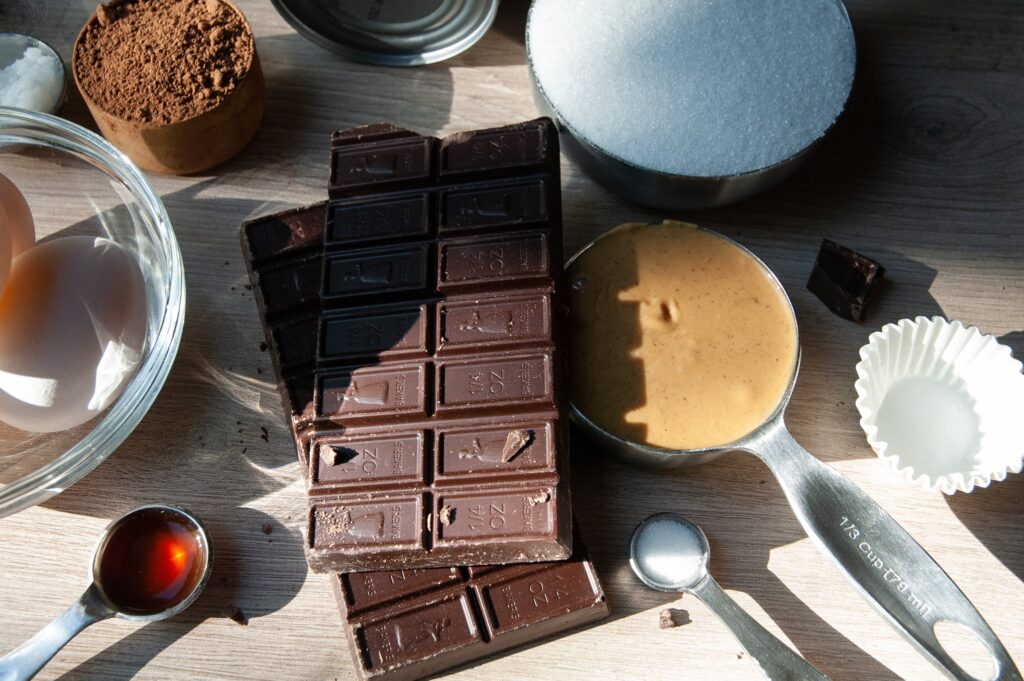
Here is the list of ingredients you will need to make this chocolate peanut butter cup ice cream.
- Coconut Milk: Coconut milk is the base for the ice cream. Look for full fat coconut milk from a can. Full fat=creamy. Anything else will be sad and icy.
- Chocolate: Use a good quality, semi-sweet chocolate for this. I use Baker’s Chocolate 65% semi-sweet baking bar.
- Cocoa Powder: Double the chocolate, double delicious.
- Sugar: The sugar offsets the bitterness of the chocolate and makes it deliciously sweet.
- Eggs: Egg yolks help create the creamy texture of the ice cream and prevents it from becoming icy when frozen.
- Vanilla: A good dose of vanilla creates depth of flavor.
- Salt: A nice pinch of salt to offset the sweet. I also love to sprinkle some flaky sea salt on top. So good!
- Peanut Butter: I use natural peanut butter with no sugar added. The nutty, rich flavor balances the sweetness.
- Coconut Oil: You will melt down chocolate with a bit of coconut oil to make perfect peanut butter cups that are soft and creamy, even when frozen. Tip:
- Tip: If you want to use pre-made peanut butter cups, you can. They just won’t be as melt in your mouth. Store bought peanut butter cups are made with tempered chocolate. Tempered chocolate is what makes them shelf stable so they don’t melt all over the place, but this means they will maintain that temper when frozen and will be fairly hard. Justin’s brand has amazing dairy free peanut butter cups.
Step By Step Preparation Instructions:
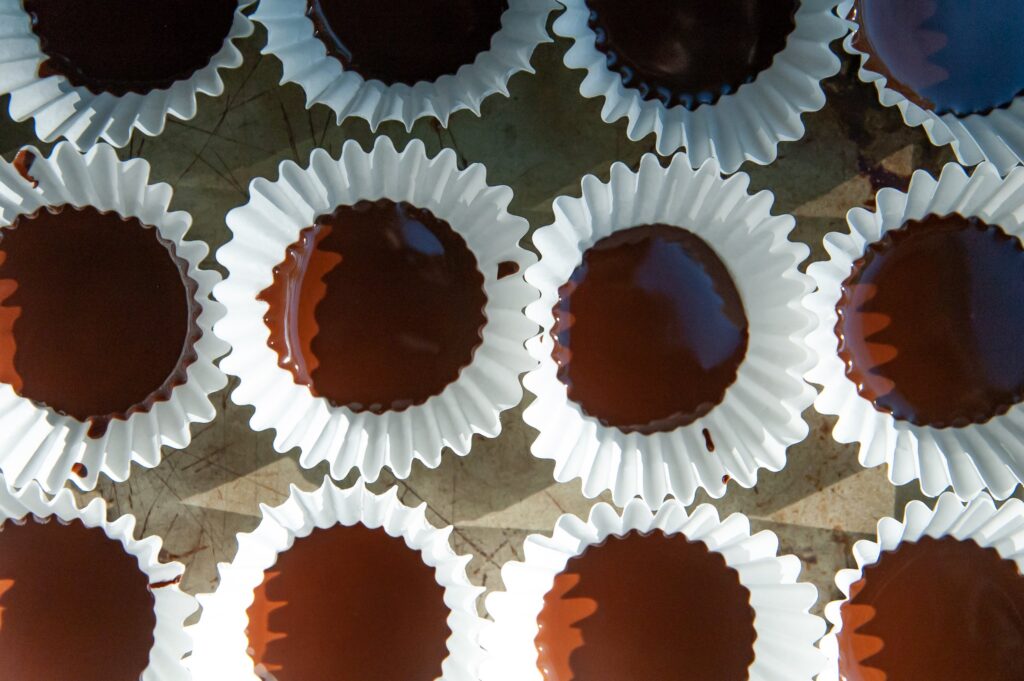
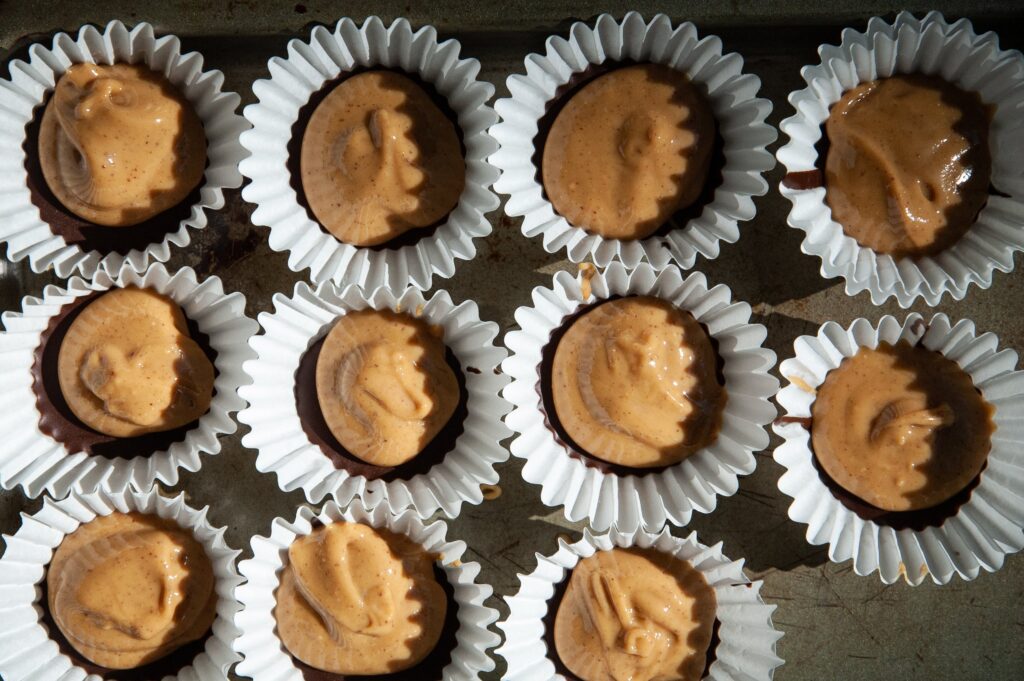
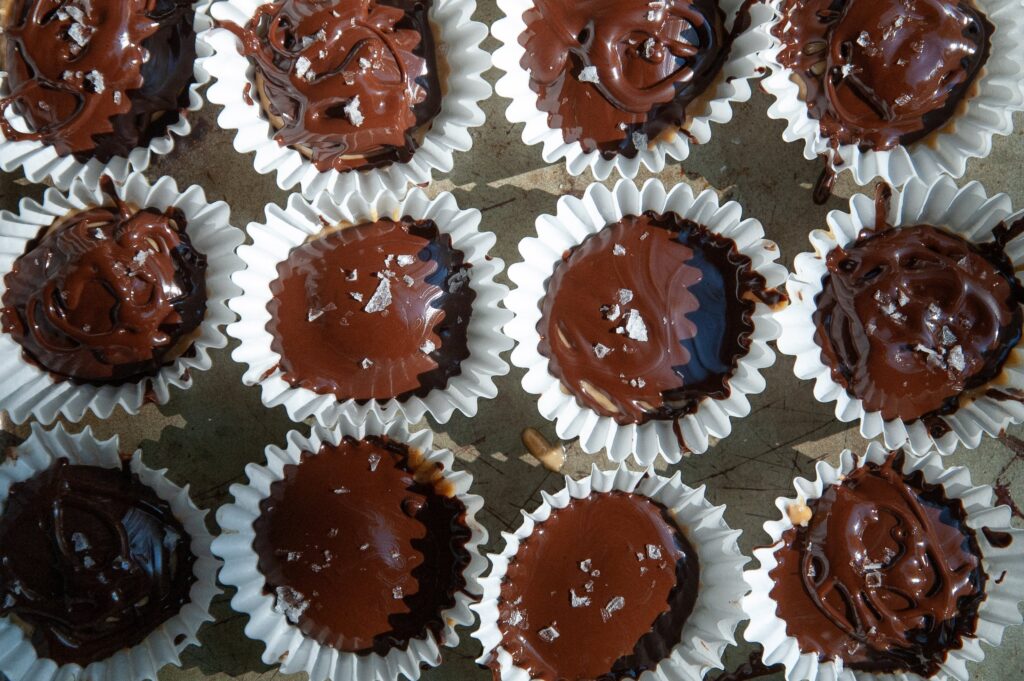
- Step 1: First, make your peanut butter cups. Don’t overthink this part! Just eyeball each peanut butter cup, they don’t need to be exact. Melt down 4 oz of chocolate with a bit of coconut oil. I love these mini peanut butter cups, but you can definitely use regular cupcake liners to make big peanut butter cups. They will get chopped up, so it won’t really matter in the end. Pour a small amount of chocolate in the bottom, dollop in a bit of peanut butter, then cover with more chocolate. Sprinkle on some fancy flaky salt for extra points. Place in the freezer.
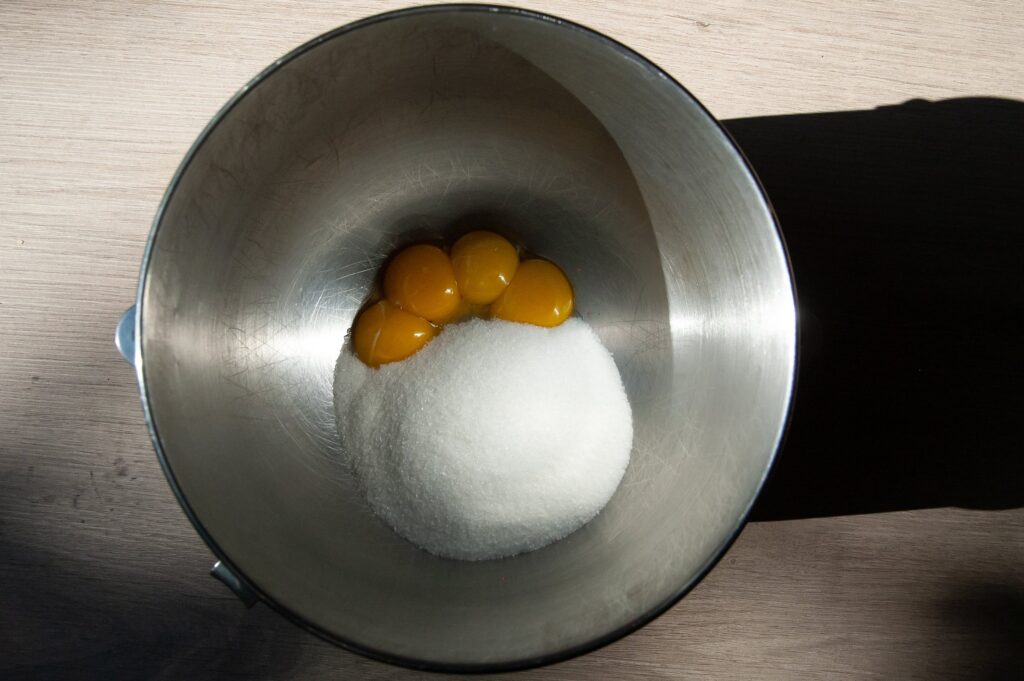
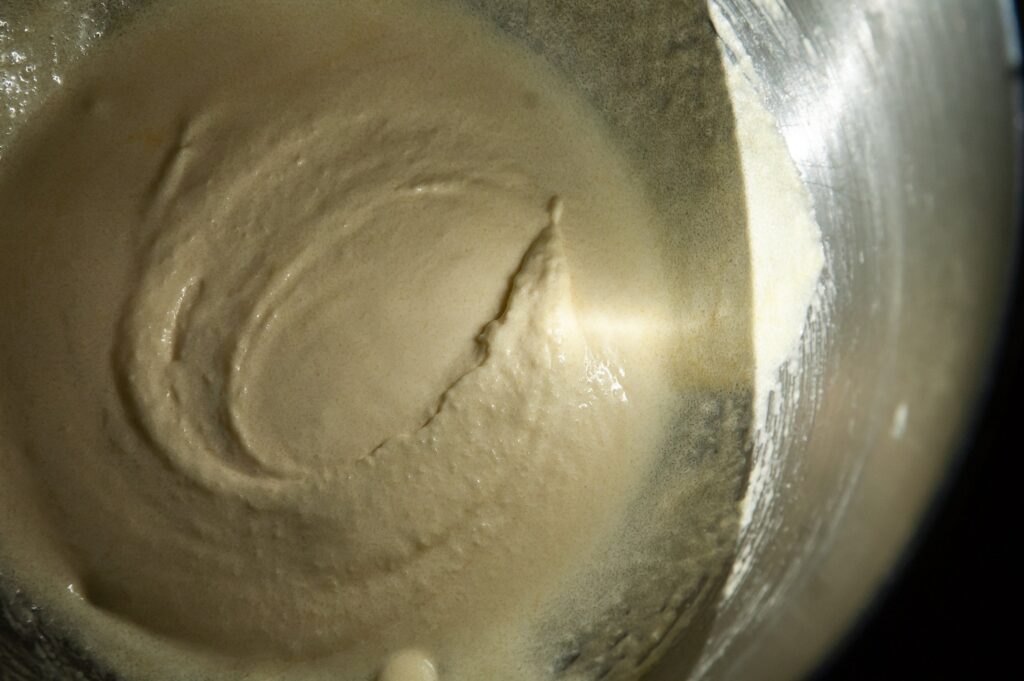
- Step 2: Now for the ice cream. Whisk your egg yolks and sugar together until it is pale yellow, slightly fluffy, and the mixture “ribbons” off the whisk. It should hold its shape for just a few seconds before melting together again. This means it’s perfect.
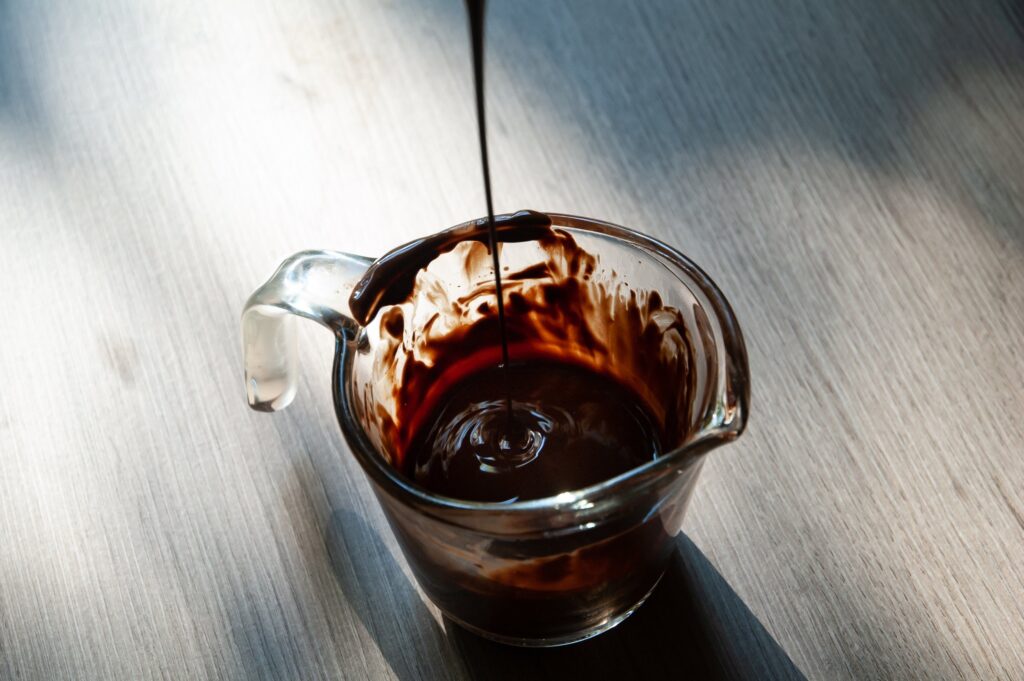
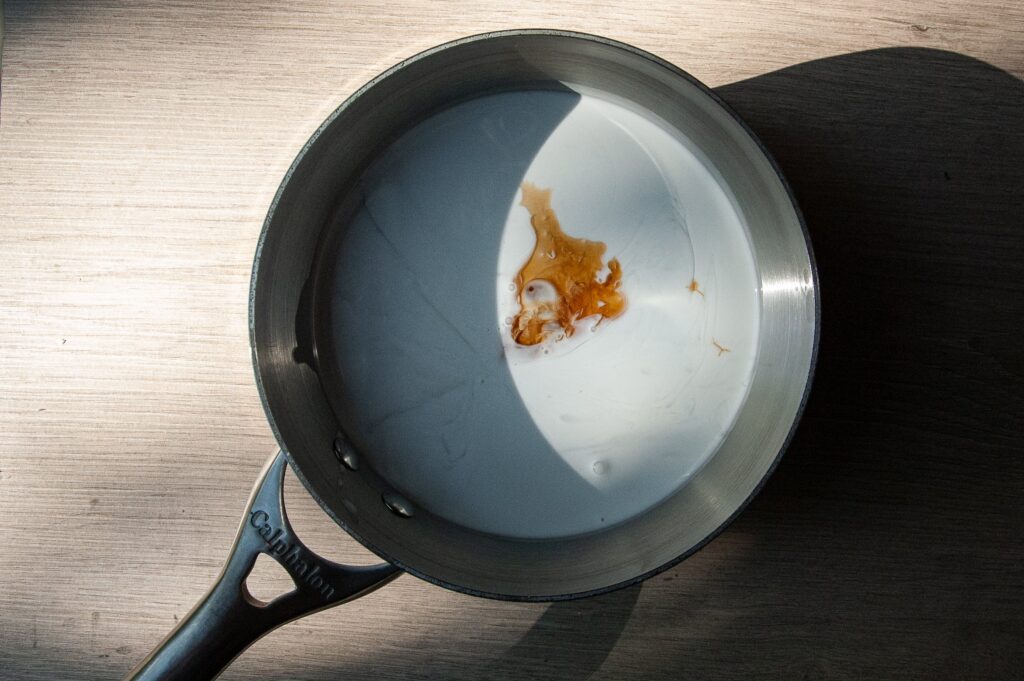
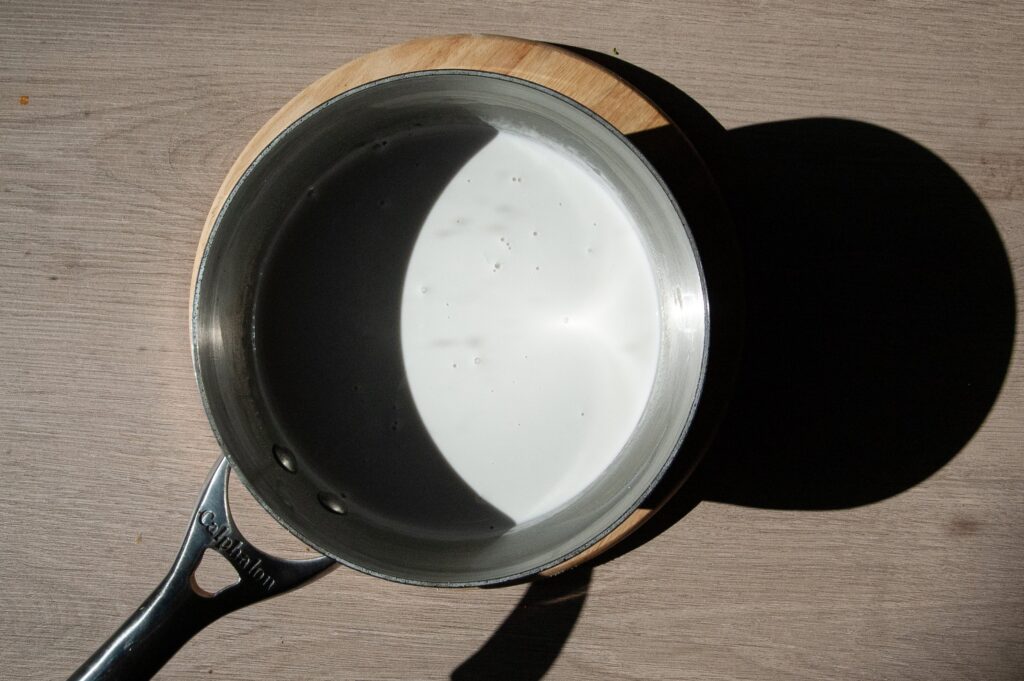
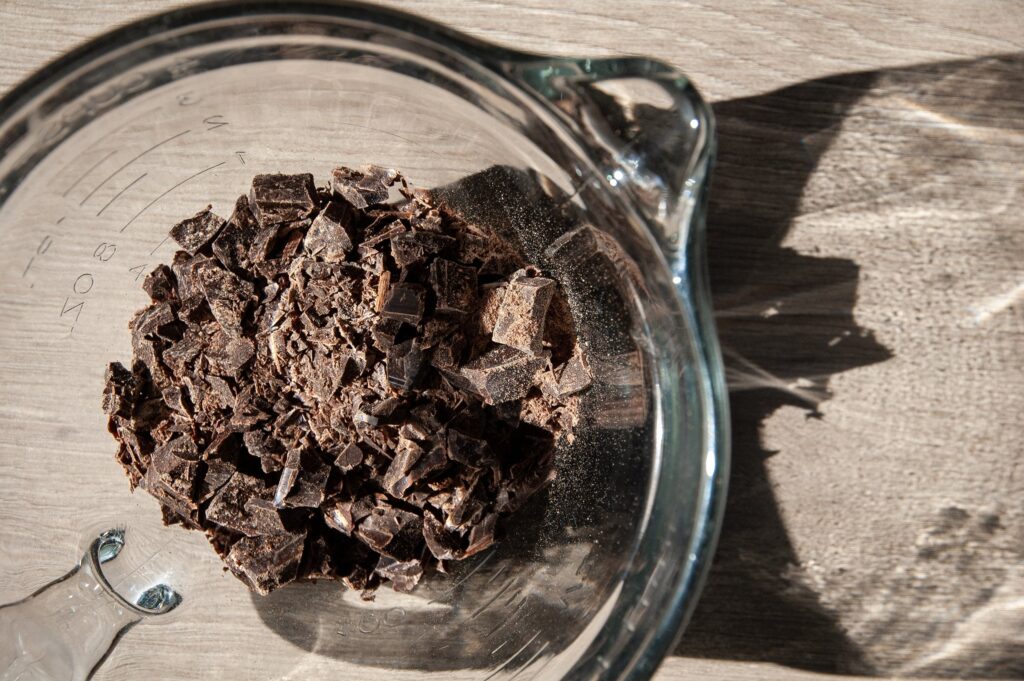
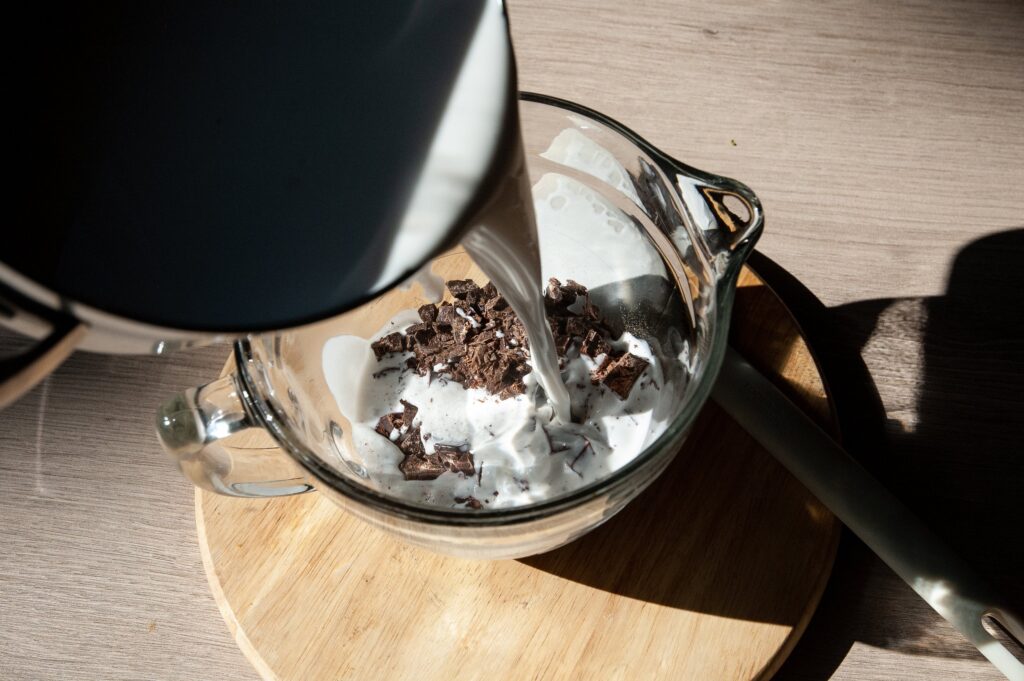
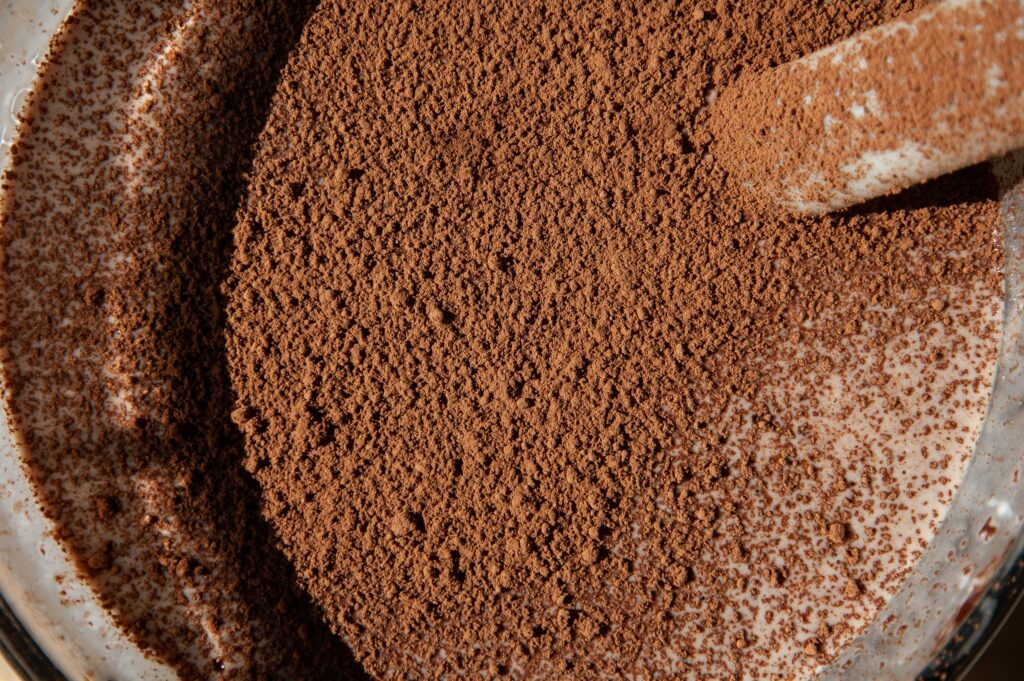
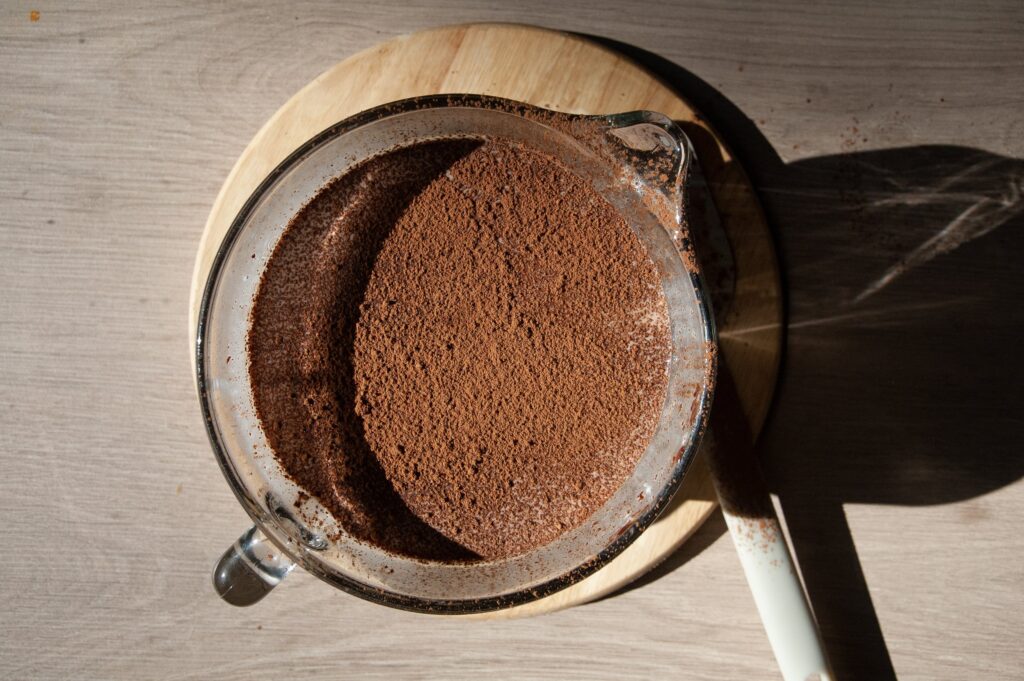
- Step 3: Chop up another 4 oz of chocolate and place in a heatproof bowl, set aside. Warm the coconut milk, vanilla and salt together in a saucepan over medium low heat until it is steaming. You don’t want it to be boiling hot, but it needs to be heated through well. Pour the warmed milk over chopped chocolate and stir until smooth and silky. While the chocolate mixture is still warm, sift in the cocoa powder and whisk until well incorporated.
- Step 4: You are now going to pour in the chocolate mixture to the egg/sugar mixture. With the mixer on a medium speed, add the chocolate mixture a little at a time. Go slowly and take your time! You don’t want the eggs to cook. I usually spoon in the warm milk, one spoonful at a time, or just pour slowly, taking breaks between each pour. Once all the chocolate has been added to the eggs, strain the ice cream base back into a saucepan. Place back on the stove at low-medium heat and heat through again until steaming, while stirring constantly. This process is tempering the eggs so they are safe to eat.
- Step 5: Allow the batter to cool completely in the fridge then churn based on your machines instructions. Chop up the peanut butter cups and mix into the ice cream. Enjoy immediately as a “soft serve” texture, or freeze for 3+ hours for a more firm texture. Enjoy!
Recipe FAQ's:
- How long will this chocolate peanut butter ice cream keep for? Because this homemade ice cream is made without any additives or preservatives like store bought brands, it will have a shorter shelf life. Homemade ice cream is usually best when enjoyed within 1 to 2 weeks.
- Can I use store bought peanut butter cups? Yes! Absolutely. The only thing is that they won’t be quite as melt in your mouth as homemade. Store bought peanut butter cups are made with tempered chocolate. Tempered chocolate is what makes them shelf stable so they don’t melt all over the place, but this means they will maintain that temper when frozen and will be fairly hard. Justin’s brand has amazing dairy free peanut butter cups. I absolutely give you permission to go with convenience and ease where you need it though!
More Dairy-Free Ice Cream Recipes:
📖 The Recipe:

Chocolate Peanut Butter Cup Ice Cream
Ingredients
- 2 cans full fat coconut milk
- 8 oz dairy free chocolate
- ⅓ cup creamy peanut butter
- 1 teaspoon coconut oil
- 4 egg yolks
- 1 cup sugar
- 2 teaspoon vanilla extract
- ¼ cup cocoa powder
Instructions
- First, we will start by making the peanut butter cups. Melt down 4 oz of chocolate with a bit of coconut oil until completed melted and smooth.
- Using cupcake liners, pour a small amount of chocolate in the bottom, dollop in a bit of peanut butter, then cover with more chocolate until the peanut butter is covered. I love using mini cupcakes liners for this, but you can definitely use regular cupcake liners to make big peanut butter cups. They will get chopped up, so it won’t really matter in the end.
- Sprinkle on some fancy flaky salt on top for extra points, then place in the freezer.
- Now for the ice cream. Whisk your egg yolks and sugar together until it is pale yellow, slightly fluffy, and the mixture “ribbons” off the whisk. It should hold its shape for just a few seconds before melting together again. This means it’s perfect.
- Chop up another 4 oz of chocolate and place in a heatproof bowl, set aside.
- Warm the coconut milk, vanilla and salt together in a saucepan over medium low heat until it is steaming. You don’t want it to be boiling hot, but it needs to be heated through well.
- Pour the warmed milk over chopped chocolate and stir until smooth and silky.
- While the chocolate mixture is still warm, sift in the cocoa powder and whisk until well incorporated.
- You are now going to pour in the chocolate mixture to the egg/sugar mixture. With the mixer on a medium speed, add the chocolate mixture a little at a time. Go slowly and take your time! You don’t want the eggs to cook. I usually spoon in the warm milk, one spoonful at a time, or just pour slowly, taking breaks between each pour.
- Once all the chocolate has been added to the eggs, strain the ice cream base back into a saucepan. Place back on the stove at low-medium heat and heat through again until steaming, while stirring constantly. This process is tempering the eggs so they are safe to eat.
- Allow the batter to cool completely in the fridge then churn based on your machines instructions.
- Chop up the peanut butter cups and mix into the ice cream. Enjoy immediately as a “soft serve” texture, or freeze for 3+ hours for a more firm texture. Enjoy!
The Finished Product:
Creamy, rich, deep chocolate flavor and big chunks of peanut butter cups…need I say more? Cuddle up, grab yourself a big bowl of this chocolate peanut butter cup ice cream and treat yourself. Sure to leave you feeling full, happy and satisfied!



Leave a Reply