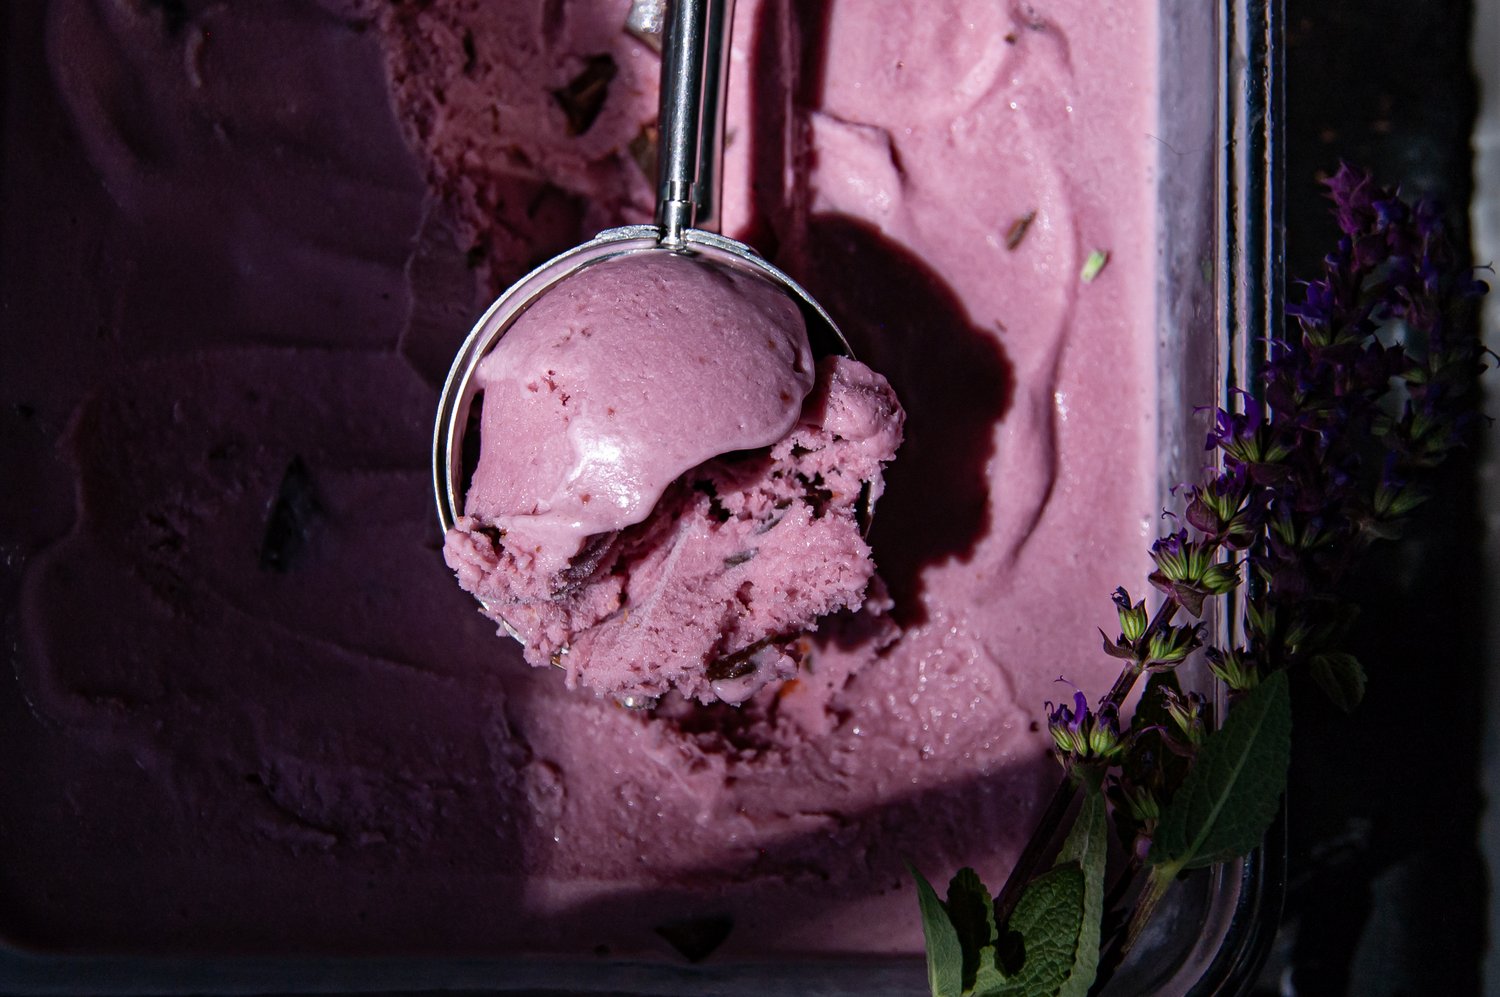
Have you ever had Graeter's Ice cream before? It's life changing! This dairy-free, blackberry-raspberry chocolate chunk ice cream is a spot on for their famous classic!
The Story:
If you haven’t tried this flavor combo before, I implore you to make this as soon as possible! It’s deeply rich with a tart sweetness and large chunks of soft chocolate. The color, the big bites of chocolate, the smooth berry ice cream…but dairy-free! Have I sold you on it yet!? The use of both blackberries and raspberries worked beautifully, but if you can find black raspberries near you, go ahead and use those. The key to soft, delicious chocolate chunks is to break the temper of the chocolate before adding it to the ice cream. Meaning, melt it down with some coconut oil, re-freeze, then chop it up and add it to your ice cream. It is an extra step, but it is worth it! It really takes it to the next level. Instead of the chocolate being hard and never really breaking down, it’s soft and melts deliciously in your mouth.
🧾 The Ingredients:
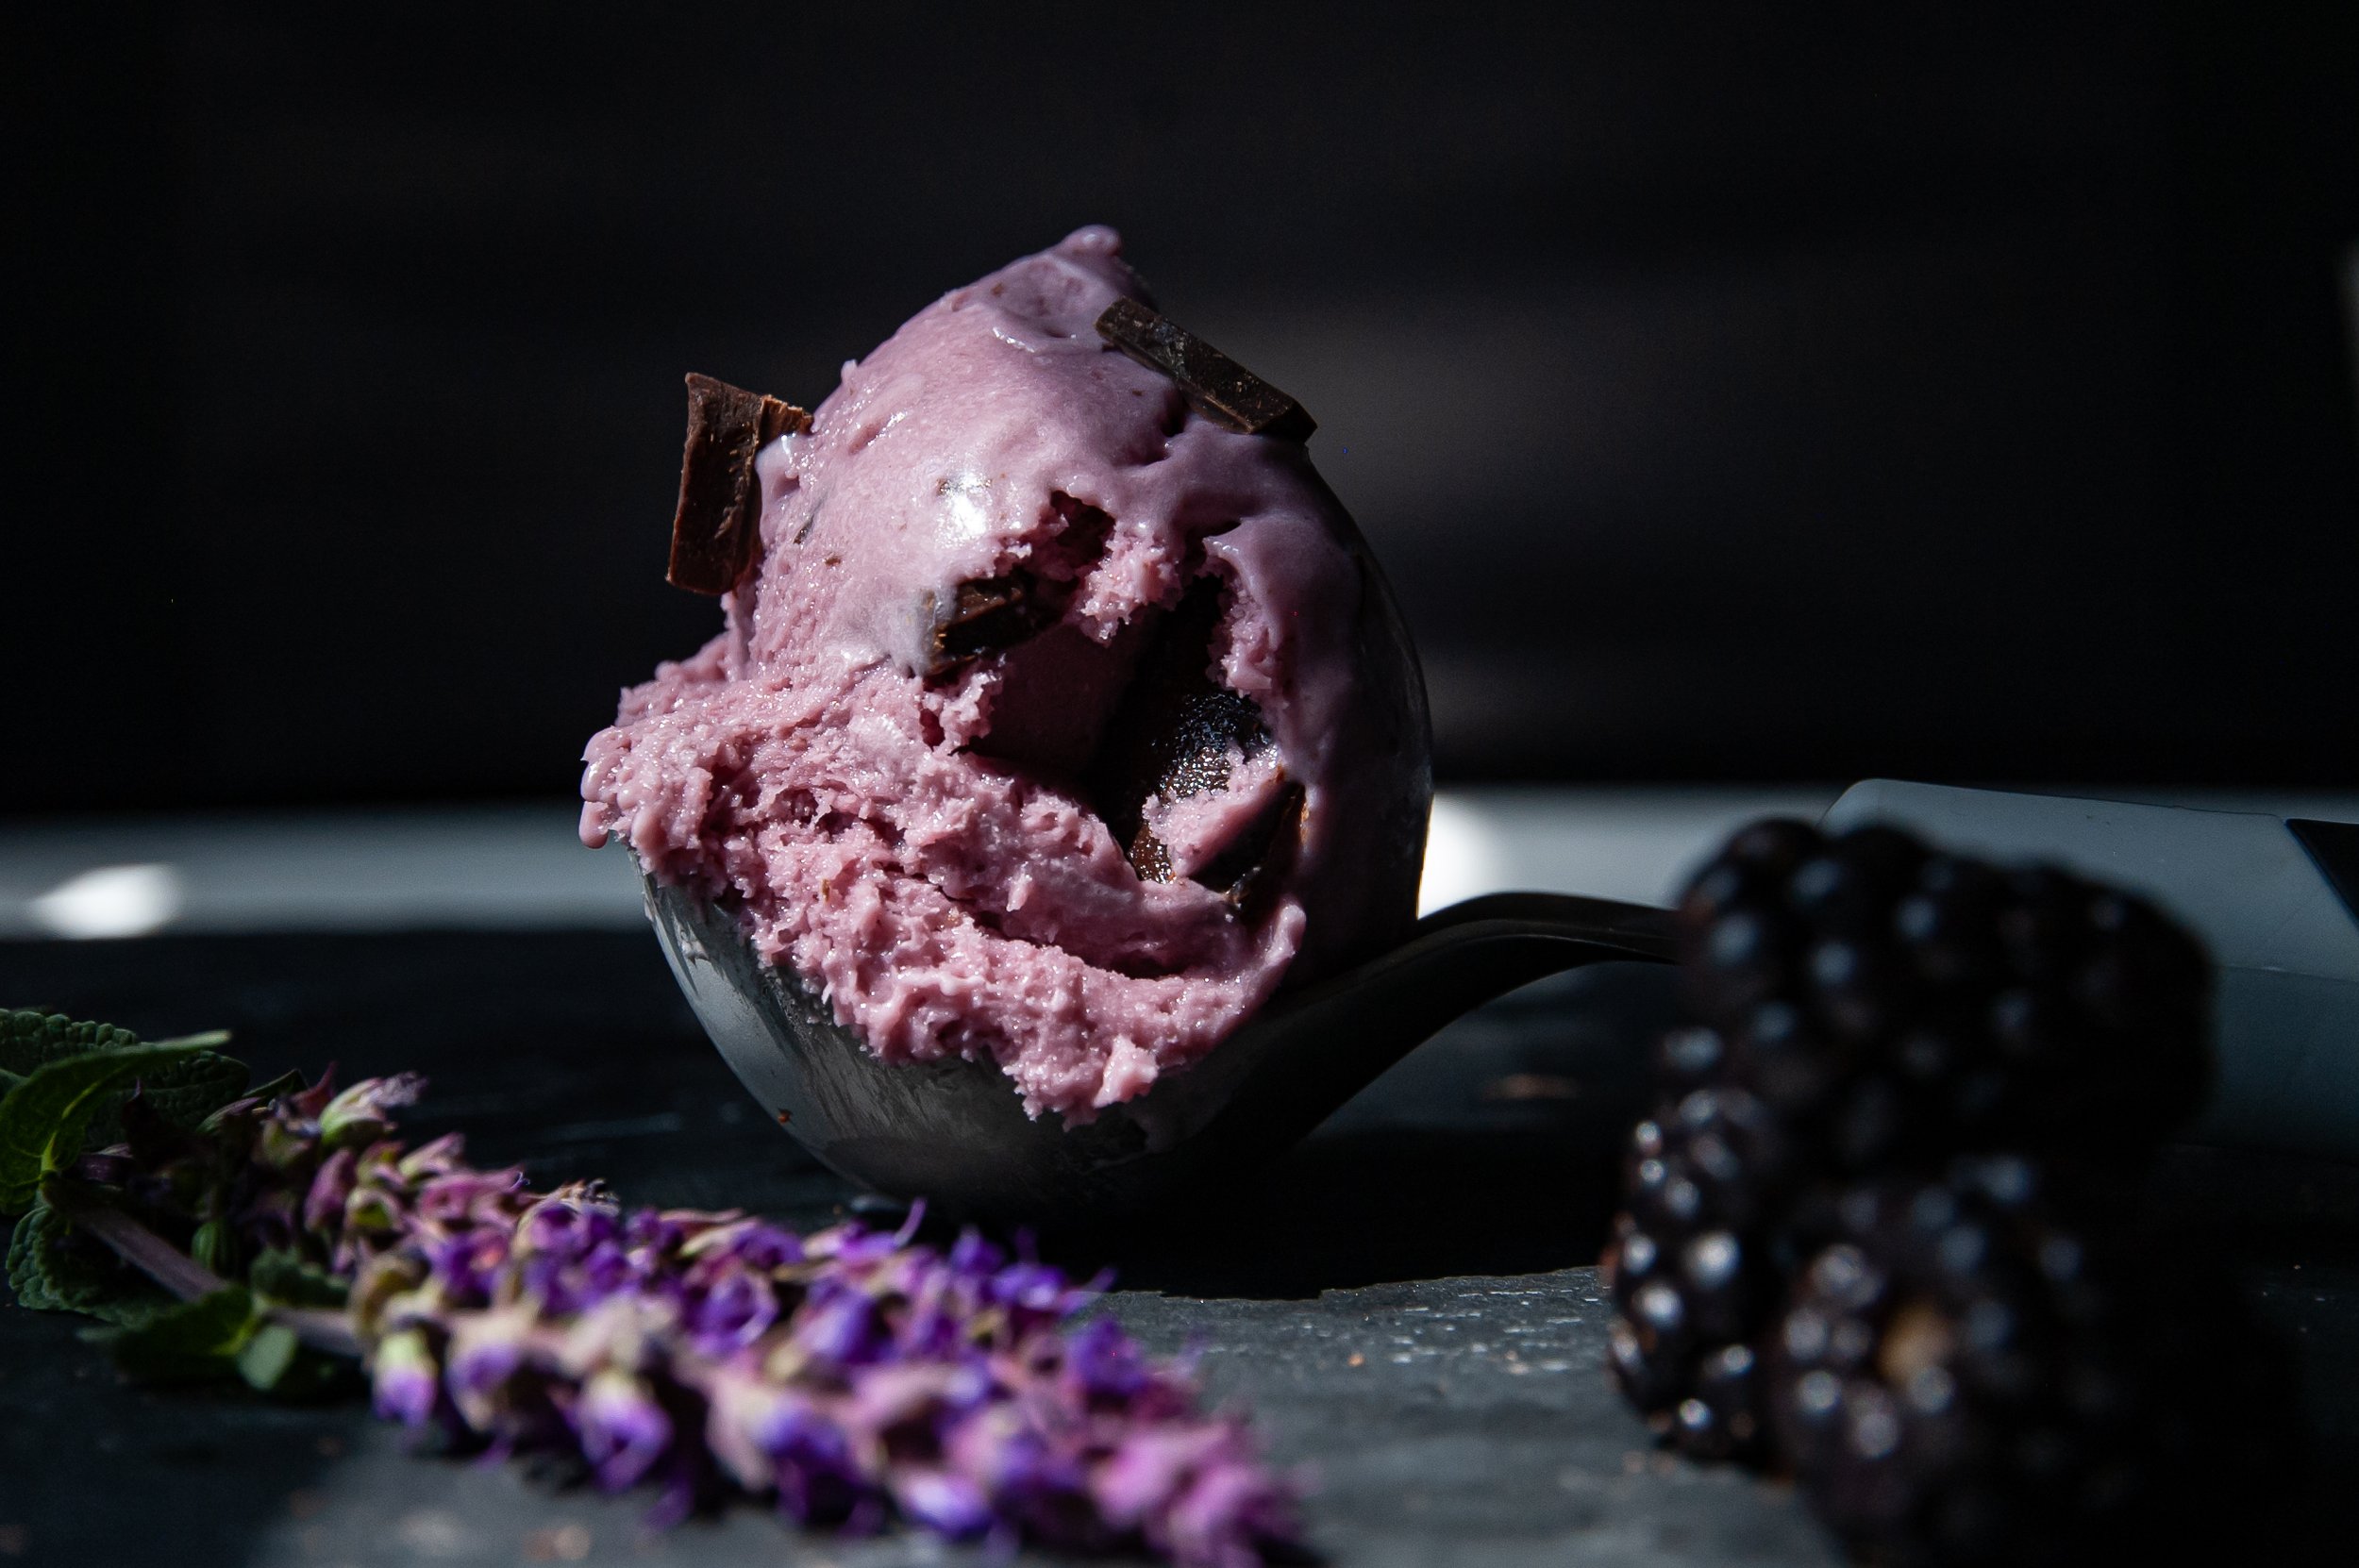
Here is the list of ingredients you will need to make this dairy-free black raspberry chocolate chunk ice cream.
- Egg Yolks: Egg yolks make ice cream rich, soft and well…creamy!
- Coconut Cream: Coconut cream has a lot of fat content, which is exactly what you want in your ice cream. Fat=creamy.
- Coconut Milk: Use full fat coconut milk from a can. Do NOT use coconut milk from a carton. You will have icy, sad, ice cream.
- Sugar: Of course your ice cream needs sweetness.
- Raspberries and Blackberries: This combo of berries creates a beautiful color and great tart flavor. You can use frozen or fresh!
- Vanilla: For a dash of depth and richness
- Salt: To balance out the sweet
- Chocolate: For this elevated ice cream, use a high quality chocolate bar. My favorite is Bakers 65% semi-sweet chocolate.
- Coconut Oil: This will go along with the chocolate for melting. This helps create soft chocolate chunks.
Step By Step Preparation Instructions:
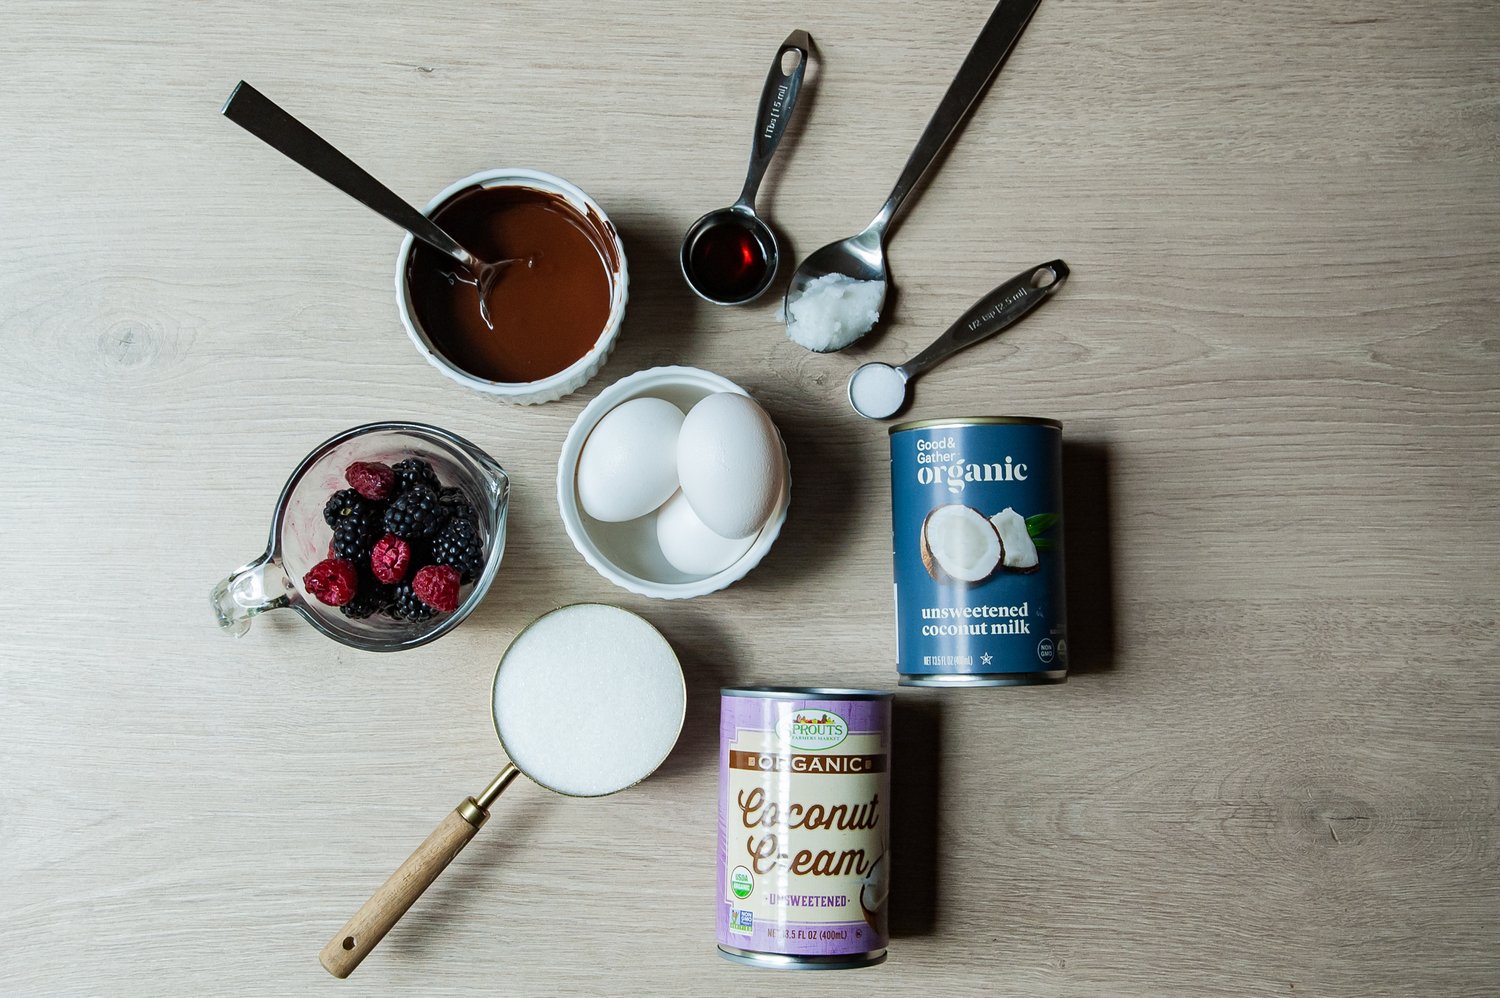
- Step 1: First, let’s make the chocolate chunks. Chop up the chocolate and place it, along with the coconut oil, in a microwave safe
bowl and heat in 25 sec intervals until completely melted. Mix until smooth. - Step 2: Spread the chocolate out on to a parchment paper lined baking sheet. Don’t spread it out too thin, leave it thick so that the chocolate chunks are nice and thick. Place in the freezer.
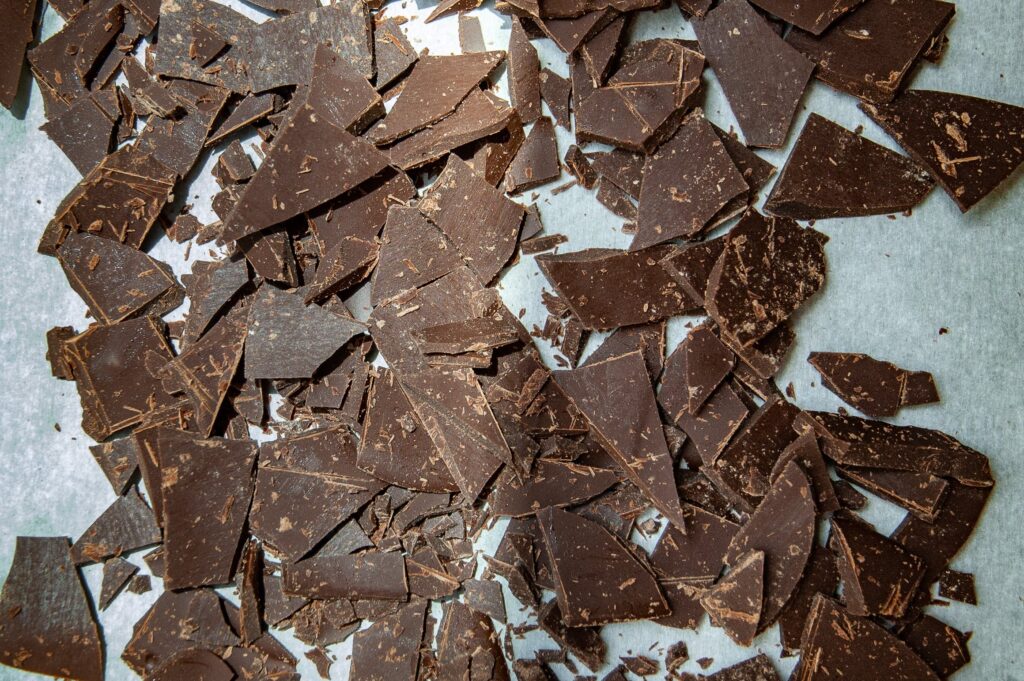
- Step 3: Once frozen completely, cut the chocolate into chunks.
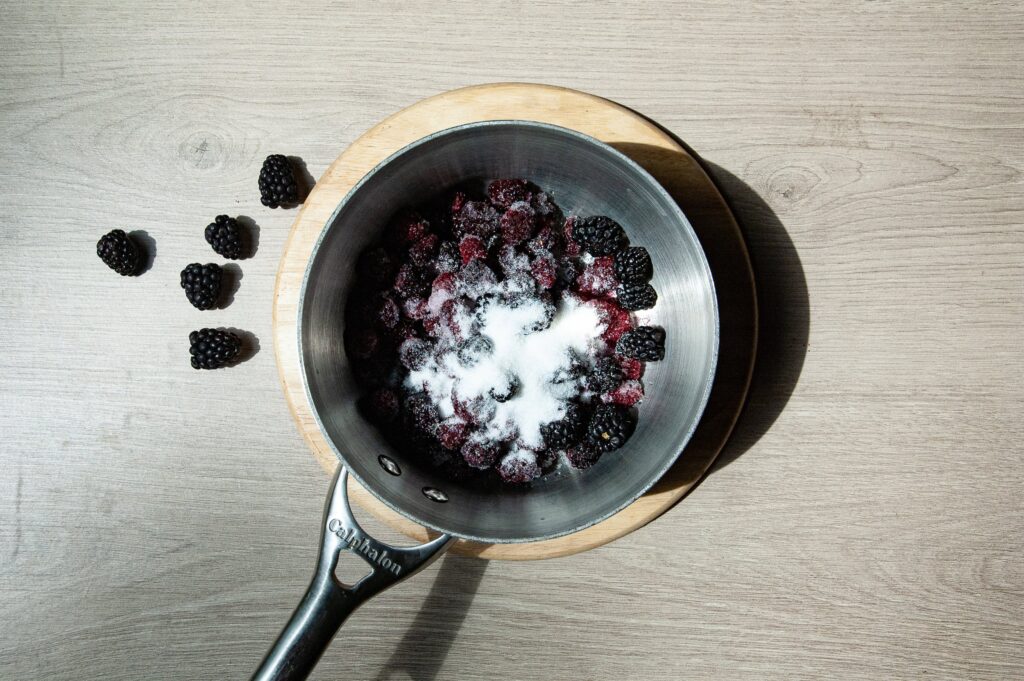
- Step 4: Now, place the berries and sugar in a small saucepan and heat until the berries start to breakdown and release their juice.
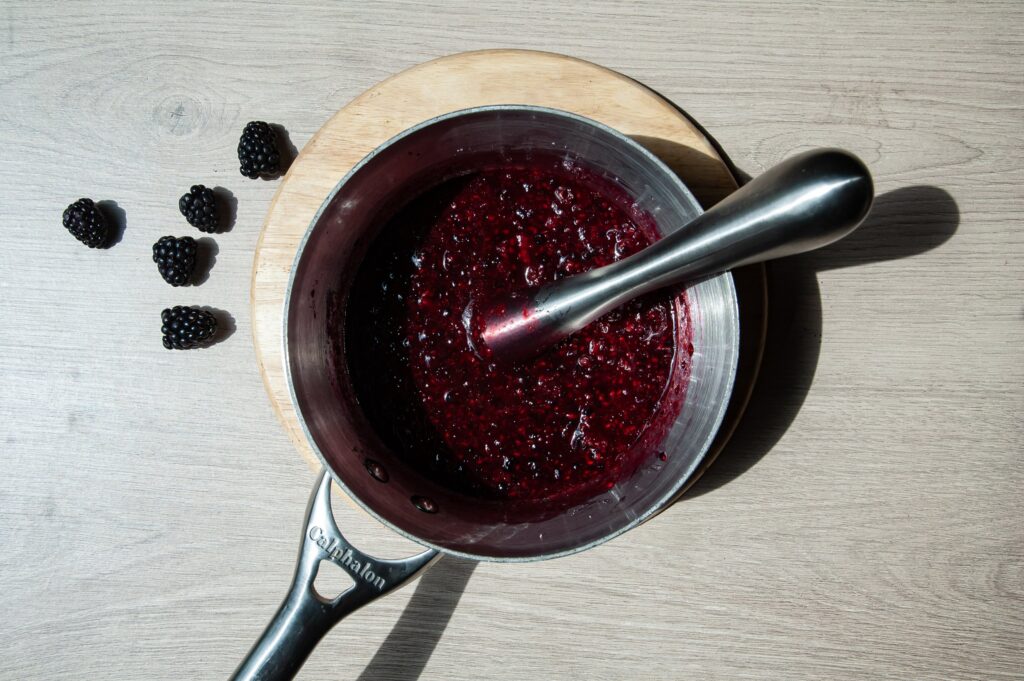
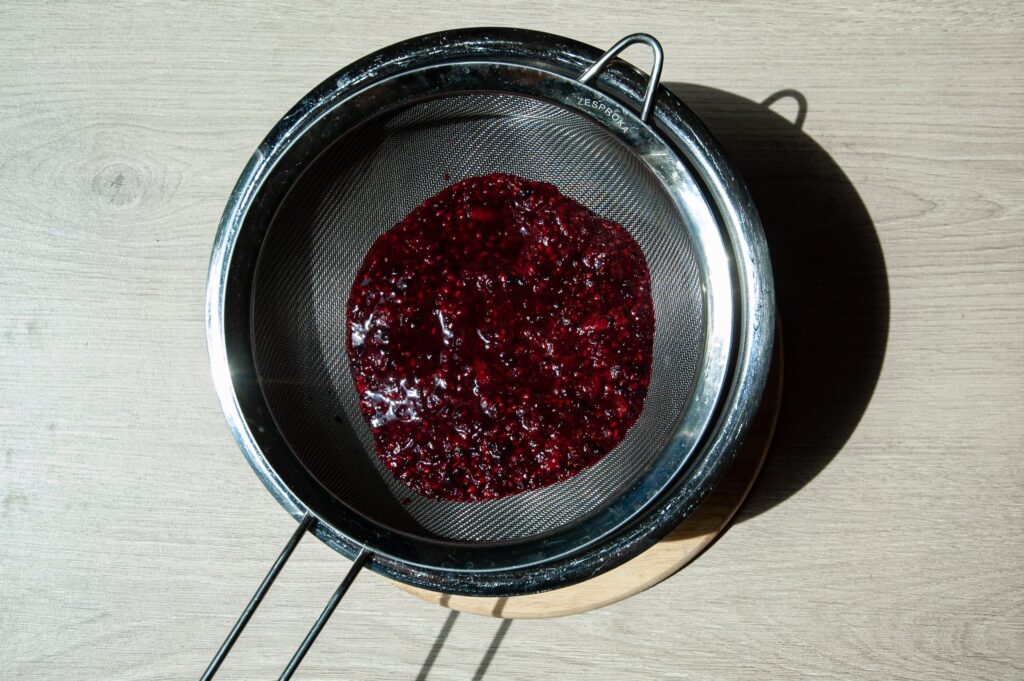
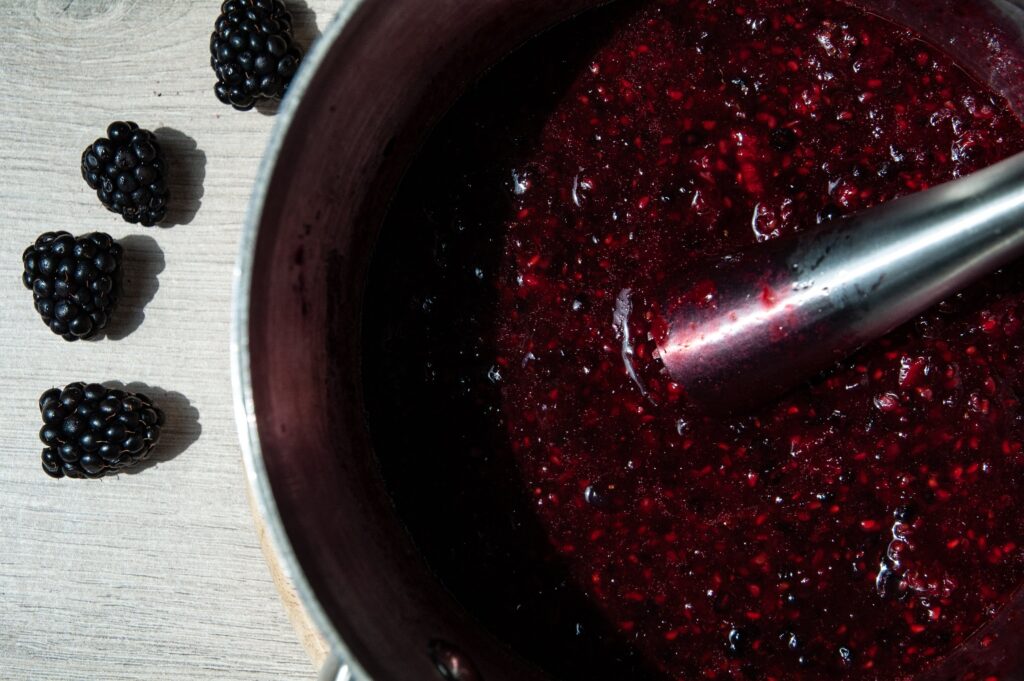
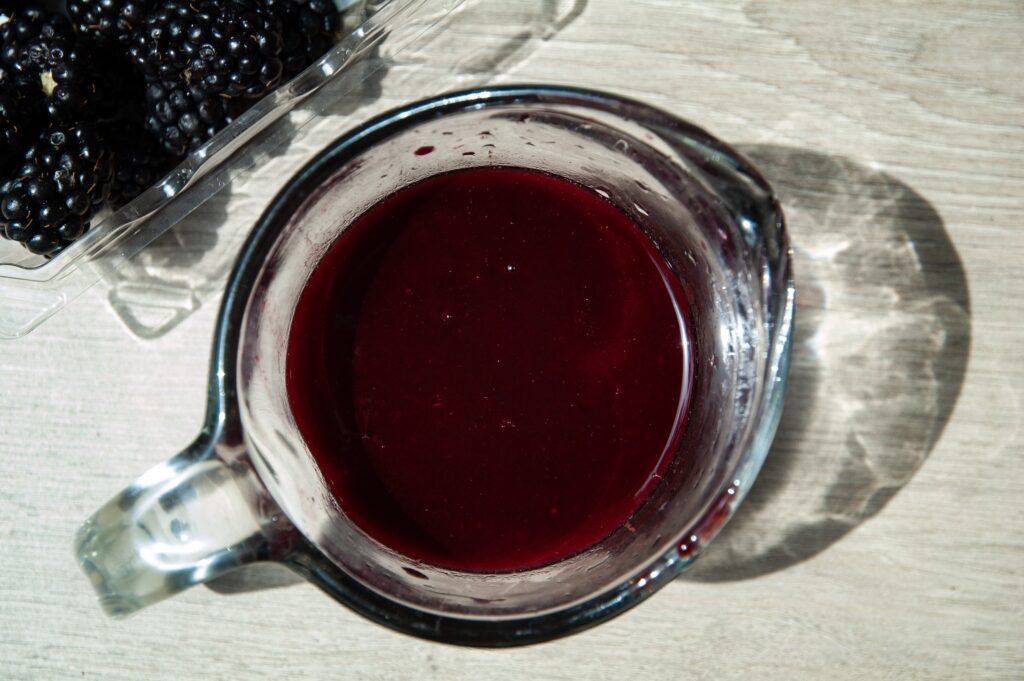
- Step 5: Using a muddler or fork, squish the berries until they have broken down. Strain out the juice, keeping only the juice for the ice cream base. You should have close to a cup, give or take. It doesn’t have to be exact!
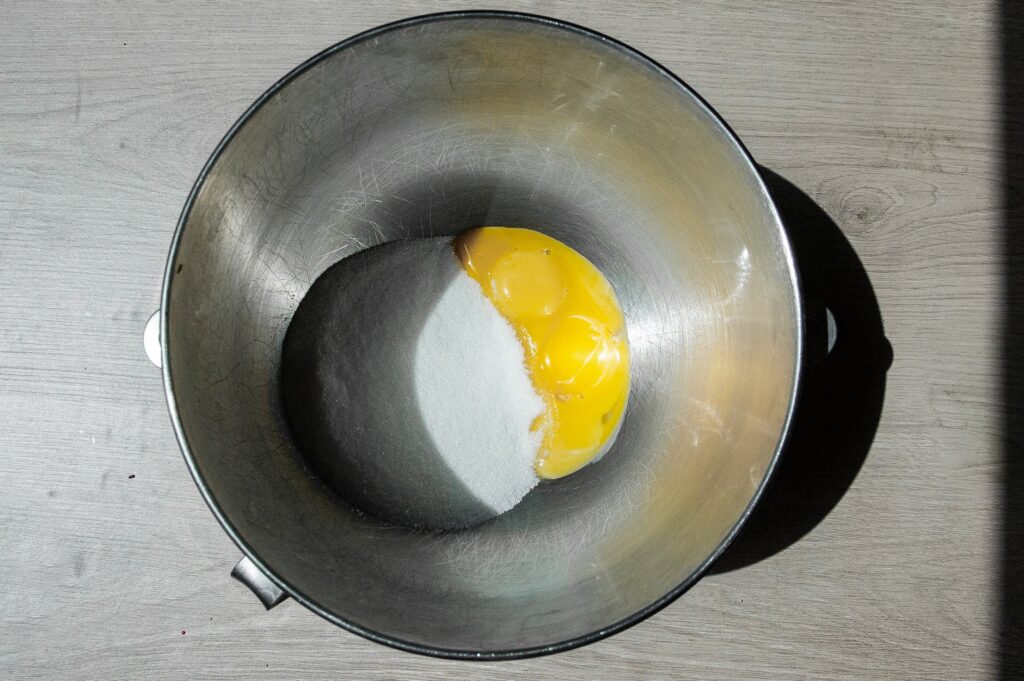
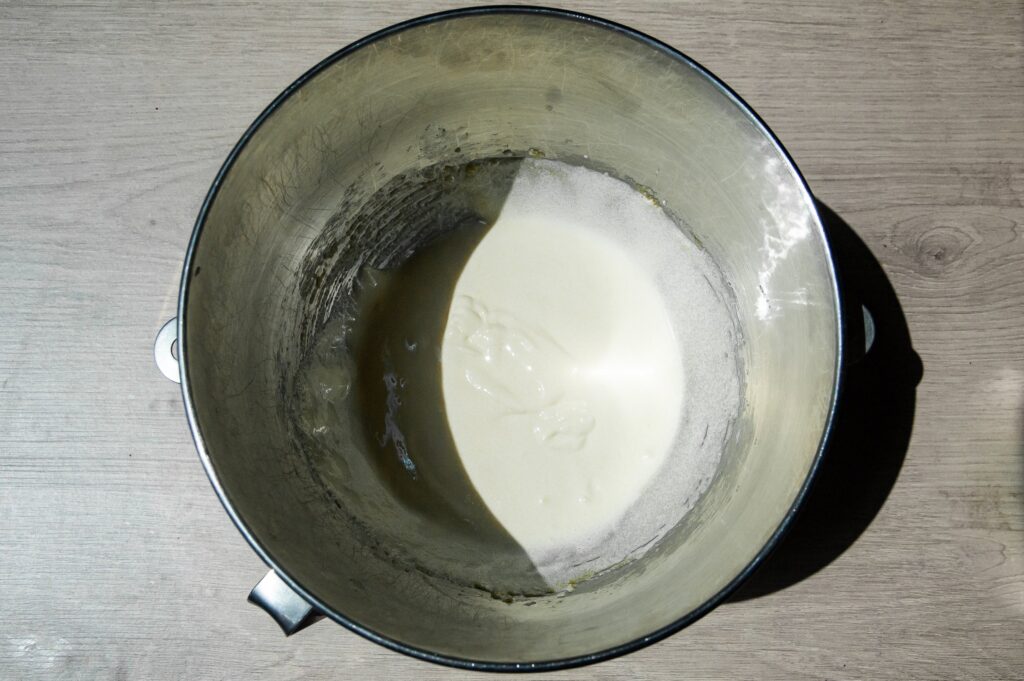
- Step 6: Place the egg yolks and sugar in a mixer and mix together until fluffy and becomes a pale yellow. It will sort of "ribbon" off the beater attachment when it's ready.
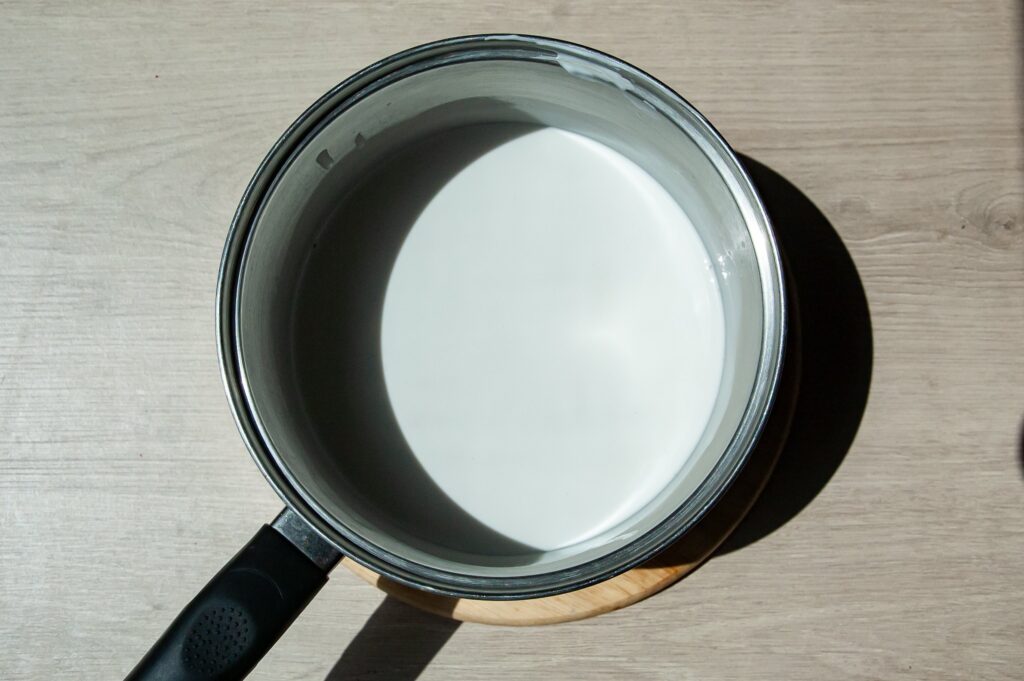
- Step 7: Warm the coconut milk, vanilla and salt in a sauce pan until steaming nicely, but not bubbling.
- Step 8: Slowly (and I mean slowly!) add in warmed
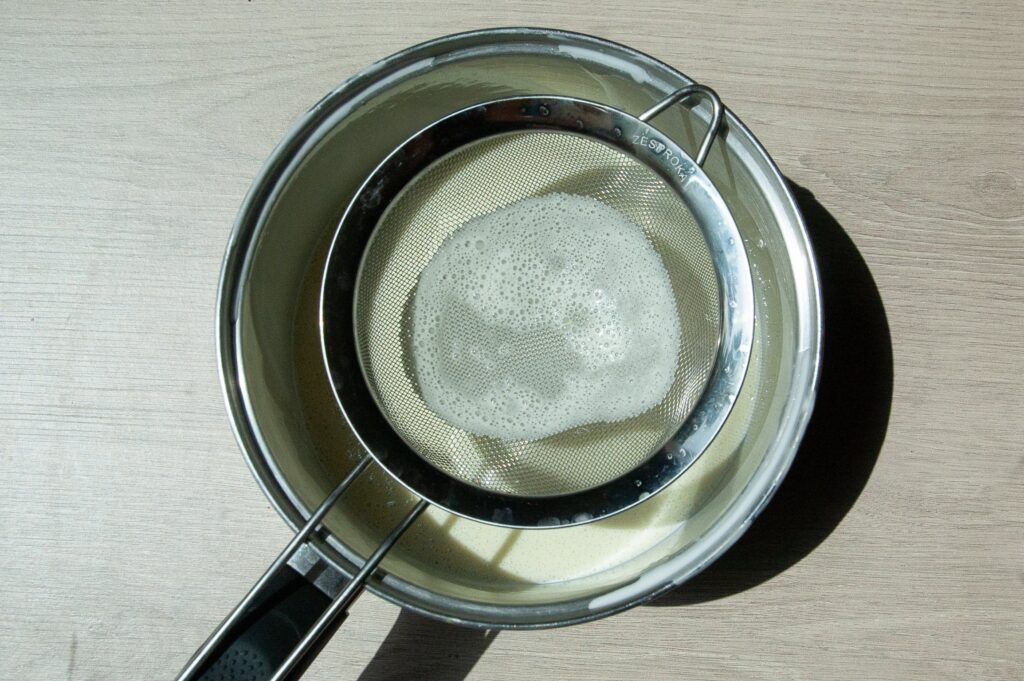
milk to the egg mixture while having the mixer continuously mixing on a low to medium speed. You don’t want the eggs to start cooking. - Step 9: Once all the milk has been added, strain the mixture back into the saucepan to ensure there are no lumps, then place back on the stove and warm again to just before bubbling. This is tempering the eggs so that it is safe to eat.
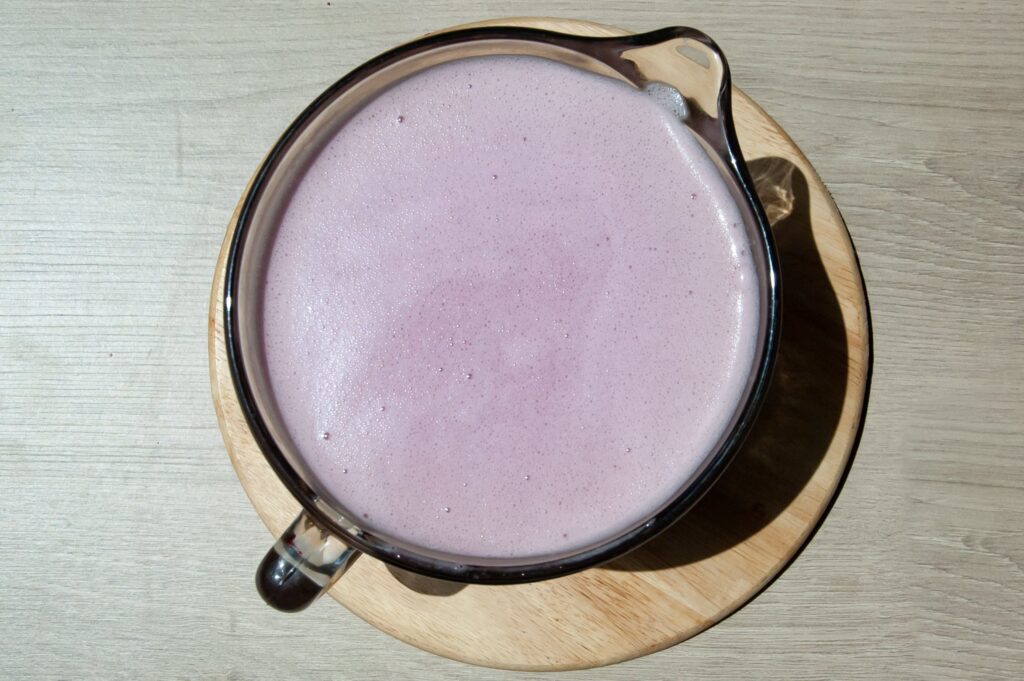
- Step 10: Then add in the blackberry juice to the ice cream base and mix well.
- Step 11: Allow to cool completely in the fridge, then churn based on your ice cream machine instructions.
- Step 12: Once churned, add in the chocolate chunks. Place in the freezer for at least 2 hours to firm up completely.
Additional Ice Cream Recipes:
📖 The Recipe:

Dairy-Free, Blackberry-Raspberry Chocolate Chunk Ice Cream
Ingredients
For the chocolate chunks
- 4 oz semi-sweet chocolate
- 1 teaspoon coconut oil
For the berry mixture
- 3 cups fresh or frozen mixed blackberries and raspberries
- ¼ cup sugar
For the ice cream
- 1 can coconut cream
- 1 can coconut milk full fat
- 1 cup sugar
- 4 egg yolks
- 1 teaspoon vanilla
- 1 pinch salt
Instructions
- First, let’s make the chocolate chunks. Chop up the chocolate and place it, along with the coconut oil, in a microwave safe bowl and heat in 25 sec intervals until completely melted. Mix until smooth.
- Spread the chocolate out on to a parchment paper lined baking sheet. Don’t spread it out too thin, leave it thick so that the chocolate chunks are nice and thick. Place in the freezer.
- Once frozen completely, cut the chocolate into coarse chunks.
- Now, place the berries and sugar in a small saucepan and heat until the berries start to breakdown and release their juice.
- Using a muddler or fork, squish the berries until they have broken down.
- Strain out the juice, keeping only the juice for the ice cream base. You should have close to a cup, give or take. It doesn’t have to be exact!
- Place the egg yolks and sugar in a mixer and mix together until fluffy and becomes a pale yellow. It will sort of "ribbon" off the beater attachment when it's ready.
- Warm the coconut milk, vanilla and salt in a sauce pan until steaming nicely, but not bubbling.
- Slowly (and I mean slowly!) add in warmed milk to the egg mixture while having the mixer continuously mixing on a low to medium speed. You don’t want the eggs to start cooking.
- Once all the milk has been added, strain the mixture back into the saucepan to ensure there are no lumps, then place back on the stove and warm again to just before bubbling. This is tempering the eggs so that it is safe to eat.
- Then add in the blackberry juice to the ice cream base and mix well.
- Allow to cool completely in the fridge, then churn based on your ice cream machine instructions.
- Once churned, add in the chocolate chunks. Place in the freezer for at least 2 hours to firm up completely.
The Finished Product:
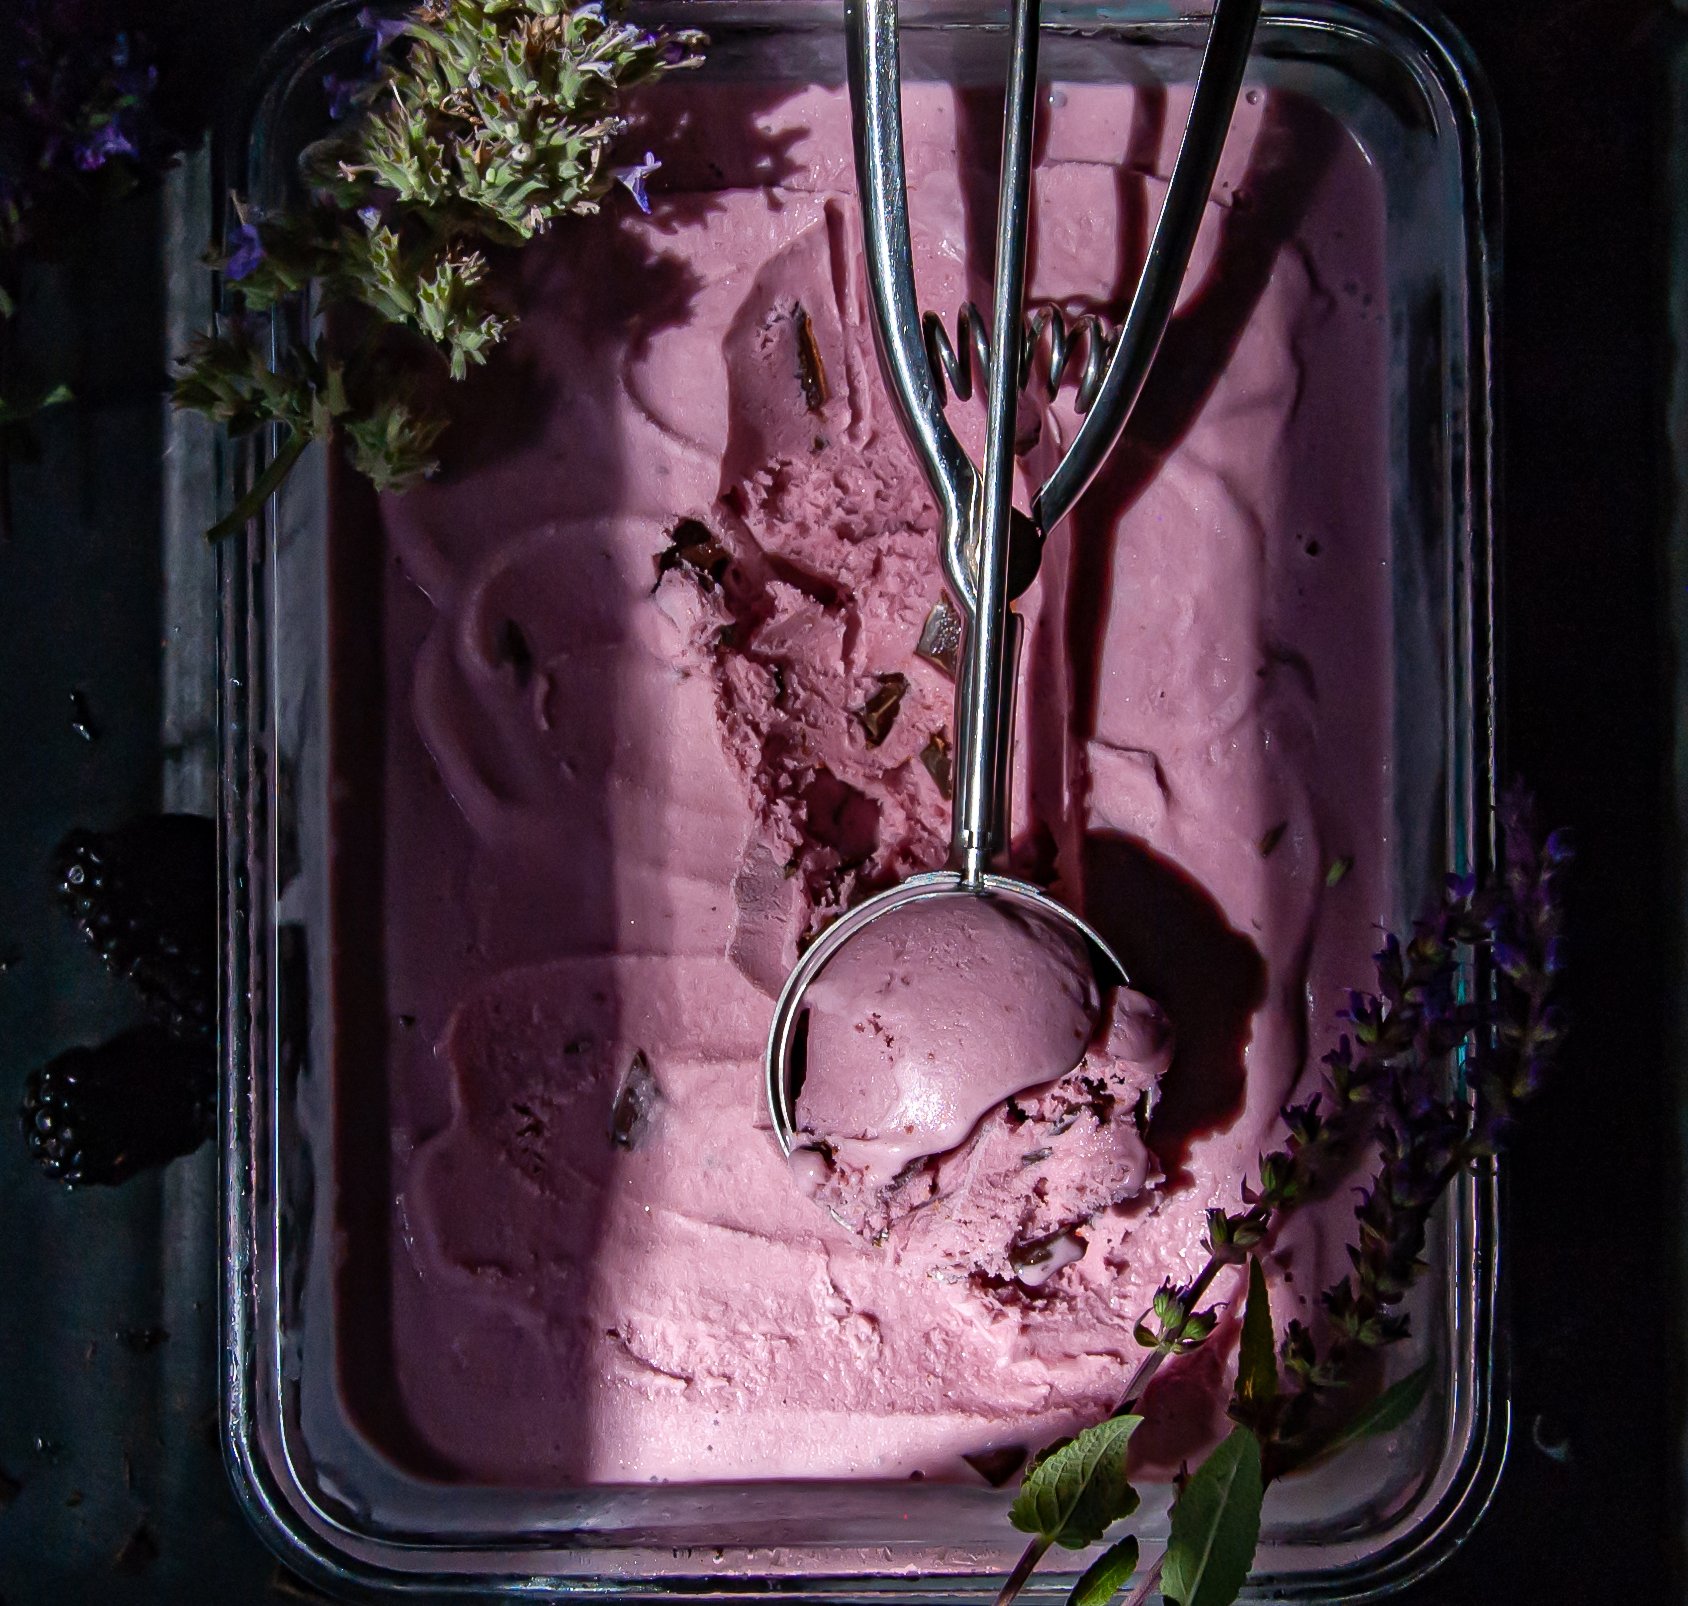
A delicious, dairy-free bowl of ice cream that will have you going back for seconds. You know what I love about dairy-free ice cream? I don’t feel full and heavy after eating it. And no heart burn! It truly feels like treating yourself, while staying on track to feel your best. The unique and wildly complimentary flavor combo of this ice cream will leave an imprint in your mind. I hope it becomes a classic for you!



Leave a Reply