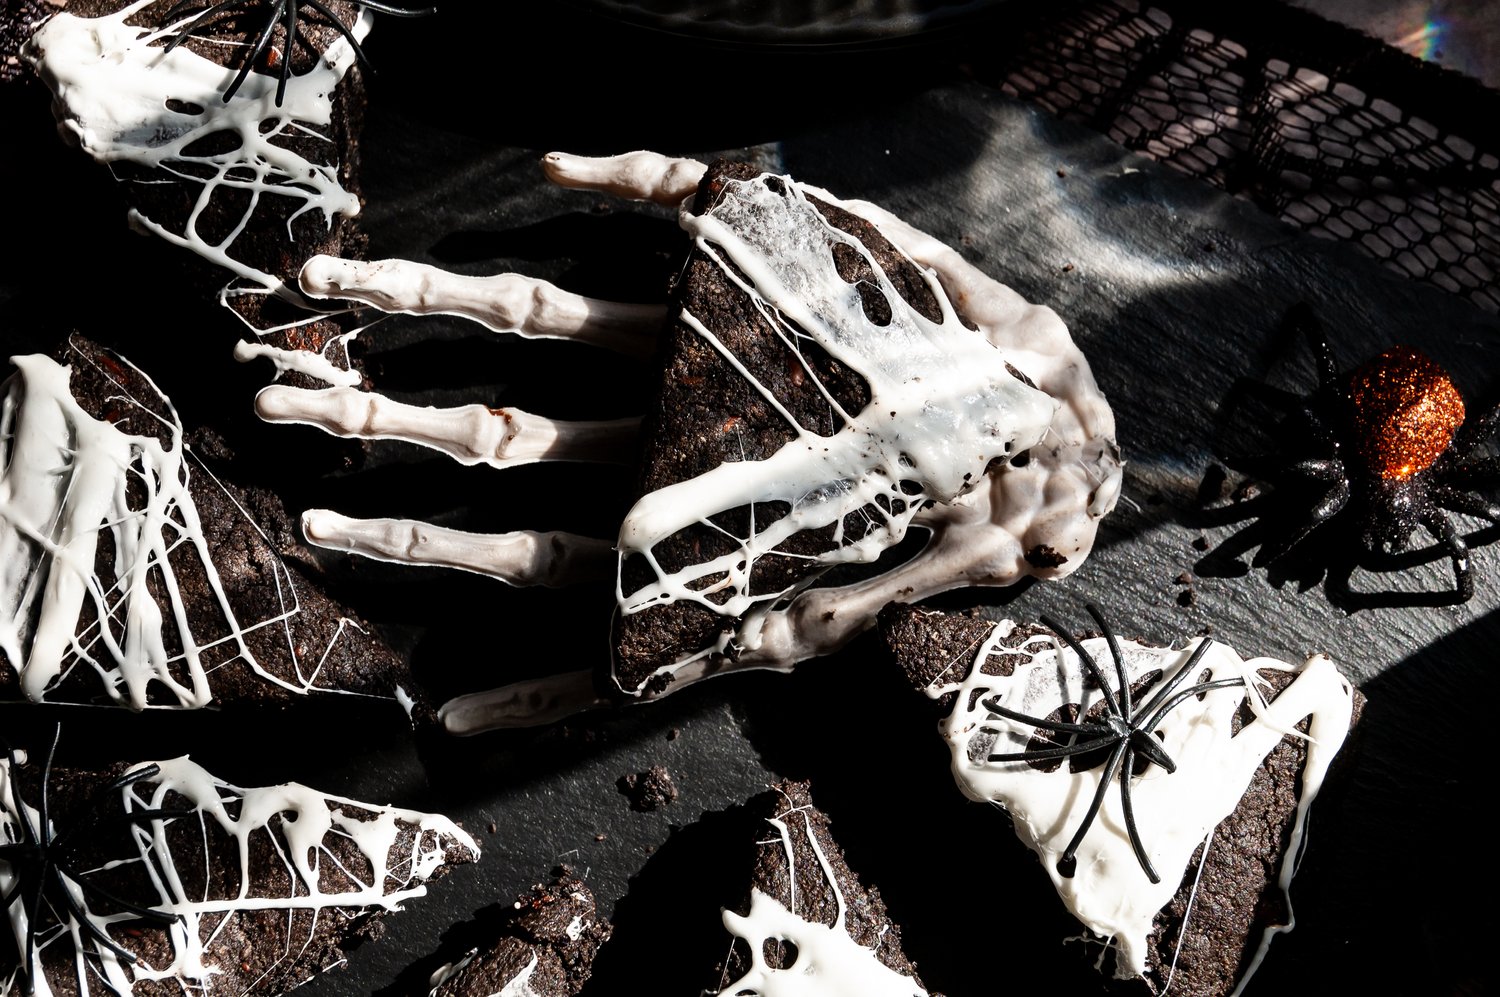
Scones are easy, scones are fun, these scones are spooky, run, run, run! Scary easy, deathly decadent, and totally Halloween forward!
The Story:
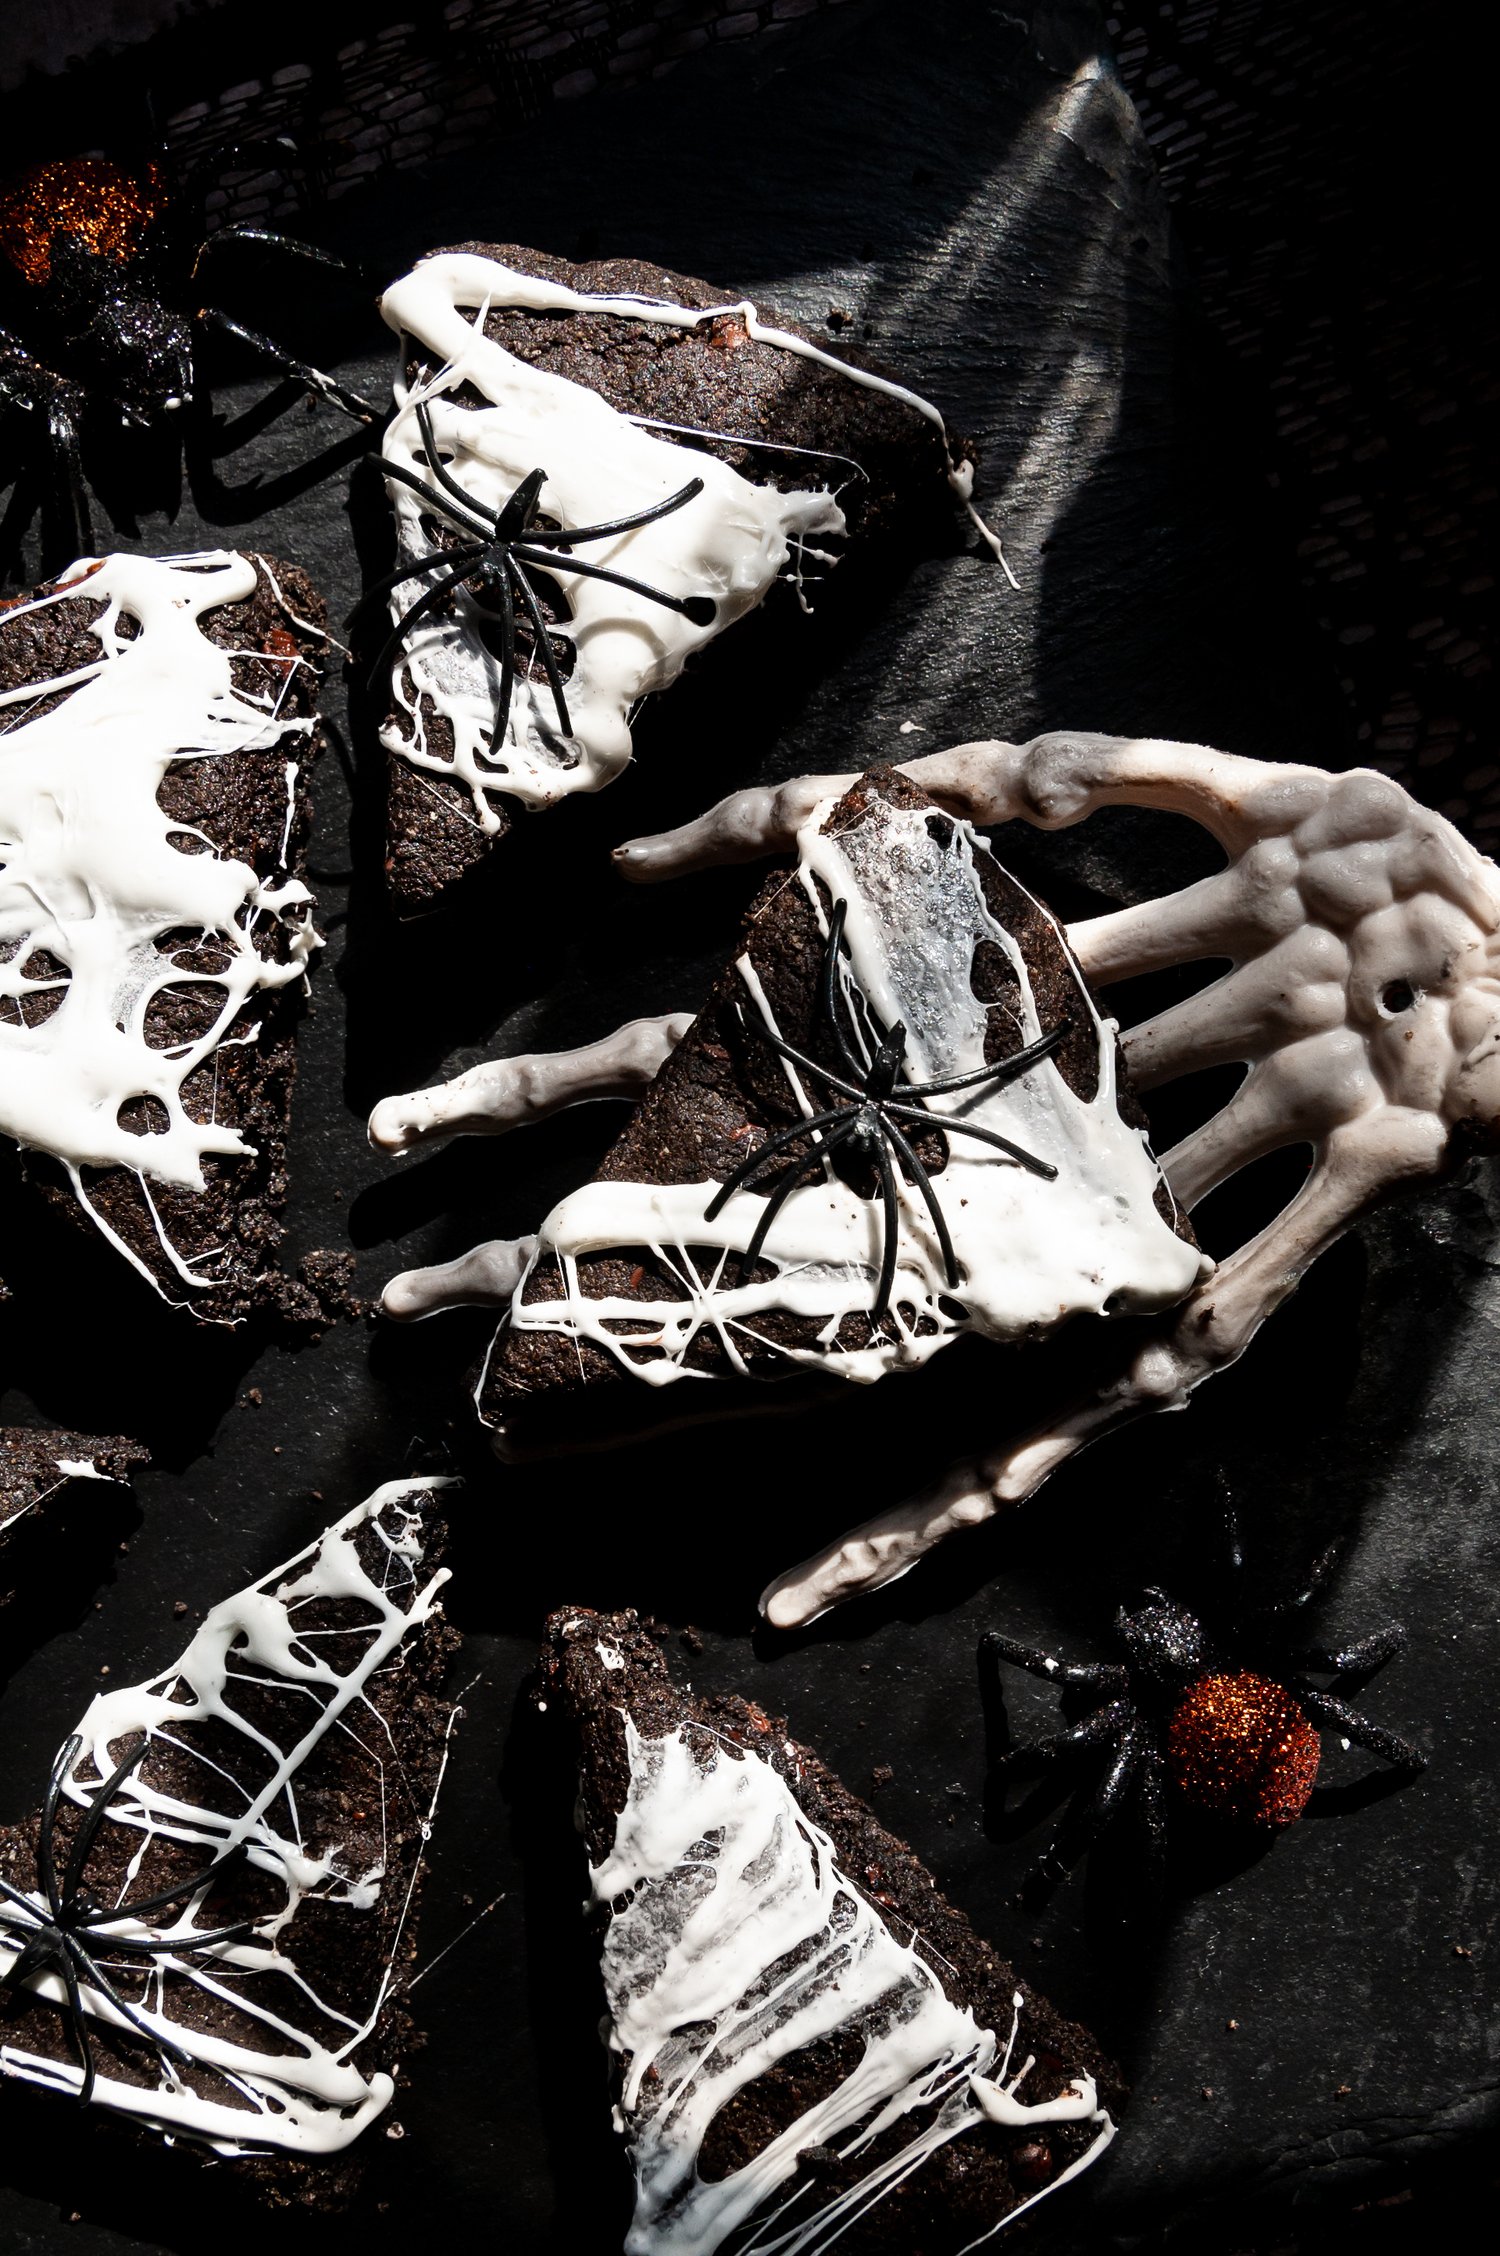
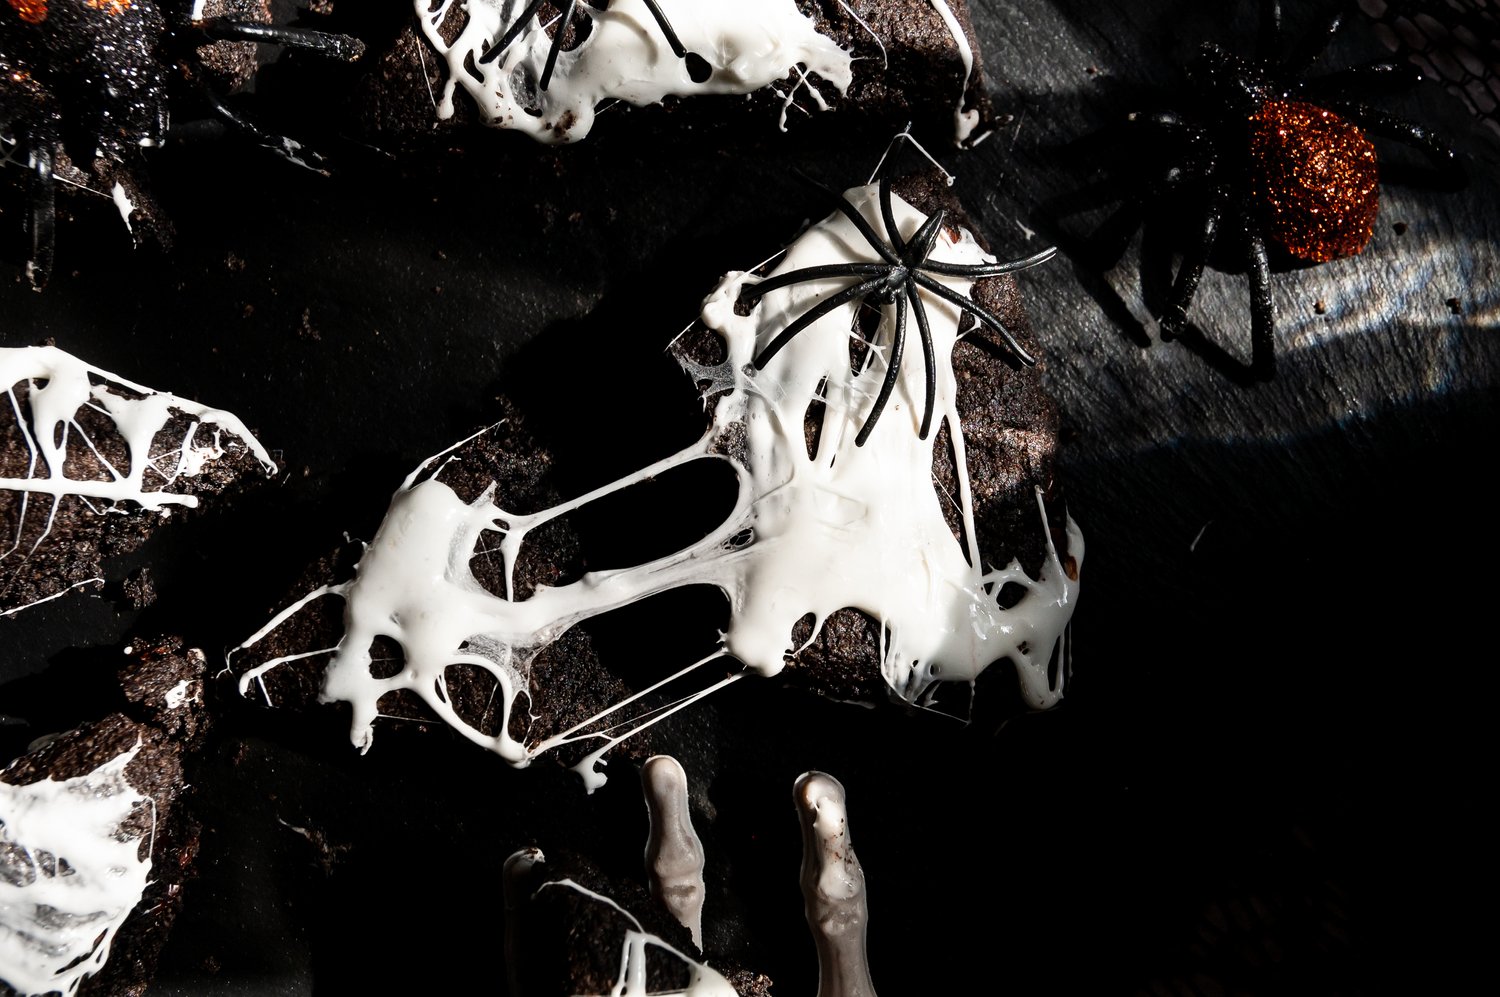
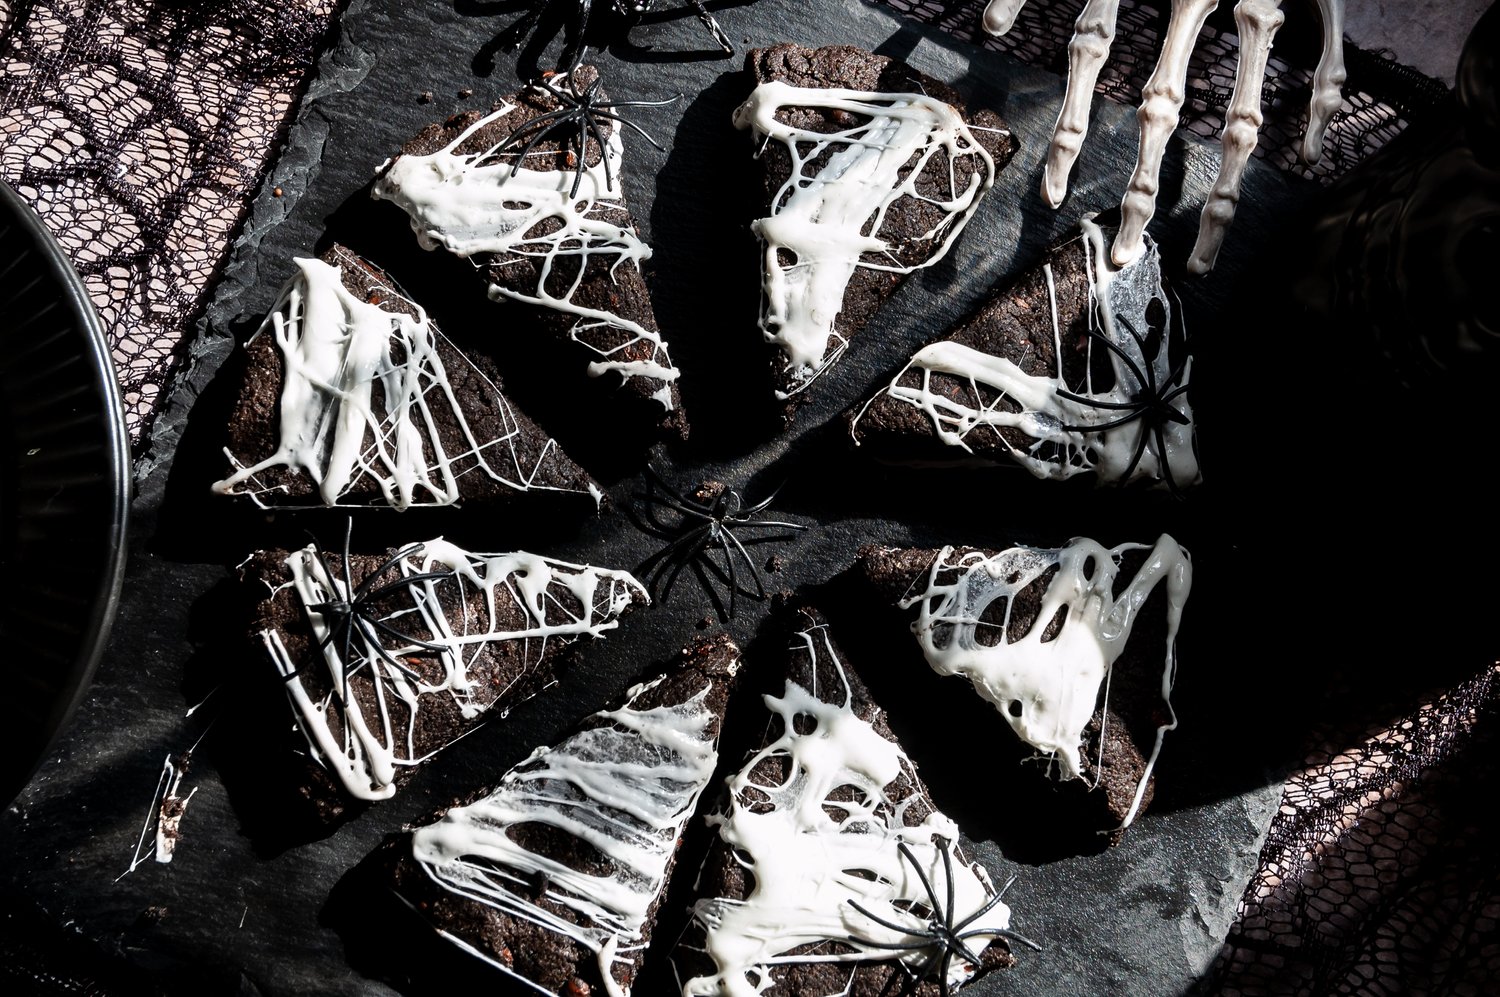
These death by chocolate scones get their spooky black color from using black cocoa powder and it makes them so fun for Halloween. Packed with chocolate chips, cocoa powder, and topped with melted marshmallow in a festive cobweb design. As always, these gluten-free chocolate scones are grain-free and dairy-free!
Jump to:
The Ingredients:
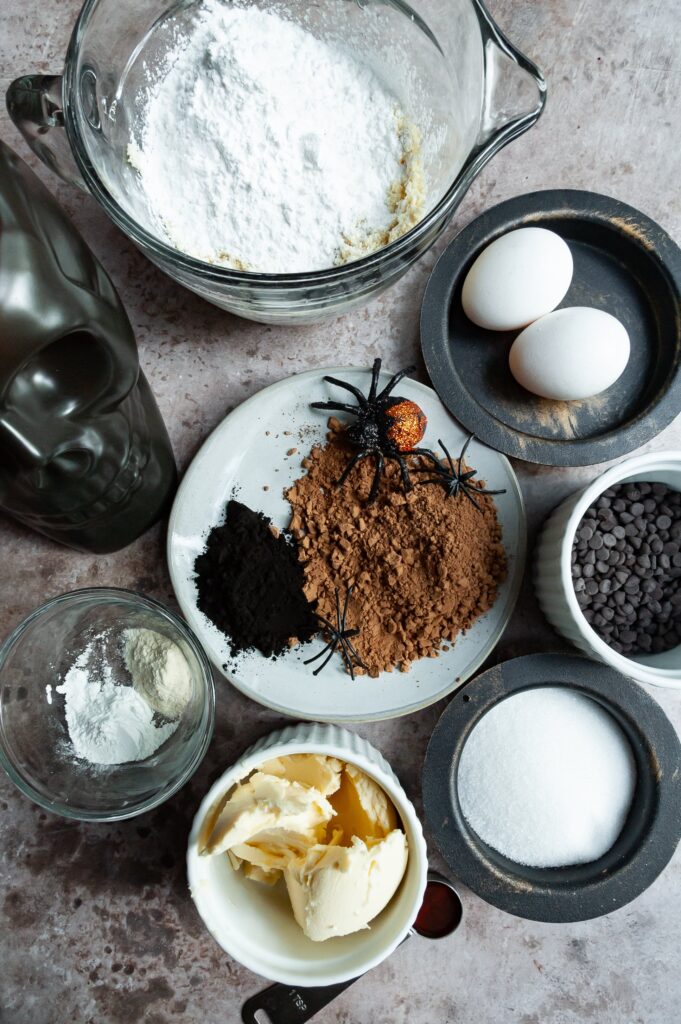
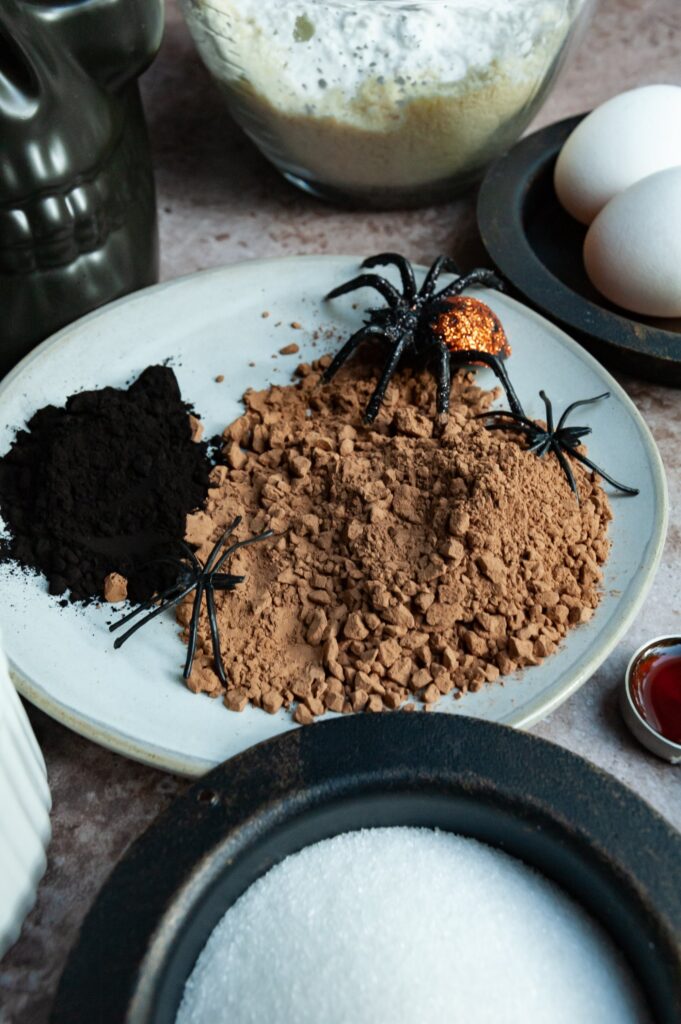
Here is the list of ingredients you will need to make these death by chocolate scones.
- Almond Flour: A grain-free flour that provides structure and helps the scones maintain their moisture.
- Tapioca Flour: A grain-free flour that aids in these scones achieving a fluffy rise and absorbs the liquid ingredients.
- Dairy-Free Butter: You’ll want to use a dairy-free butter that can hold up well to temperature changes and doesn’t become too soft easily. I always use Earth Balance butter in my baking and it does a great job.
- Egg: For rise, fluff and structure.
- Sugar: A bit of sugar gets added to sweeten the scones.
- Black Cocoa Powder: I bought this black cocoa powder and it turned out well! It adds a bit of an earthy taste, so the scones are not overly sweet. It’s a nice balance.
- Cocoa Powder: Regular cocoa powder helps give these scones that chocolate flavor. Black cocoa powder is more for color vs. taste so combined, they work well together.
- Baking Powder: The rising agent that helps the scones achieve a nice, fluffy rise.
- Xanthan Gum: This ingredient helps gluten-free baked goods maintain their moisture so they do not become too crumbly.
- Chocolate Chips: My favorite dairy-free/vegan chocolate chips are Enjoy Life chocolate chips. They offer many allergy friendly baking items and treats, and can be found in most grocery stores.
- Marshmallows: I tried using my normal vegan marshmallows, but they did not work well to achieve the cobweb look. So, I used normal jet puffed marshmallows for the “cobwebs.” If you cannot tolerate corn starch, as found in regular marshmallows, I would suggest making a simple glaze frosting and drizzling the glaze on in a cobweb design.
- Vanilla: A little vanilla gets added for flavor.
Step By Step Instructions:
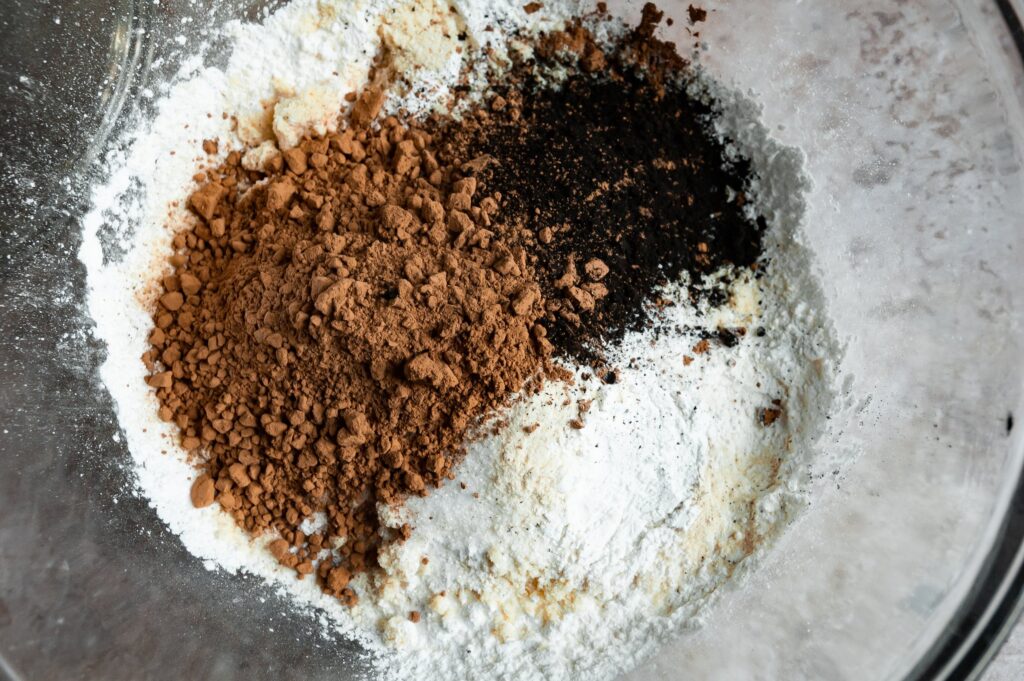
- Step 1: Preheat the oven to 325. To make the dough, add all the dry ingredients to a large bowl and mix well.
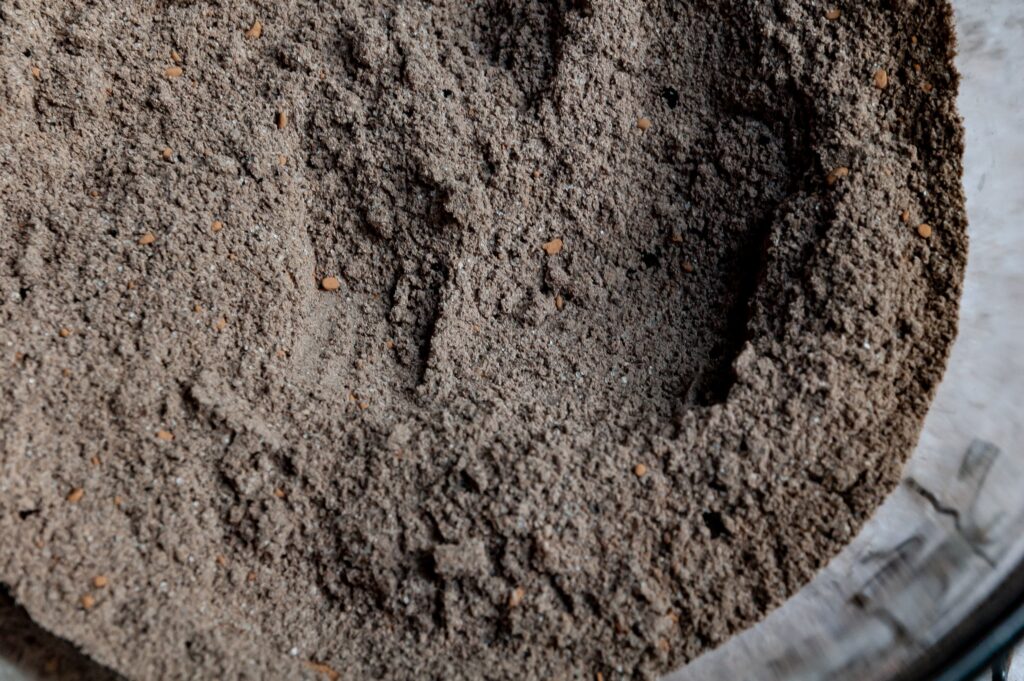
- Step 2: Add in the butter and using a fork or pastry blender, work in the butter until it has broken down to pea size.
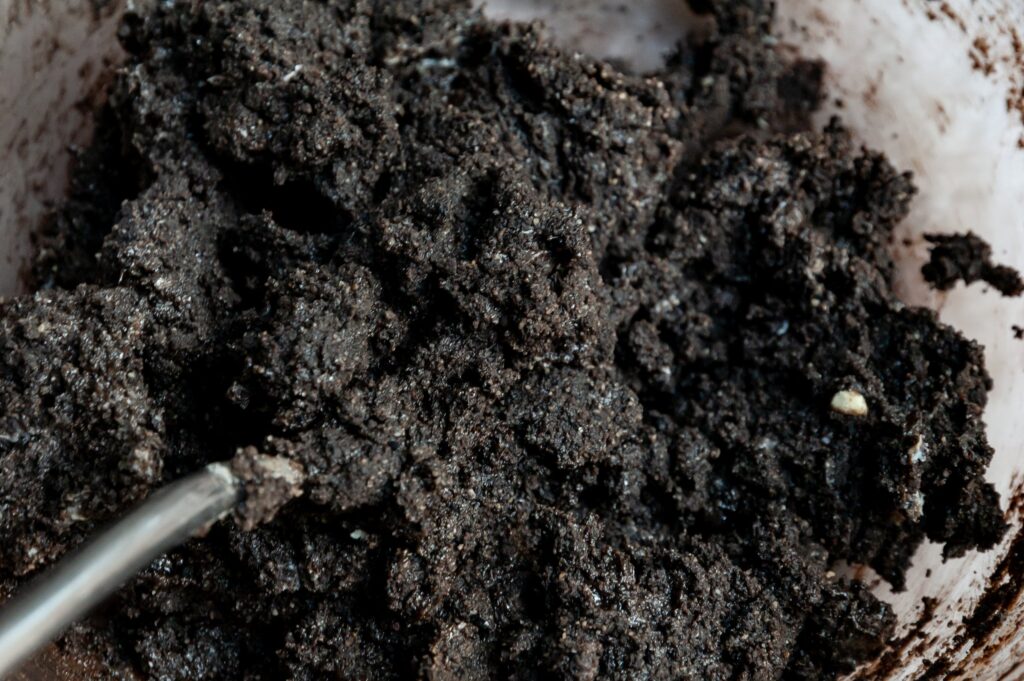
- Step 3: In a separate small bowl, gently whisk the egg, egg yolk and vanilla. Add the eggs to the dry ingredients and mix well. The dough should be holding together at this point. Add in the chocolate chips and mix until evenly dispersed.
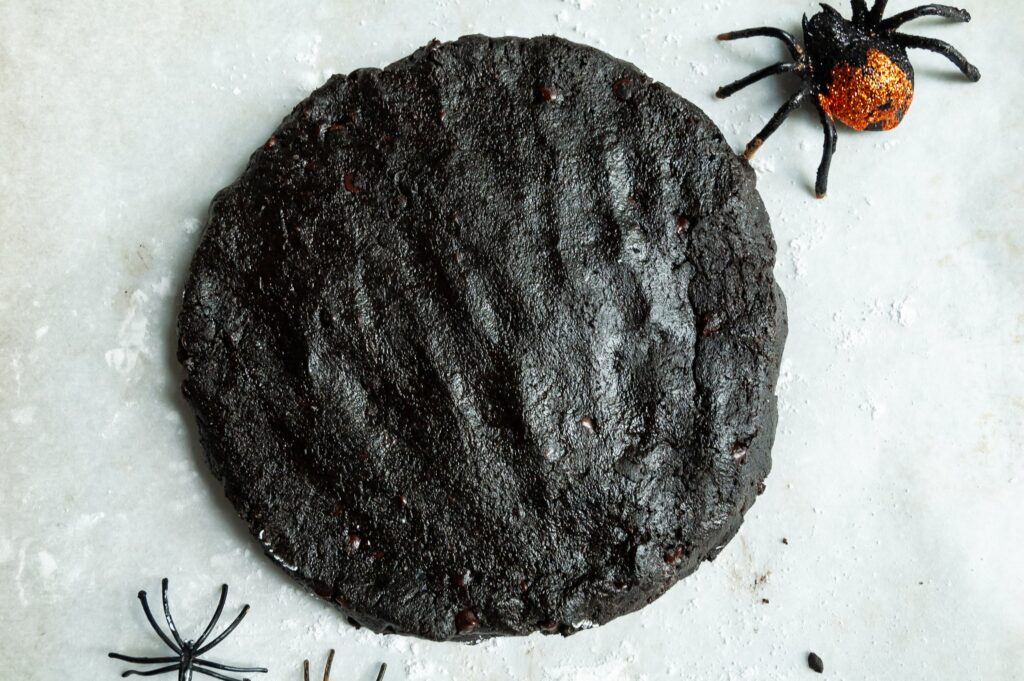
- Step 4: Line a cookie sheet with parchment paper and sprinkle it with tapioca starch. Pour out the dough onto the cookie sheet, and sprinkle with a bit more tapioca flour on top. Pat the dough into a circle, about 7-8 inch round. It doesn’t have to be perfect, but you want the dough on the thicker so that they have a beautiful rise to them.
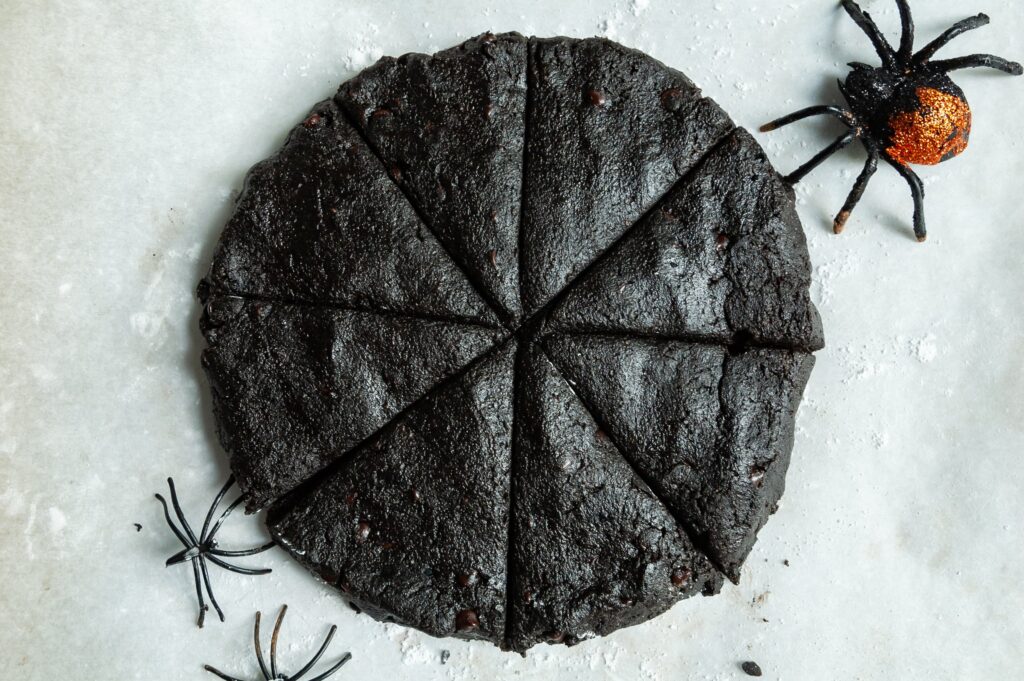
- Step 5: With a very sharp knife, cut a “plus sign” into the dough, creating 4 sections. Now, cut each section into 2 triangles. Think of cutting a “plus sign” then an “X” into the dough. Do not move the individual scones at this point. Since these are grain-free, the dough is too fragile for moving.
- Step 6: Place in the oven and bake for 20-22 min. The scones are not quite finished baking yet.
- Step 7: At this point, remove the scones from the oven, and very carefully take a knife and run it down the cuts you previously made. Gently separate the scones away from one another, then bake for another 6-8 minutes
- Step 8: Add the marshmallows to a microwave safe bowl. Melt the marshmallows in about 10 second intervals and stir in-between. Melt the marshmallows until just melted and have become a smooth texture.
- Step 9: I recommend wearing gloves for this step, but you can use bare hands. Dip your hands in the marshmallow and place a small dollop of the marshmallow in-between your hands. By pulling your hands away from each other, stretch the marshmallows until they become thin and web-like, then pull the marshmallow “web” over top of the scones. You want to make sure the marshmallows stay warm during this process or else they won’t stick well and can become tricky to work with. Using a small dollop of the marshmallow also helps, as it allows you to control the design easier. You can also do one scone at a time to make the process a little easier to manage. Repeat stretching small dollops of the warmed marshmallows over the scones until you have created the cobweb design you are happy with!

Additional Seasonal Recipes:
The Recipe:

The Finished Product:
A fun, Halloween festive treat that isn’t overly sweet! Each gluten-free chocolate scone boasts a rich chocolate flavor and a spooky fun vibe. Happy Halloween friends!
