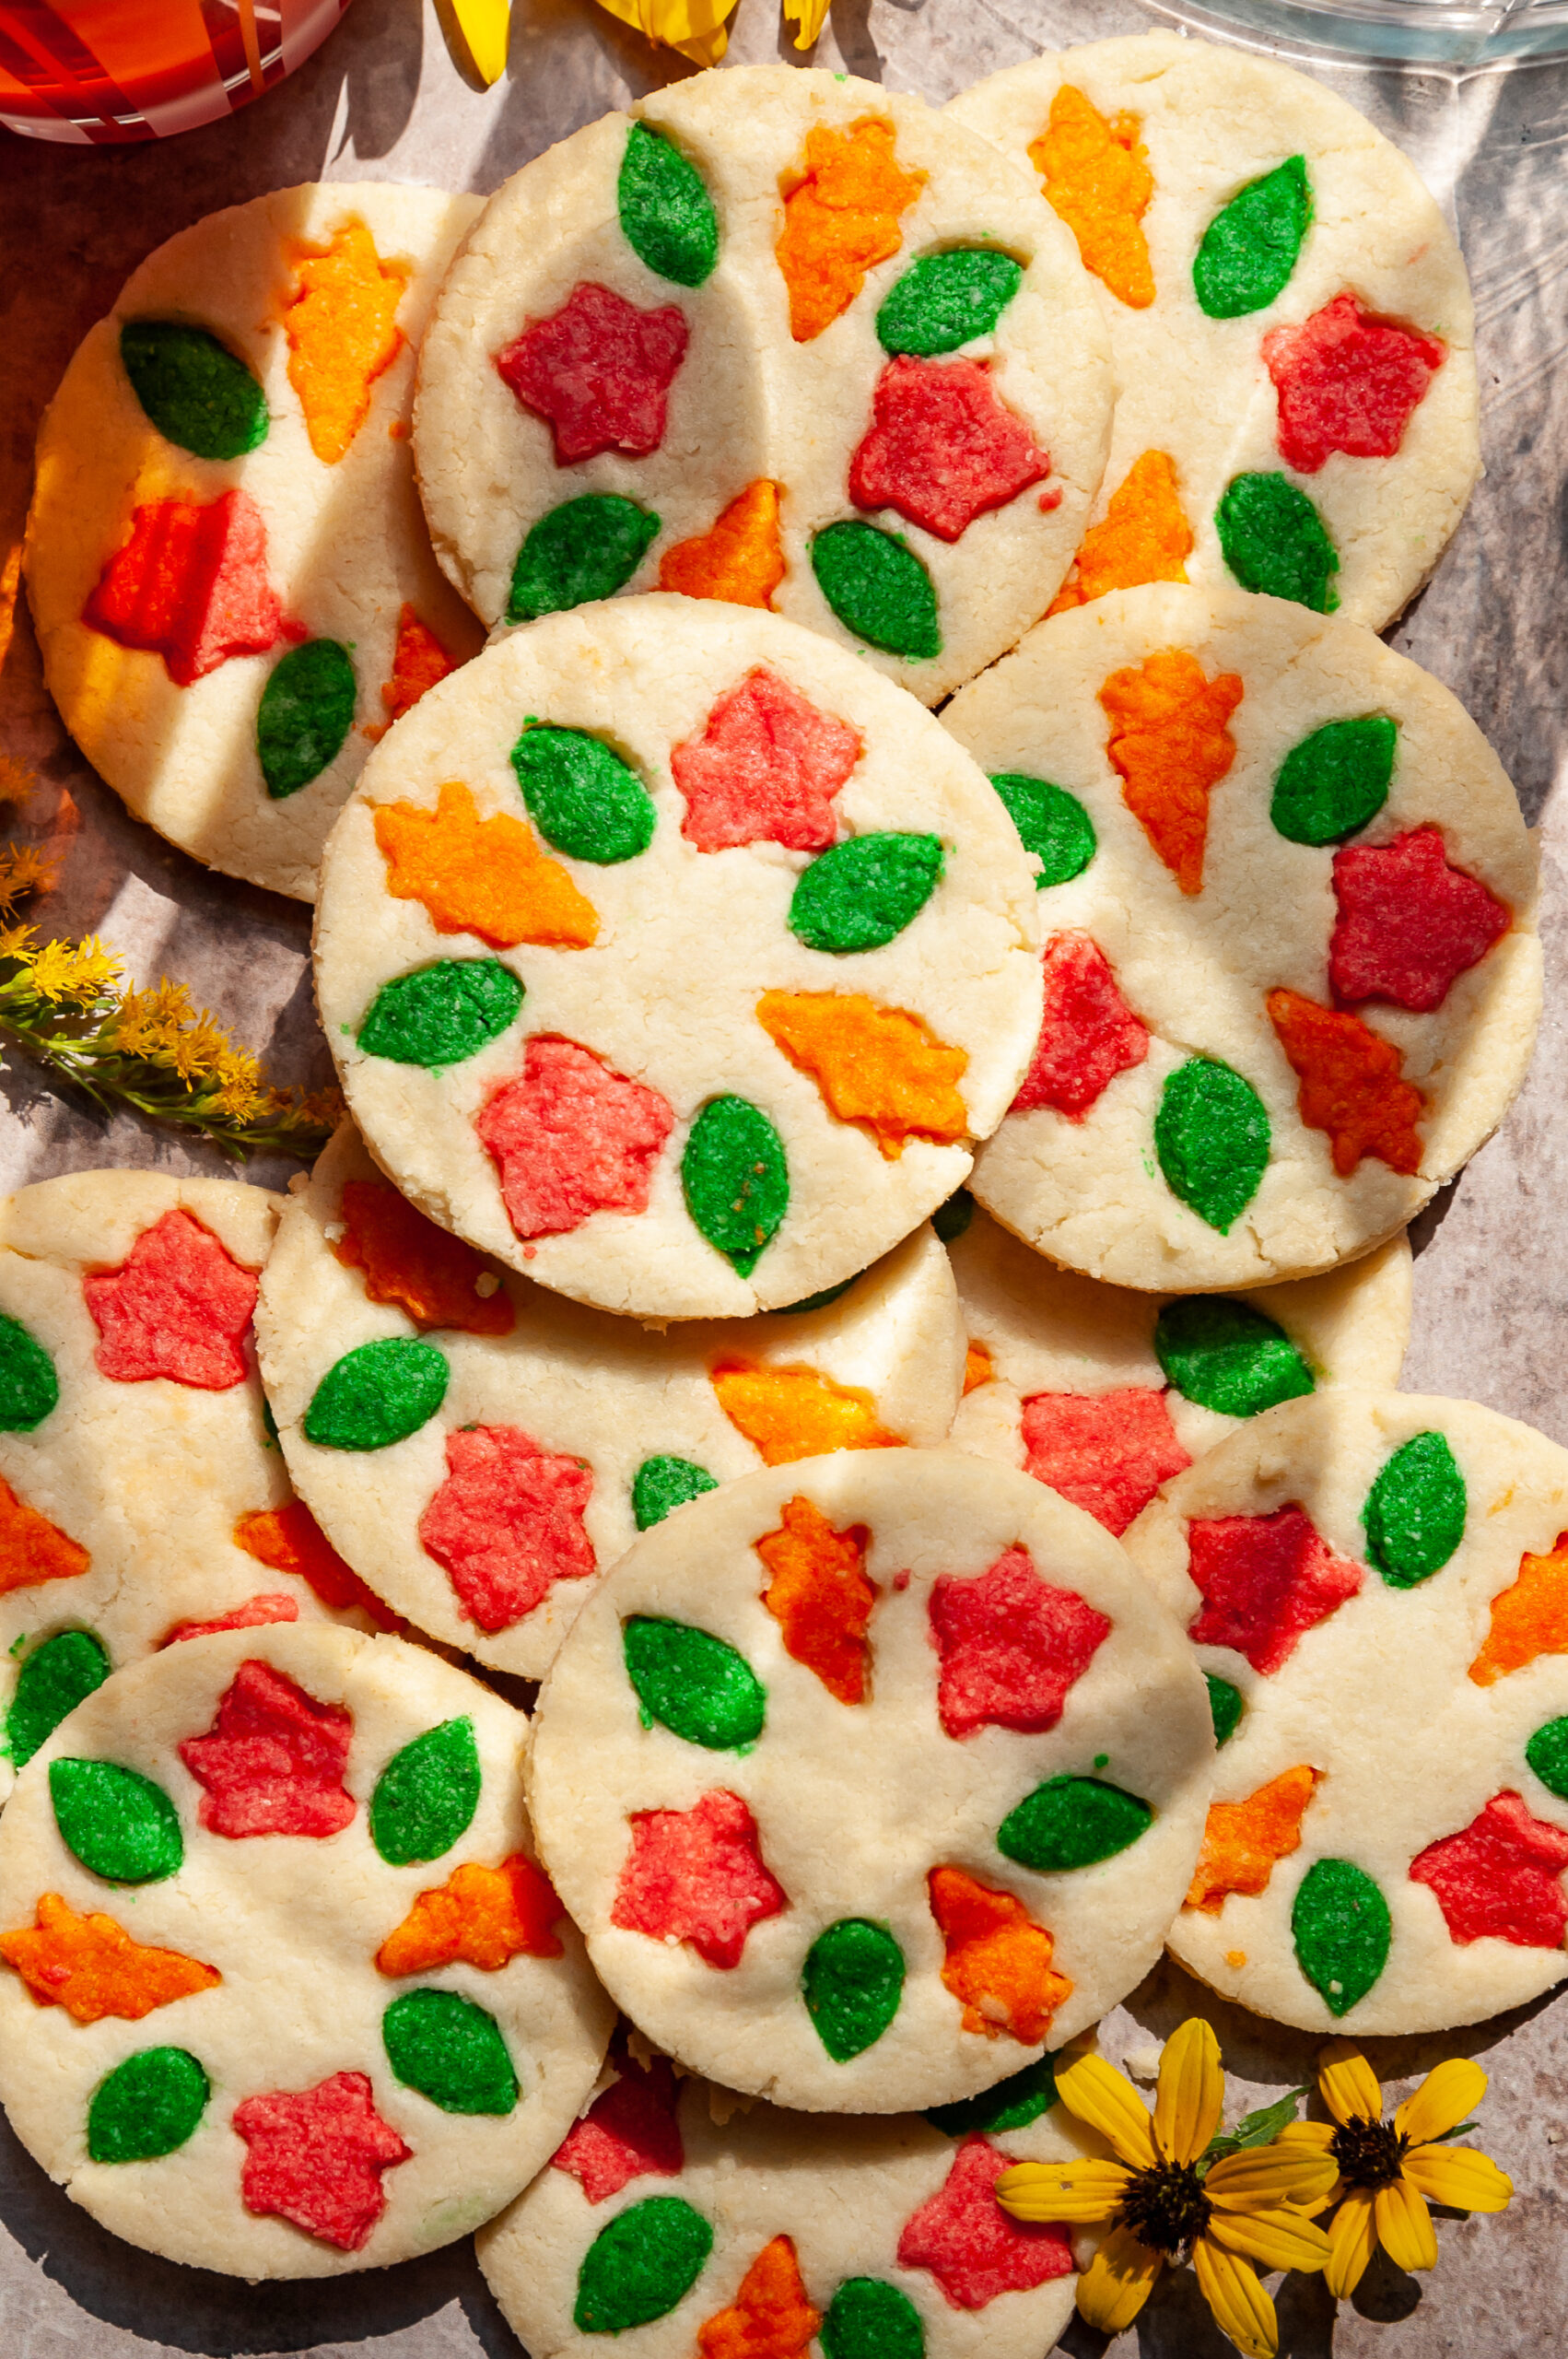
The most adorable, fall leaf shortbread cookies! Make some of these, get a pumpkin spice latte, and let's go leaf peeping!
The Story:
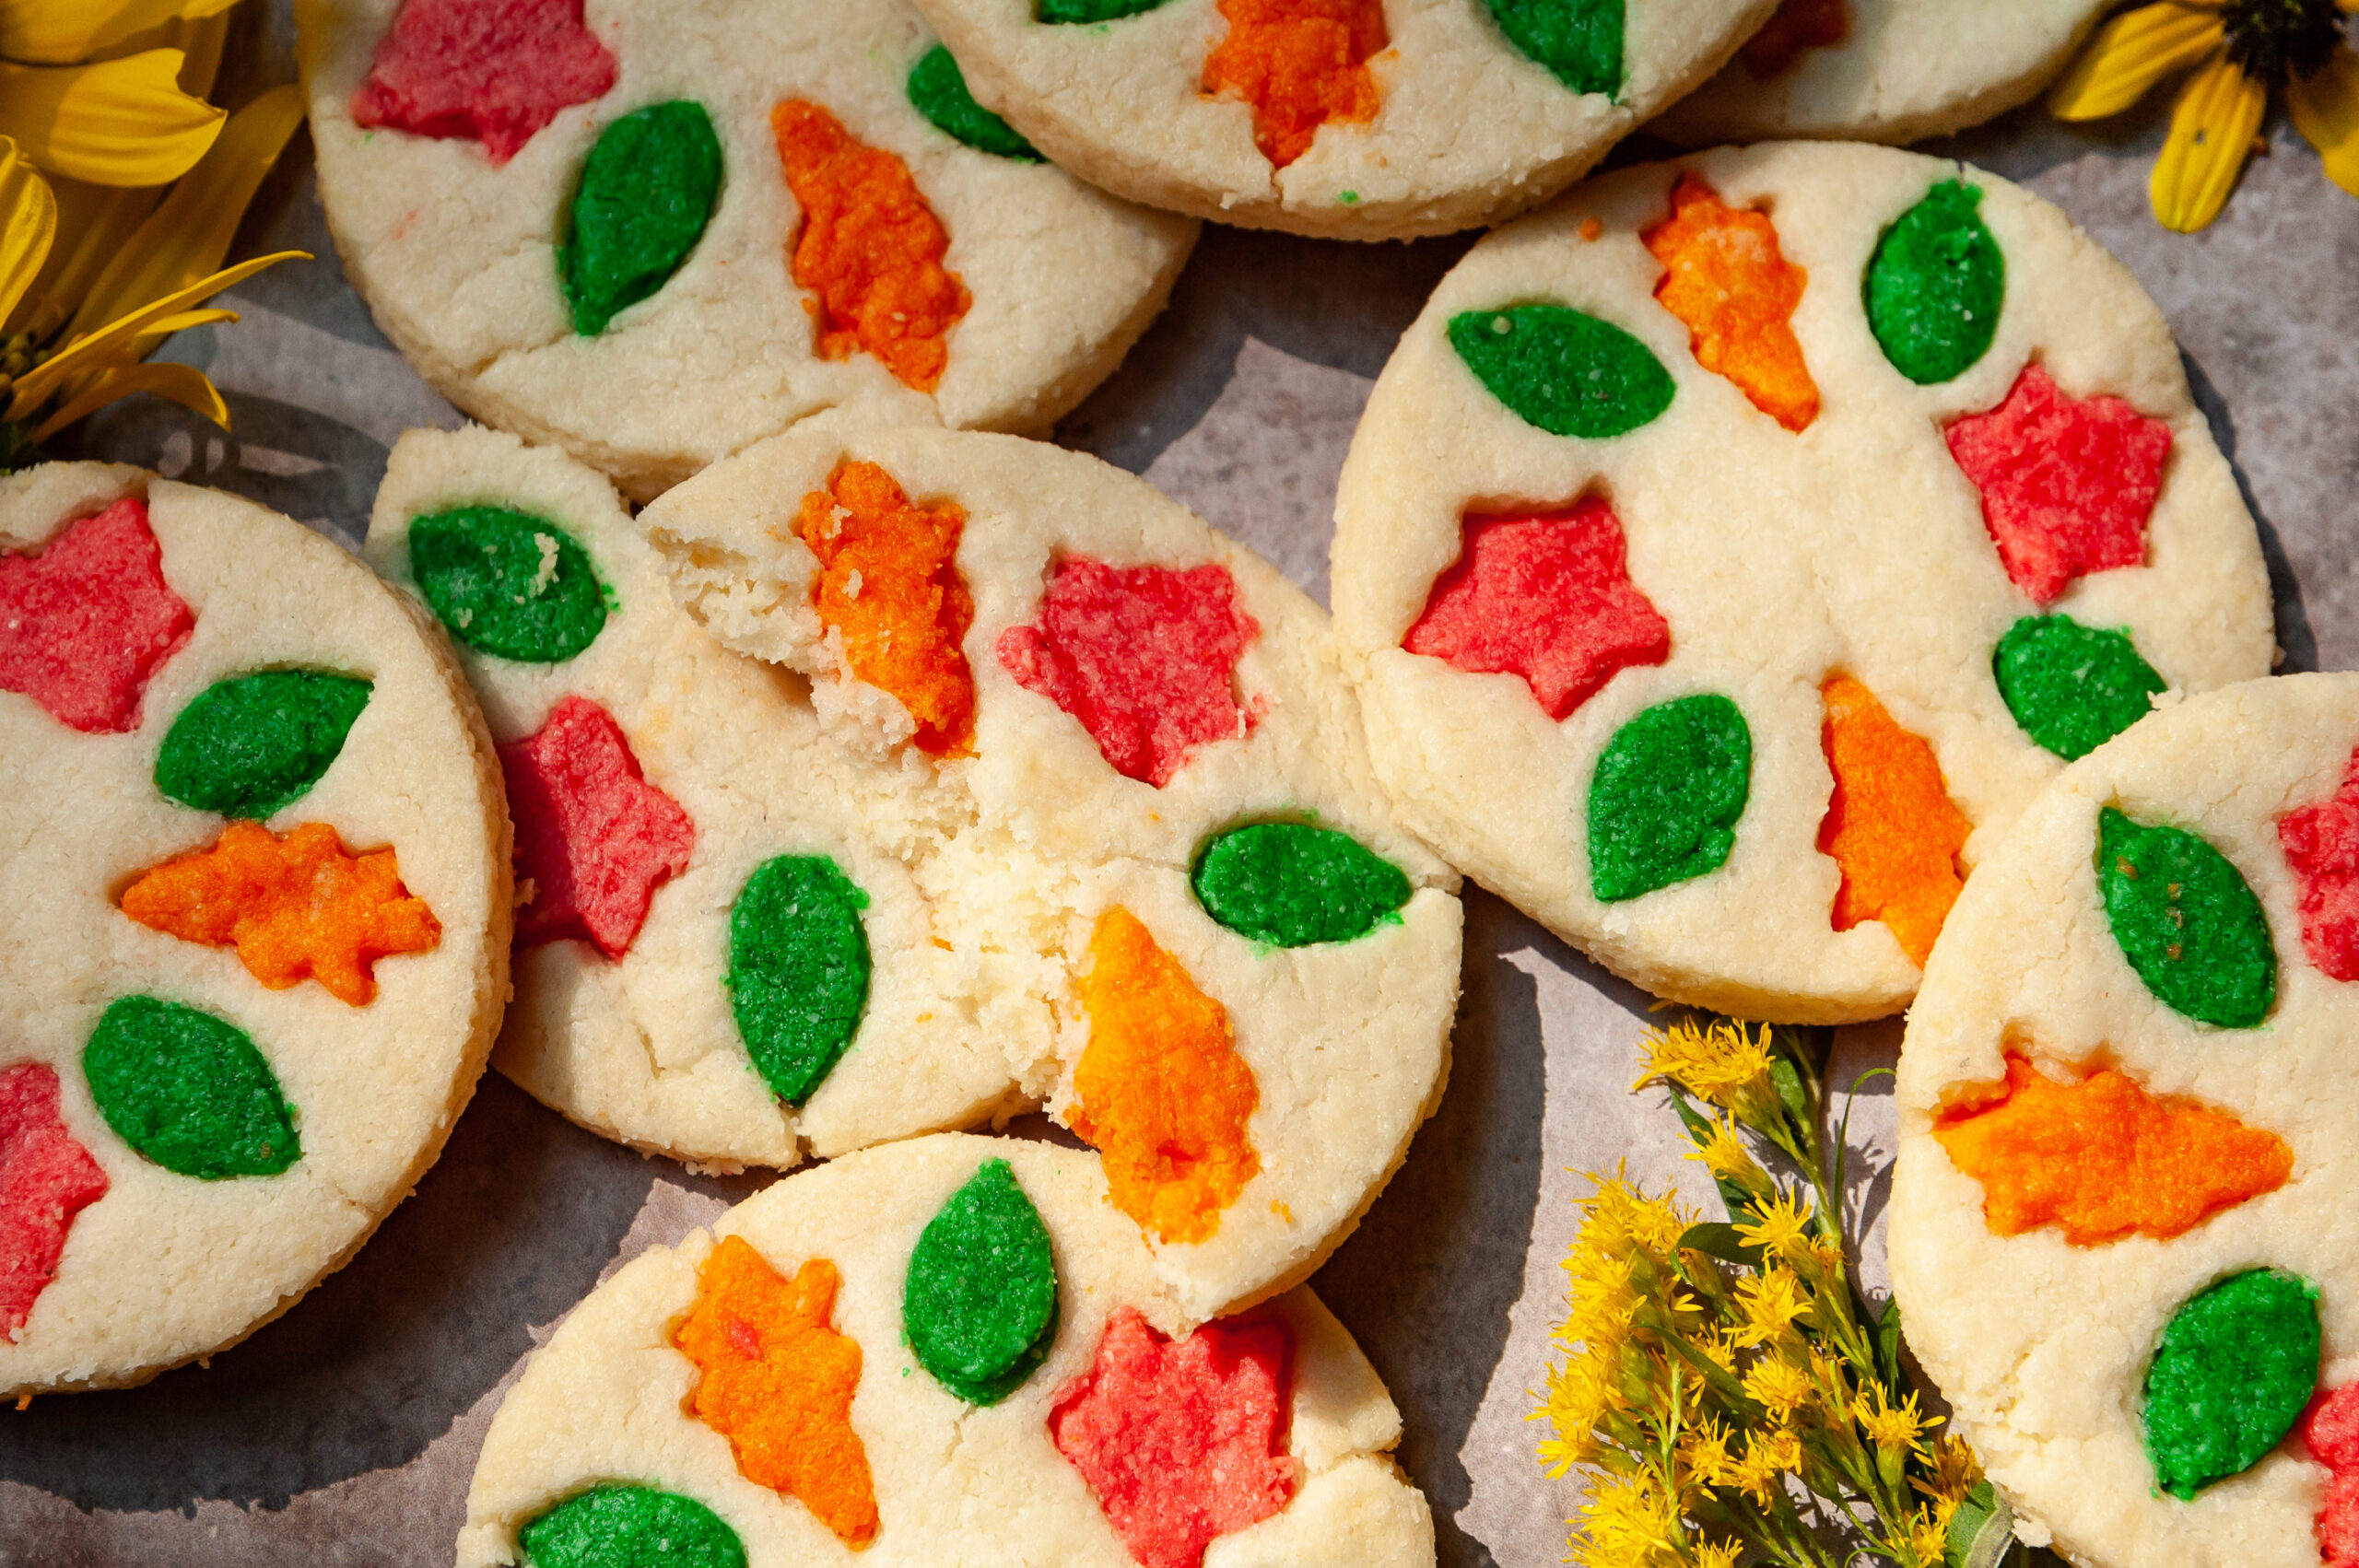
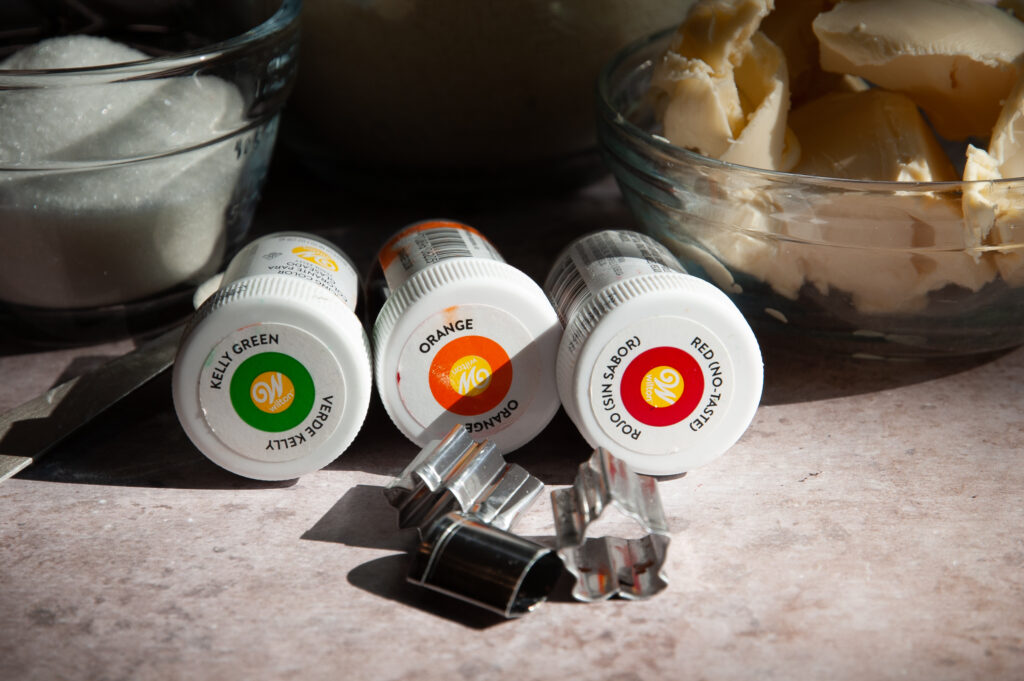
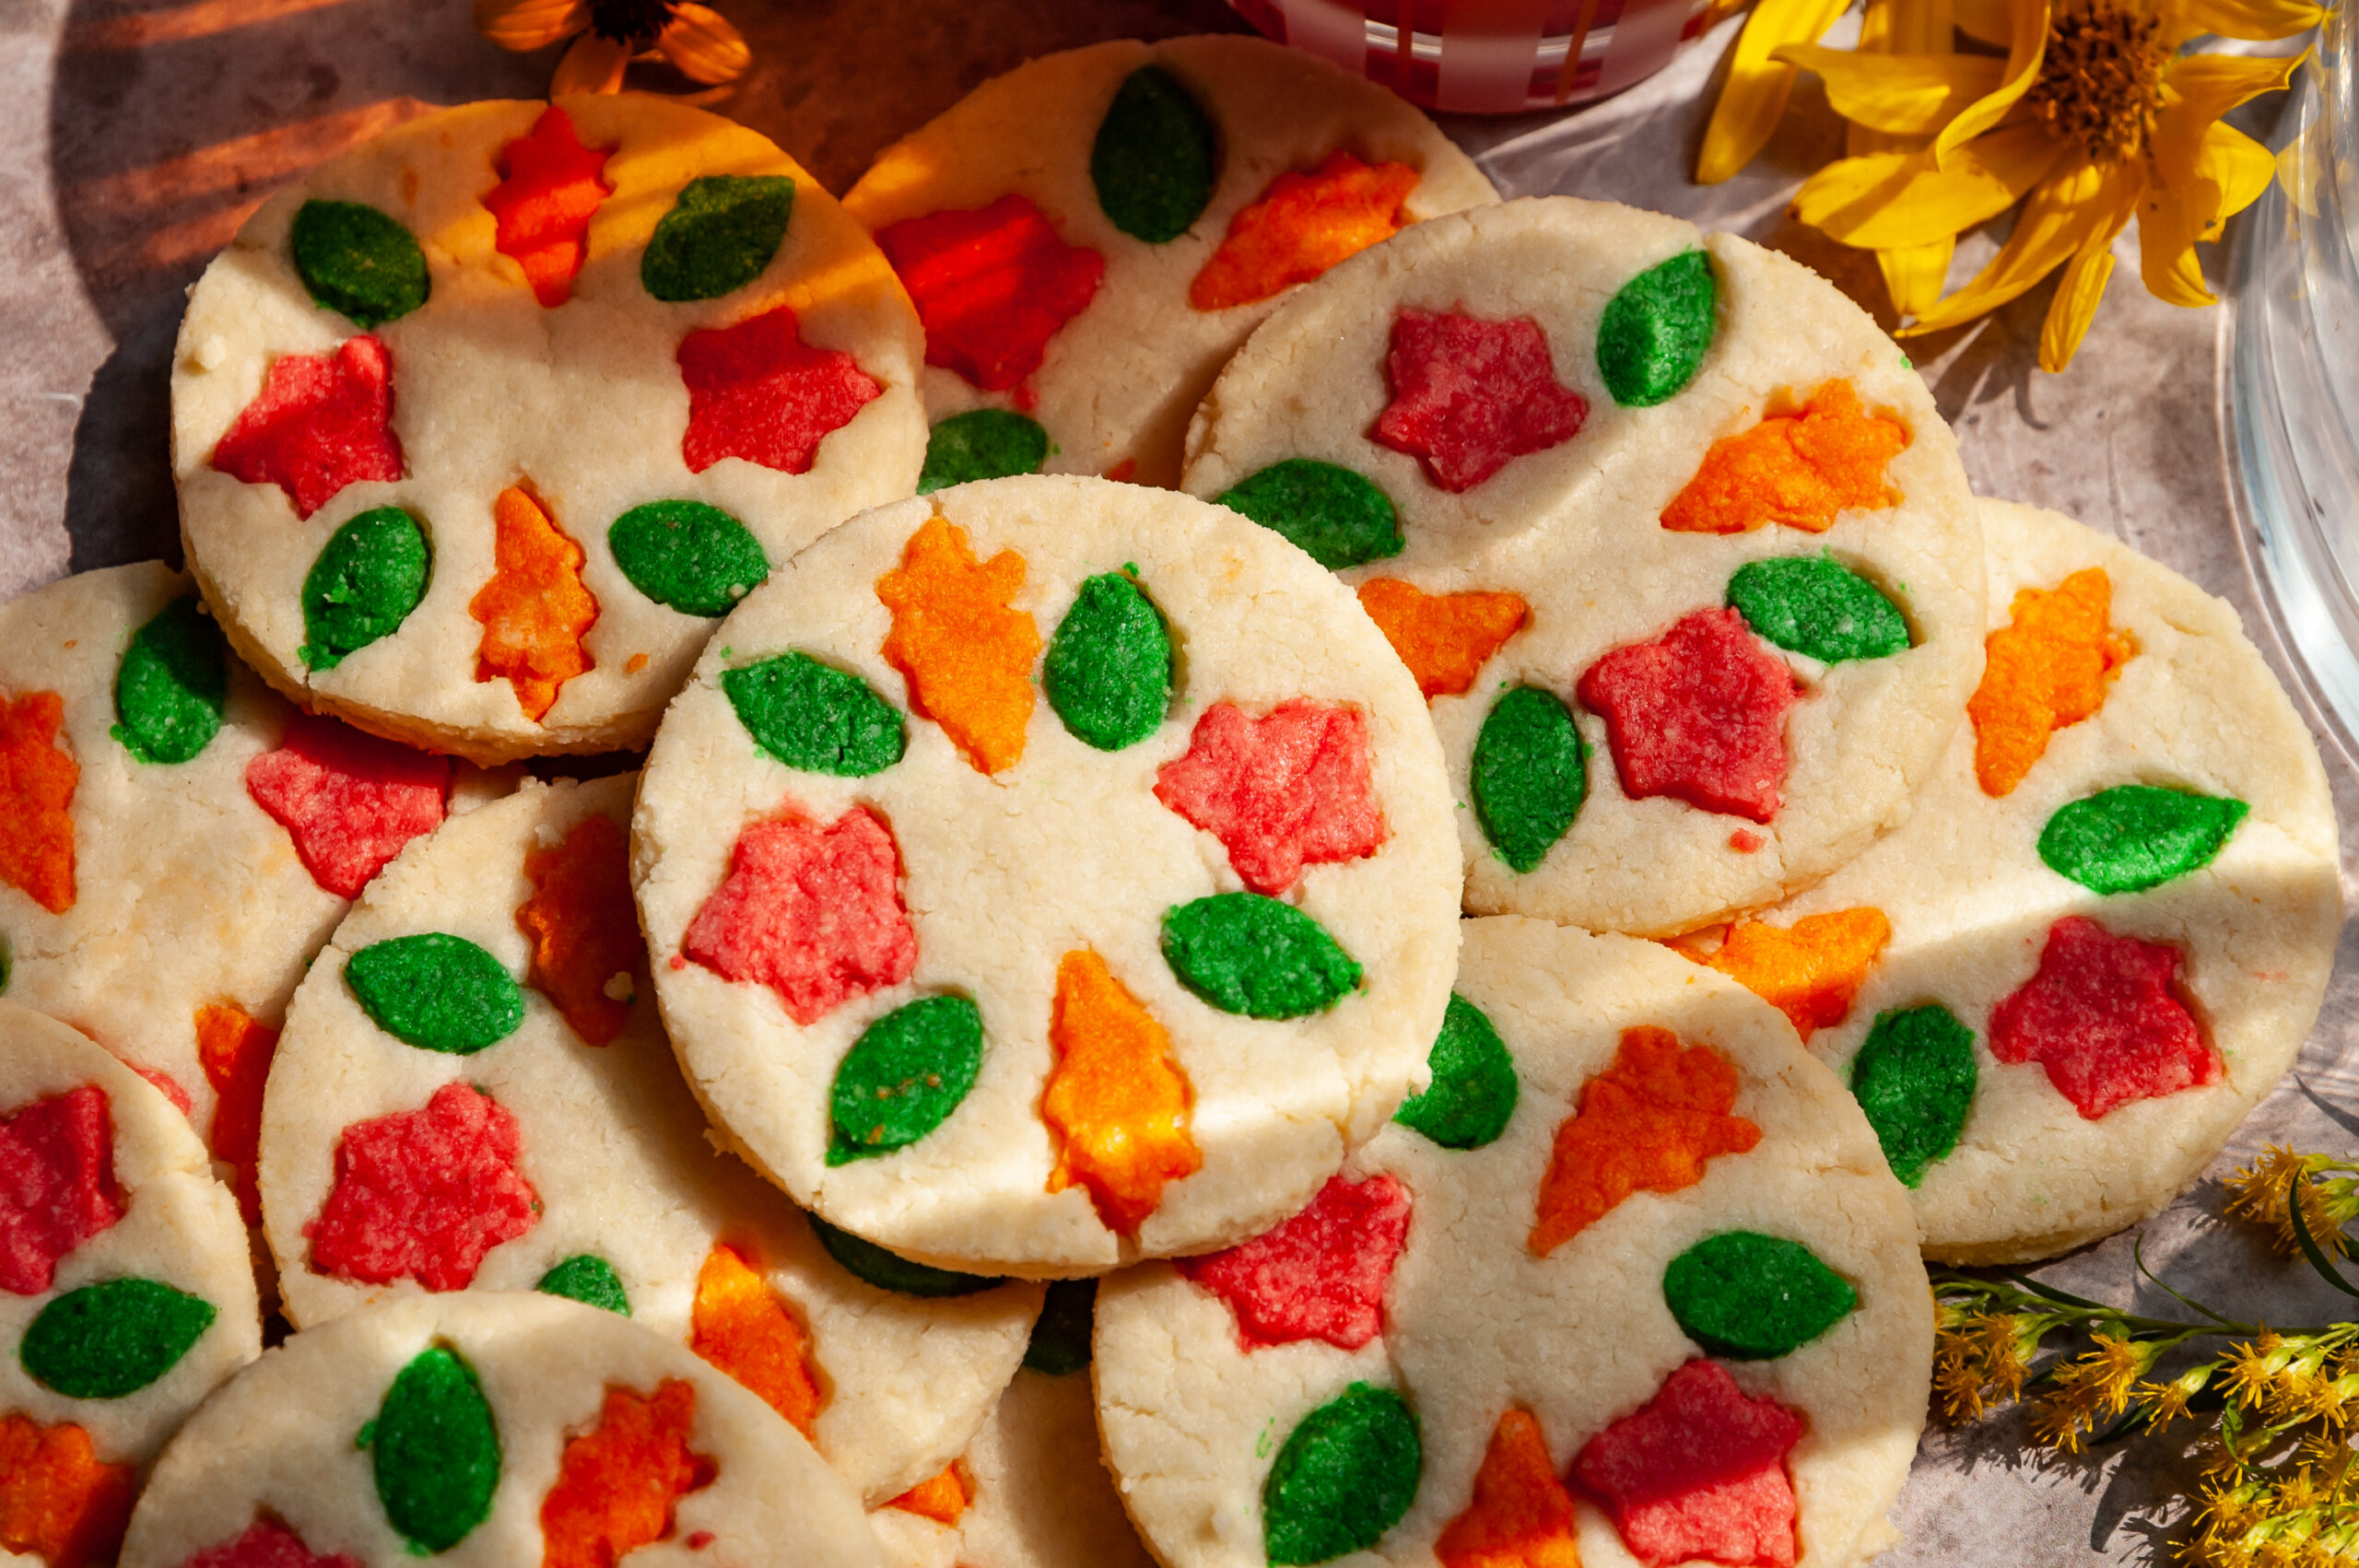
Nothing marks the changing of the seasons like the turning of the leaves! Celebrate the season with these cute fall leaf shortbread cookies. These shortbread cookies are buttery, tender, and crispy. The dough comes together super easily in the food processor with only 5 ingredients. The decorating is where the work comes in for these. It is intricate work, but they are a real show stopper. In order to achieve the intricate leaf details, I used clay cutters instead of cookie cutters. You can also find various clay cutters on Amazon. You want to use very small shapes for this to create that "stained glass" look to it. If you host during the fall, put these on the menu!
Jump to:
🧾 The Ingredients:
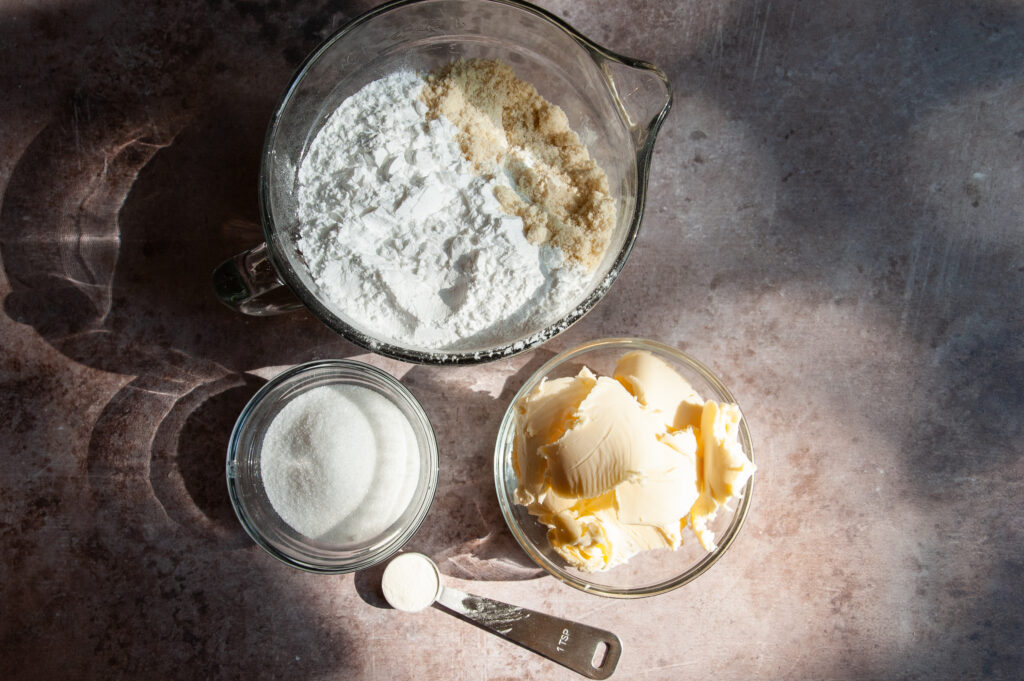
Here is the list of ingredients you will need to make these fall shortbread cookies.
- Almond Flour: This grain free flour makes up the dough for these cookies.
- Tapioca Flour: This grain free flour works in combination with the almond flour to create just the right buttery texture for these cookies.
- Dairy Free Butter: I suggest using Earth Balance vegan butter or another stick vegan butter variation as a sturdy butter that holds its structure well is super important for these shortbread cookies.
- Sugar: Shortbread cookies are not overly sweet, so just a bit of sugar gets added for a touch of sweetness and flavor balance.
- Xanthan Gum: This gluten free baking agent aids in gluten free baked goods maintaining their moisture so they do not become too crumbly.
- Gel Food Dye: You can use any color you would like to create these cookies. I suggest using gel food dye so that it does not affect the moisture content or texture of these cookies.
Step By Step Preparation Instructions:
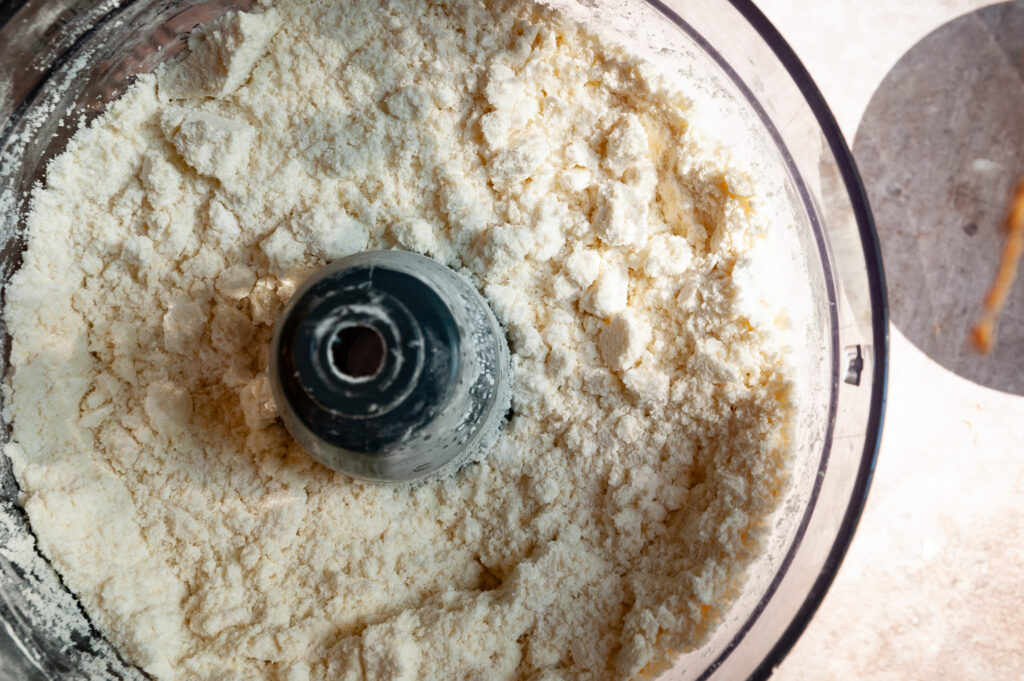
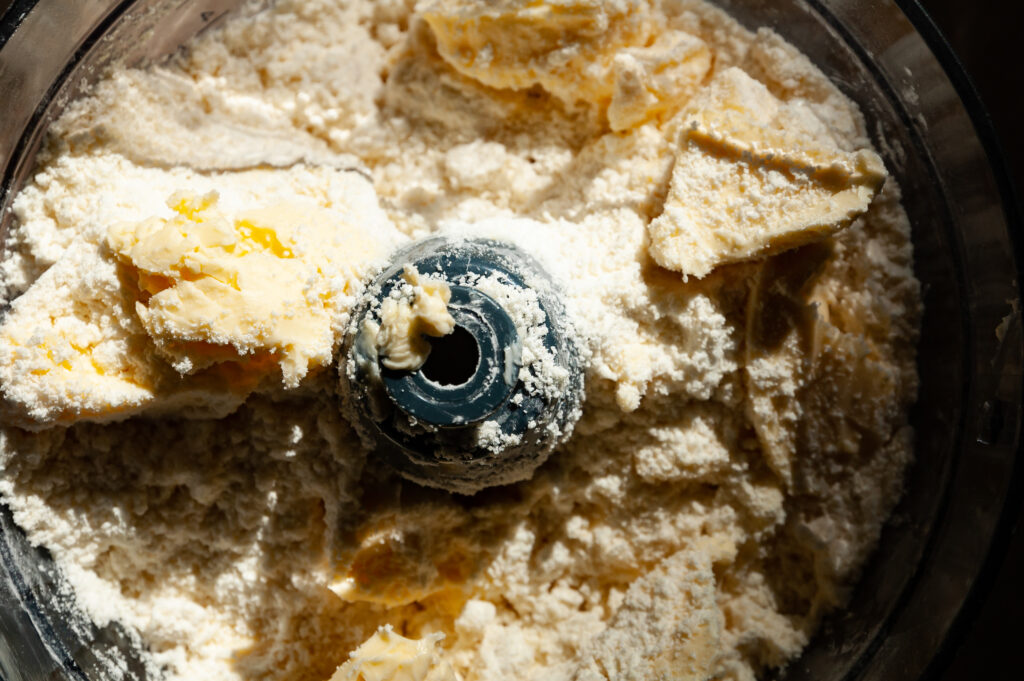
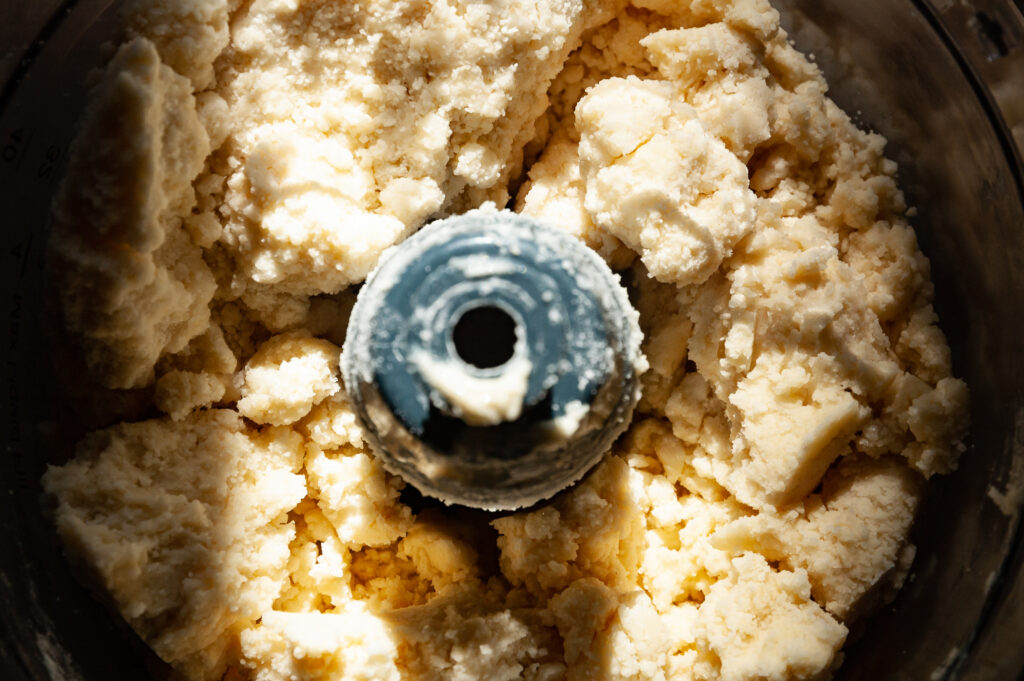
- Step 1: Preheat the oven to 350. First let's make the dough. Add the dry ingredients to a food processor and pulse until well mixed. Next, add in the butter and pulse, then mix on low until a dough starts to form. You want to ensure the butter is well mixed and evenly dispersed. Any pockets of butter will make the dough difficult to work with, and it will not bake properly.
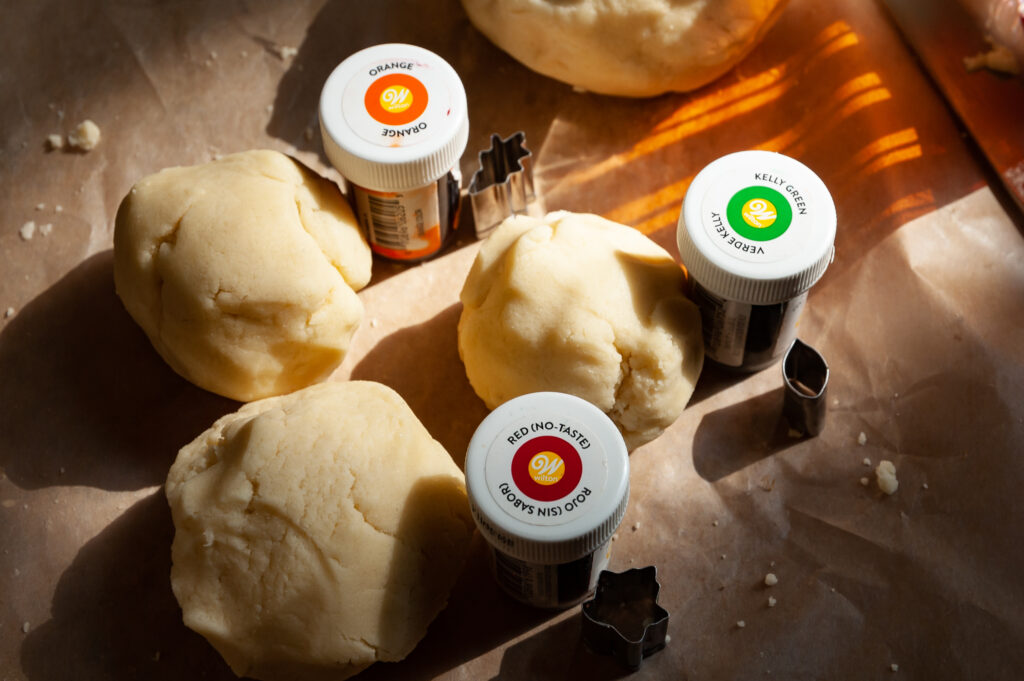
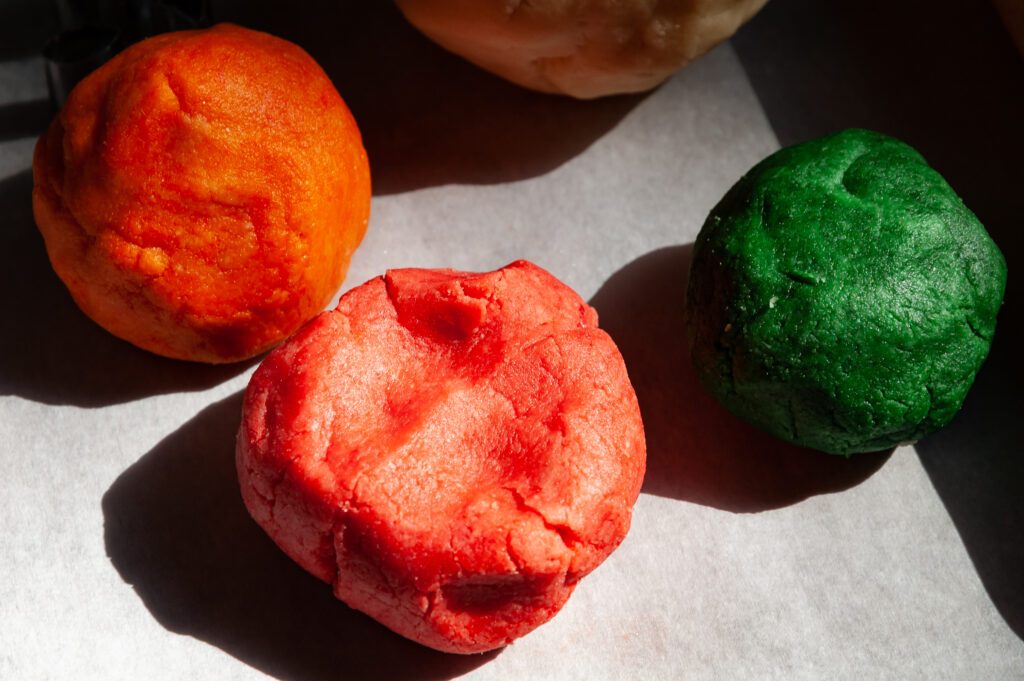
- Step 2: Turn the dough out onto a parchment paper lined cookie sheet and knead it together until it holds all together. Divide the dough into ⅔ and ⅓. The ⅓ portion will get divided and dyed to create the colorful fall leaves. The ⅔ dough will remain plain and will create the actual cookie.
- Step 3: Dye your dough according to your preference. I find it best to use gel food dye so it doesn't affect the dough texture.
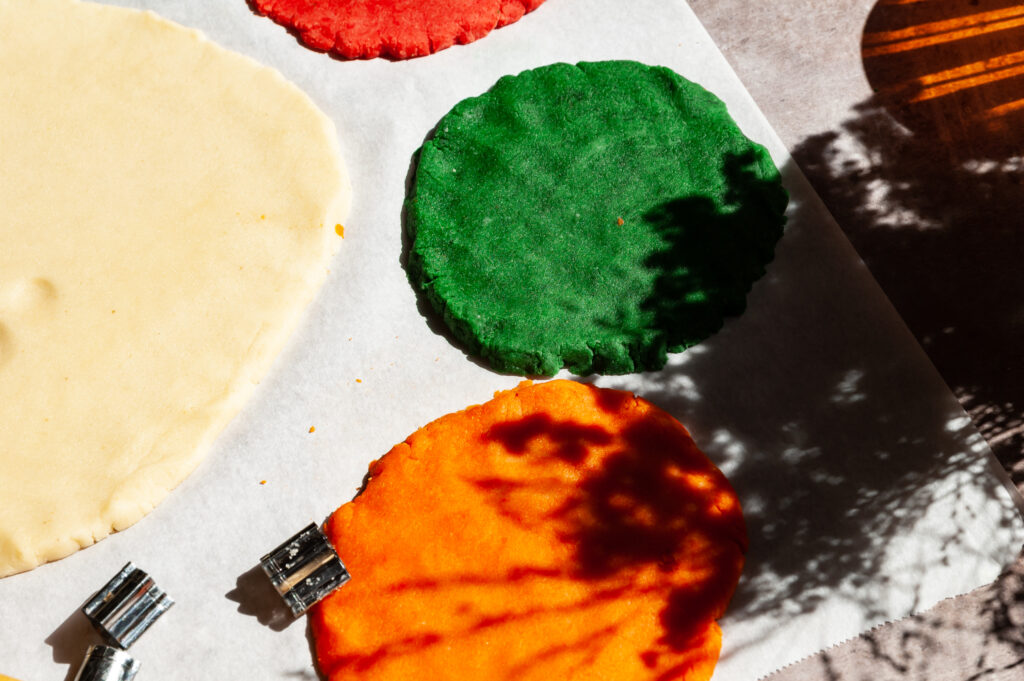
- Step 4: Roll each dough portion into a disk shape, about ½ cm thick. You don't want the dough too thin as it because more difficult to work with the thinner it becomes. Making the dough too thick creates a more tender cookie and will result in fewer cookies. However, always err on the side of thicker dough for ease of use.
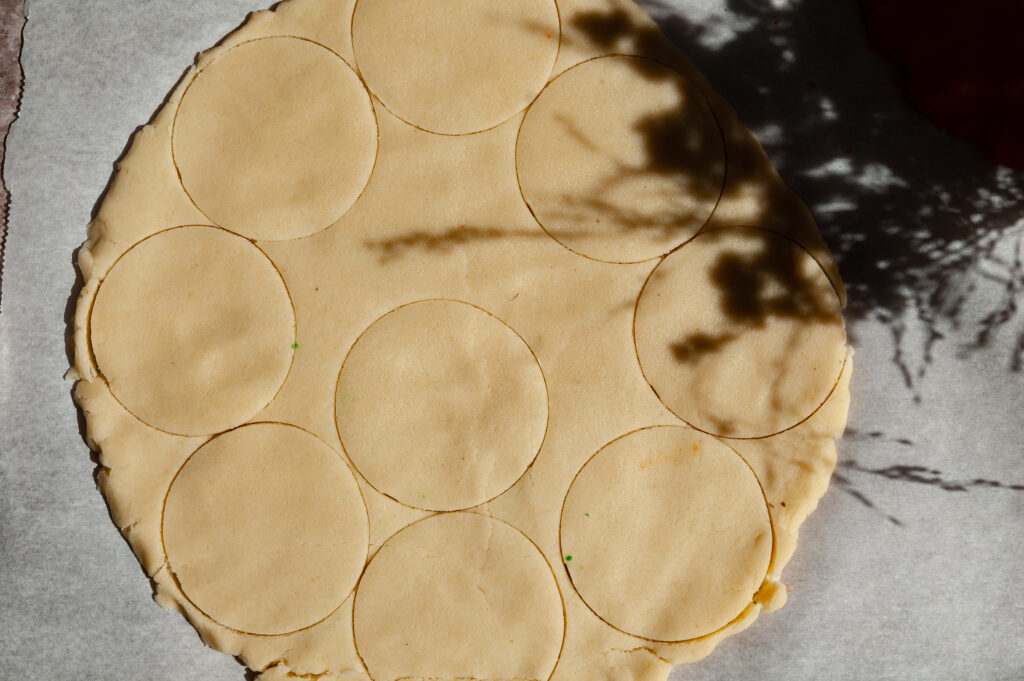
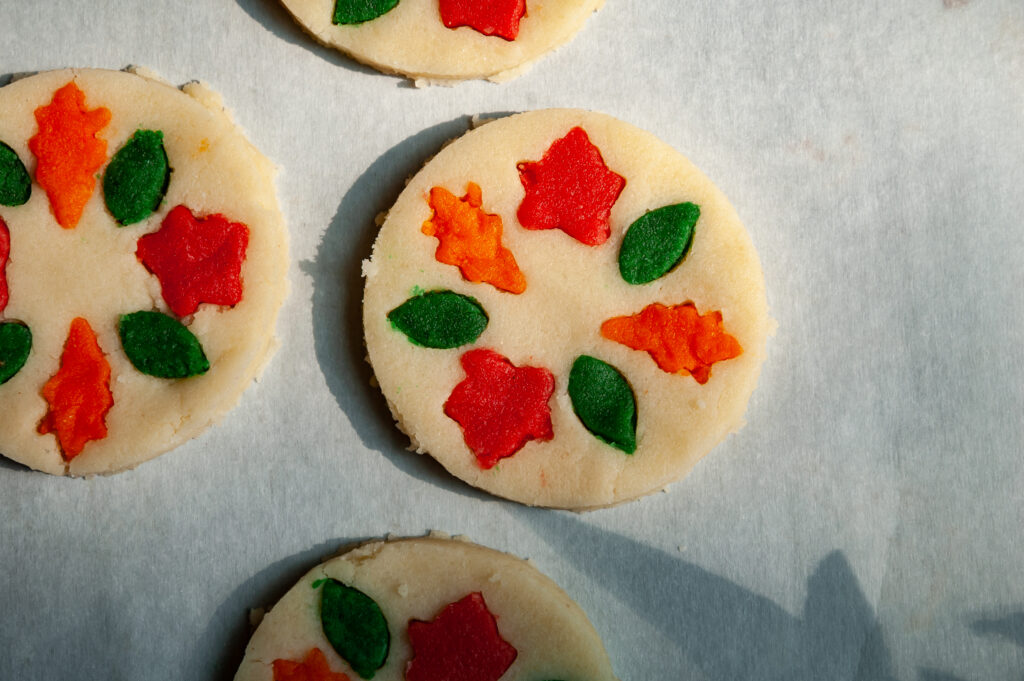
- Step 5: When the plain dough has been rolled out, use a circular cookie cutter to cut out the cookie shape. Then, in a pattern you prefer, begin to cut out the intricate leaf pattern on each individual cookie. Remove the cut out leaf shape from the cookie. This left over dough will be re-rolled later to make more cookies.
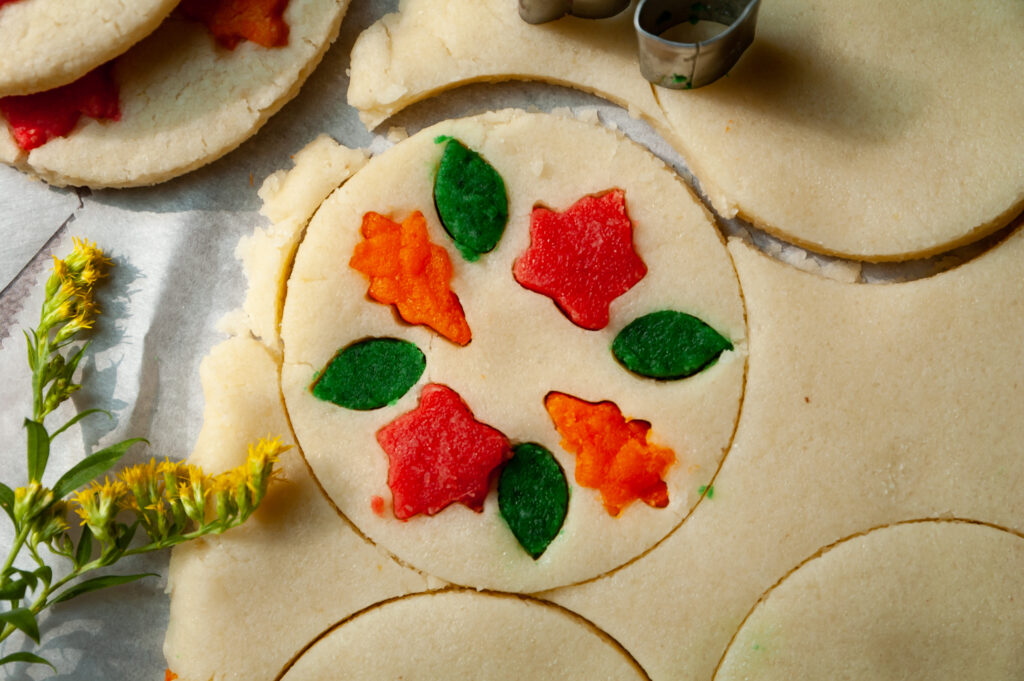
- Step 6: From your color dough, cut out corresponding leaf shapes and replace the shape that has been removed from the plain cookie dough as seen below. Think of it as a puzzle! Continue this until each cookie has a pattern you like and all cookies are complete.
- Step 7: Individually scrape up the dough scraps and reform a disk with each color of dough and continue to create cookies until all dough has been used.
- Step 8: Using a spatula or offset spatula, carefully transfer the cookies to a parchment paper lined cookie sheet and bake for 11-12 minutes.
📖 The Recipe:
Fall Shortbread Cookies
Equipment
- Mini clay cutters
Ingredients
- 200 grams almond flour
- 210 grams tapioca flour
- 180 grams dairy free butter I find Earth Balance vegan butter is the best for this recipe
- 100 grams sugar
- 1 tsp xanthan gum
Instructions
- Preheat the oven to 350. First let's make the dough. Add the dry ingredients to a food processor and pulse until well mixed.
- Next, add in the butter and pulse, then mix on low until a dough starts to form. You want to ensure the butter is well mixed and evenly dispersed. Any pockets of butter will make the dough difficult to work with, and it will not bake properly.
- Turn the dough out onto a parchment paper lined cookie sheet and knead it together until it holds all together. Divide the dough into ⅔ and ⅓. The ⅓ portion will get divided and dyed to create the colorful fall leaves. The ⅔ dough will remain plain and will create the actual cookie.
- Dye your dough according to your preference. I find it best to use gel food dye so it doesn't affect the dough texture.
- Roll each dough portion into a disk shape, about ½ cm thick. You don't want the dough too thin as it because more difficult to work with the thinner it becomes. Making the dough too thick creates a more tender cookie and will result in fewer cookies. However, always err on the side of thicker dough for ease of use.
- When the plain dough has been rolled out, use a circular cookie cutter to cut out the cookie shape. Then, in a pattern you prefer, begin to cut out the intricate leaf pattern on each individual cookie. Remove the cut out leaf shape from the cookie. This left over dough will be re-rolled later to make more cookies.
- From your color dough, cut out corresponding leaf shapes and replace the shape that has been removed from the plain cookie dough. Think of it as a puzzle! Continue this until each cookie has a pattern you like and all cookies are complete.
- Individually scrape up the dough scraps and reform a disk with each color of dough and continue to create cookies until all dough has been used.
- Using a spatula or offset spatula, carefully transfer the cookies to a parchment paper lined cookie sheet and bake for 11-12 minutes.
The Finished Product:
Such a fun way to usher in the season! A whimsical, fall delight to celebrate the beauty of the fall!


Leave a Reply