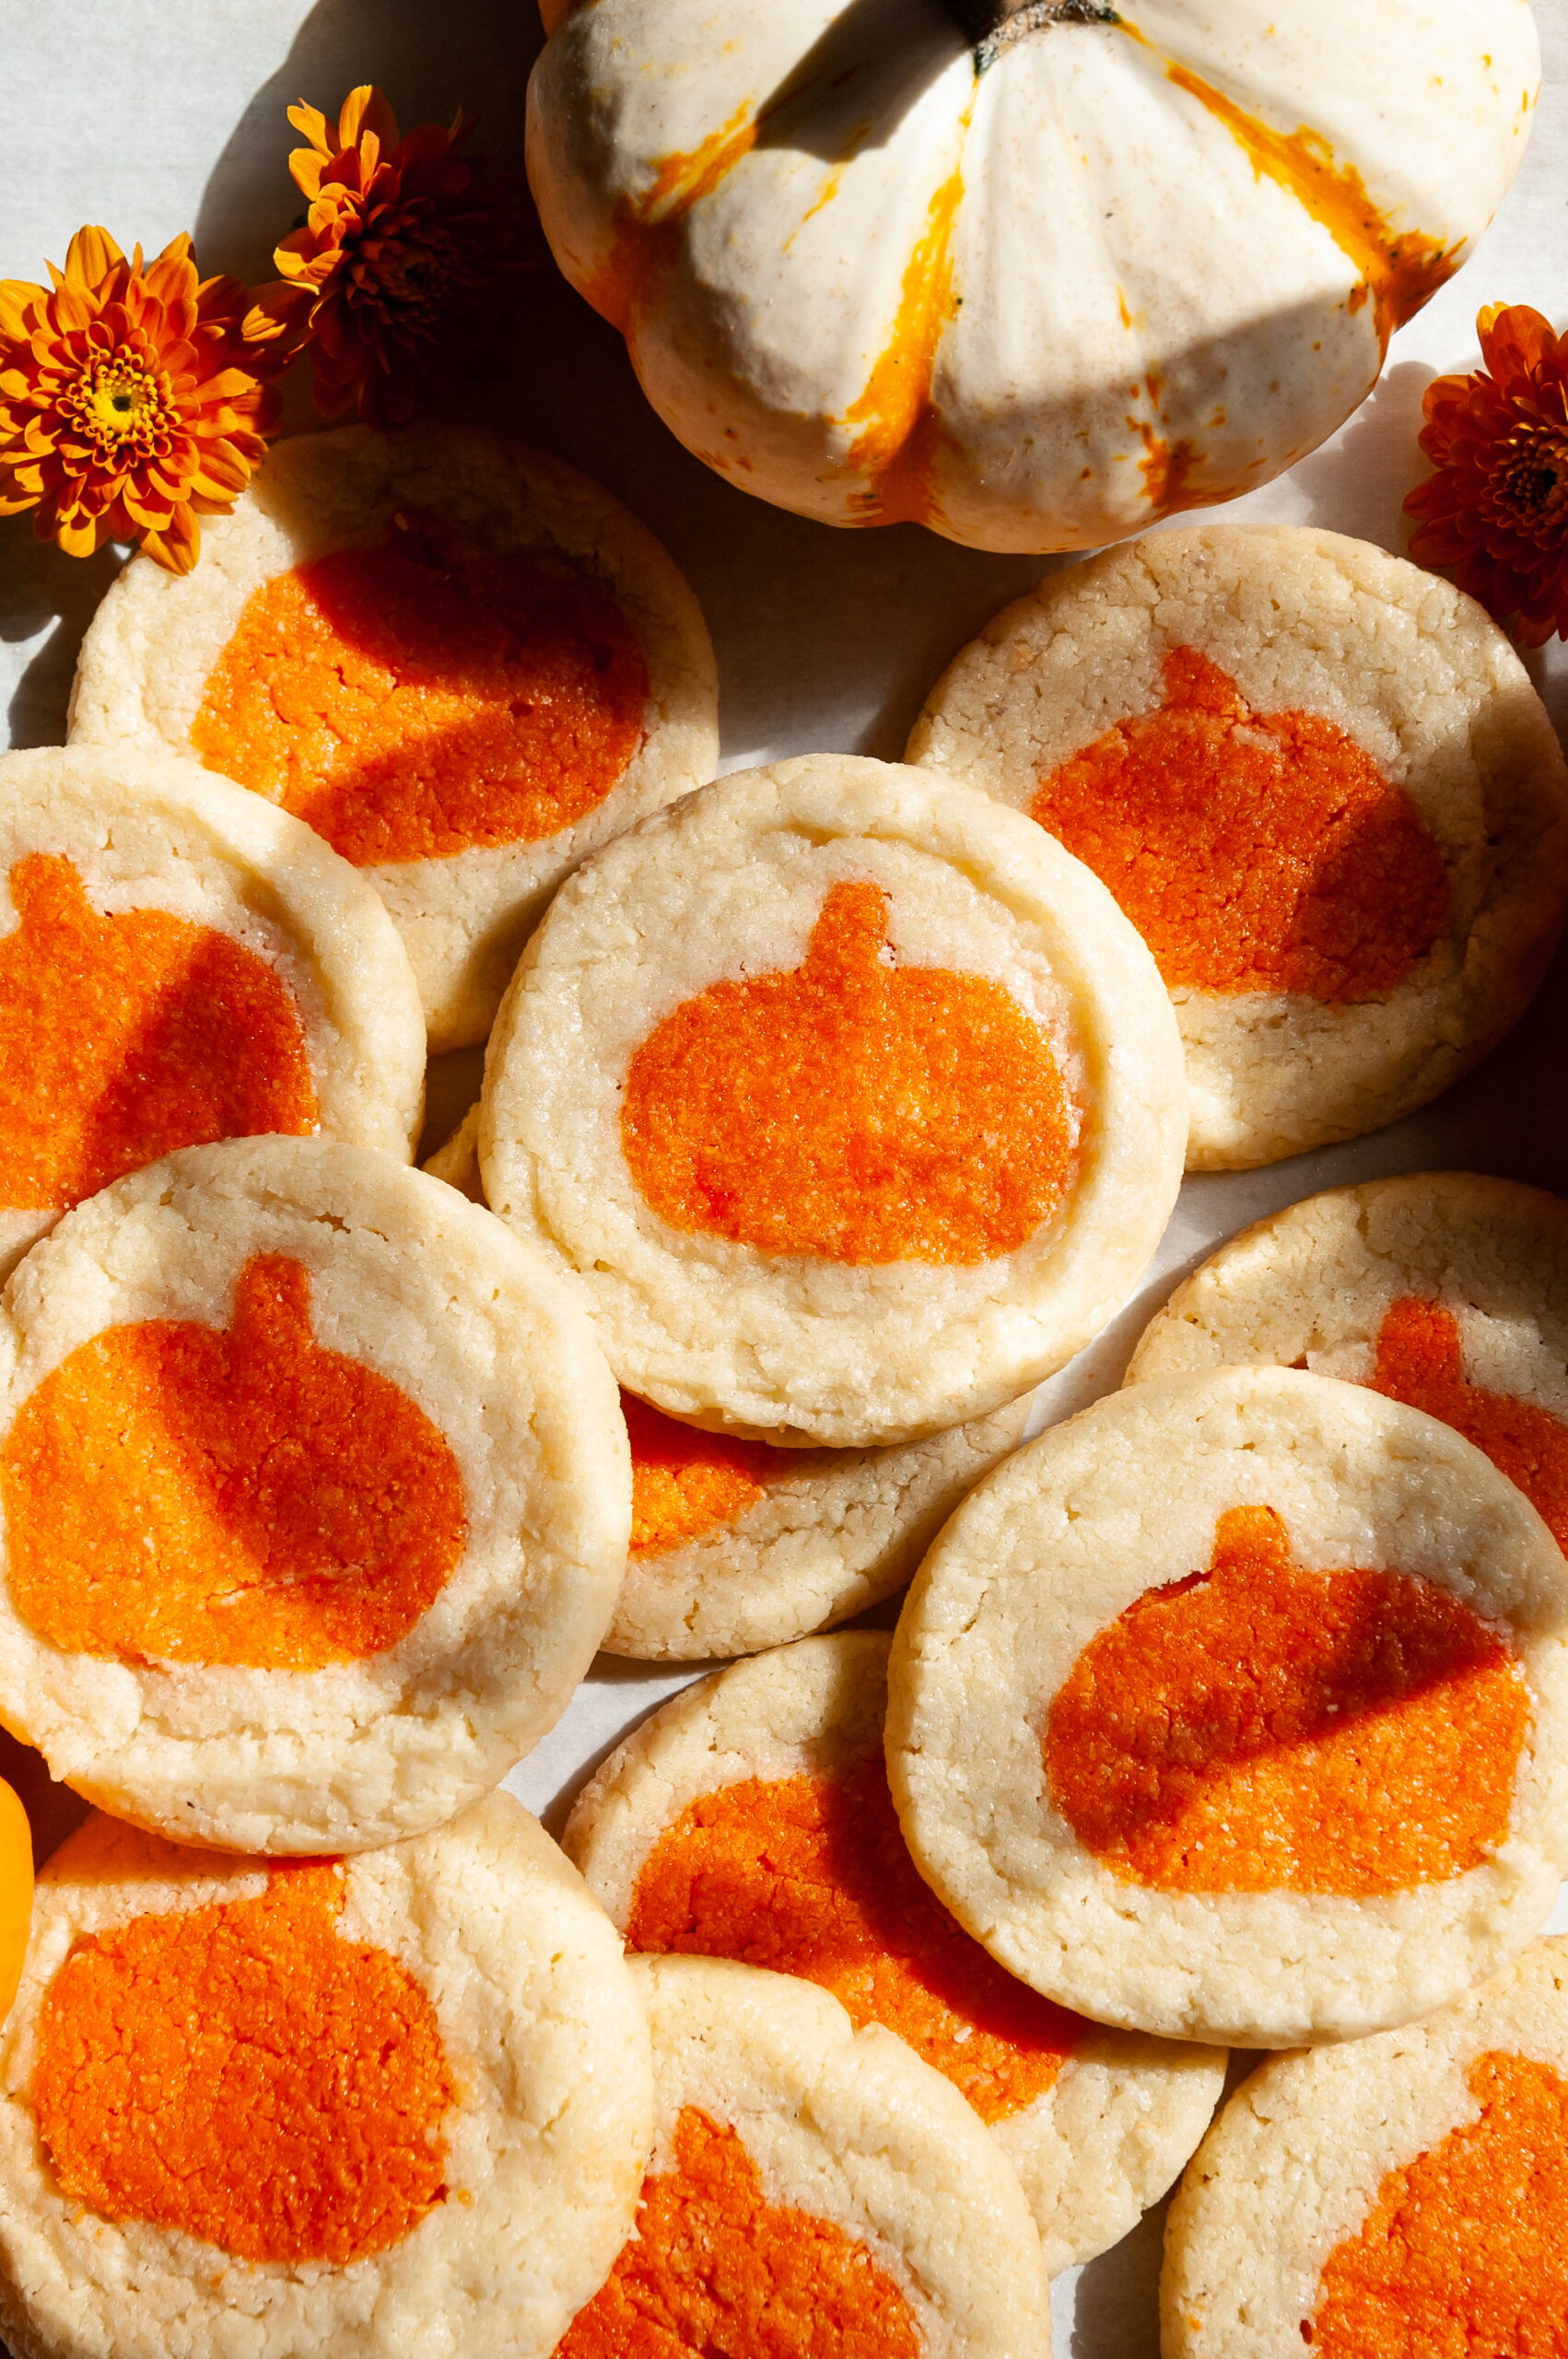
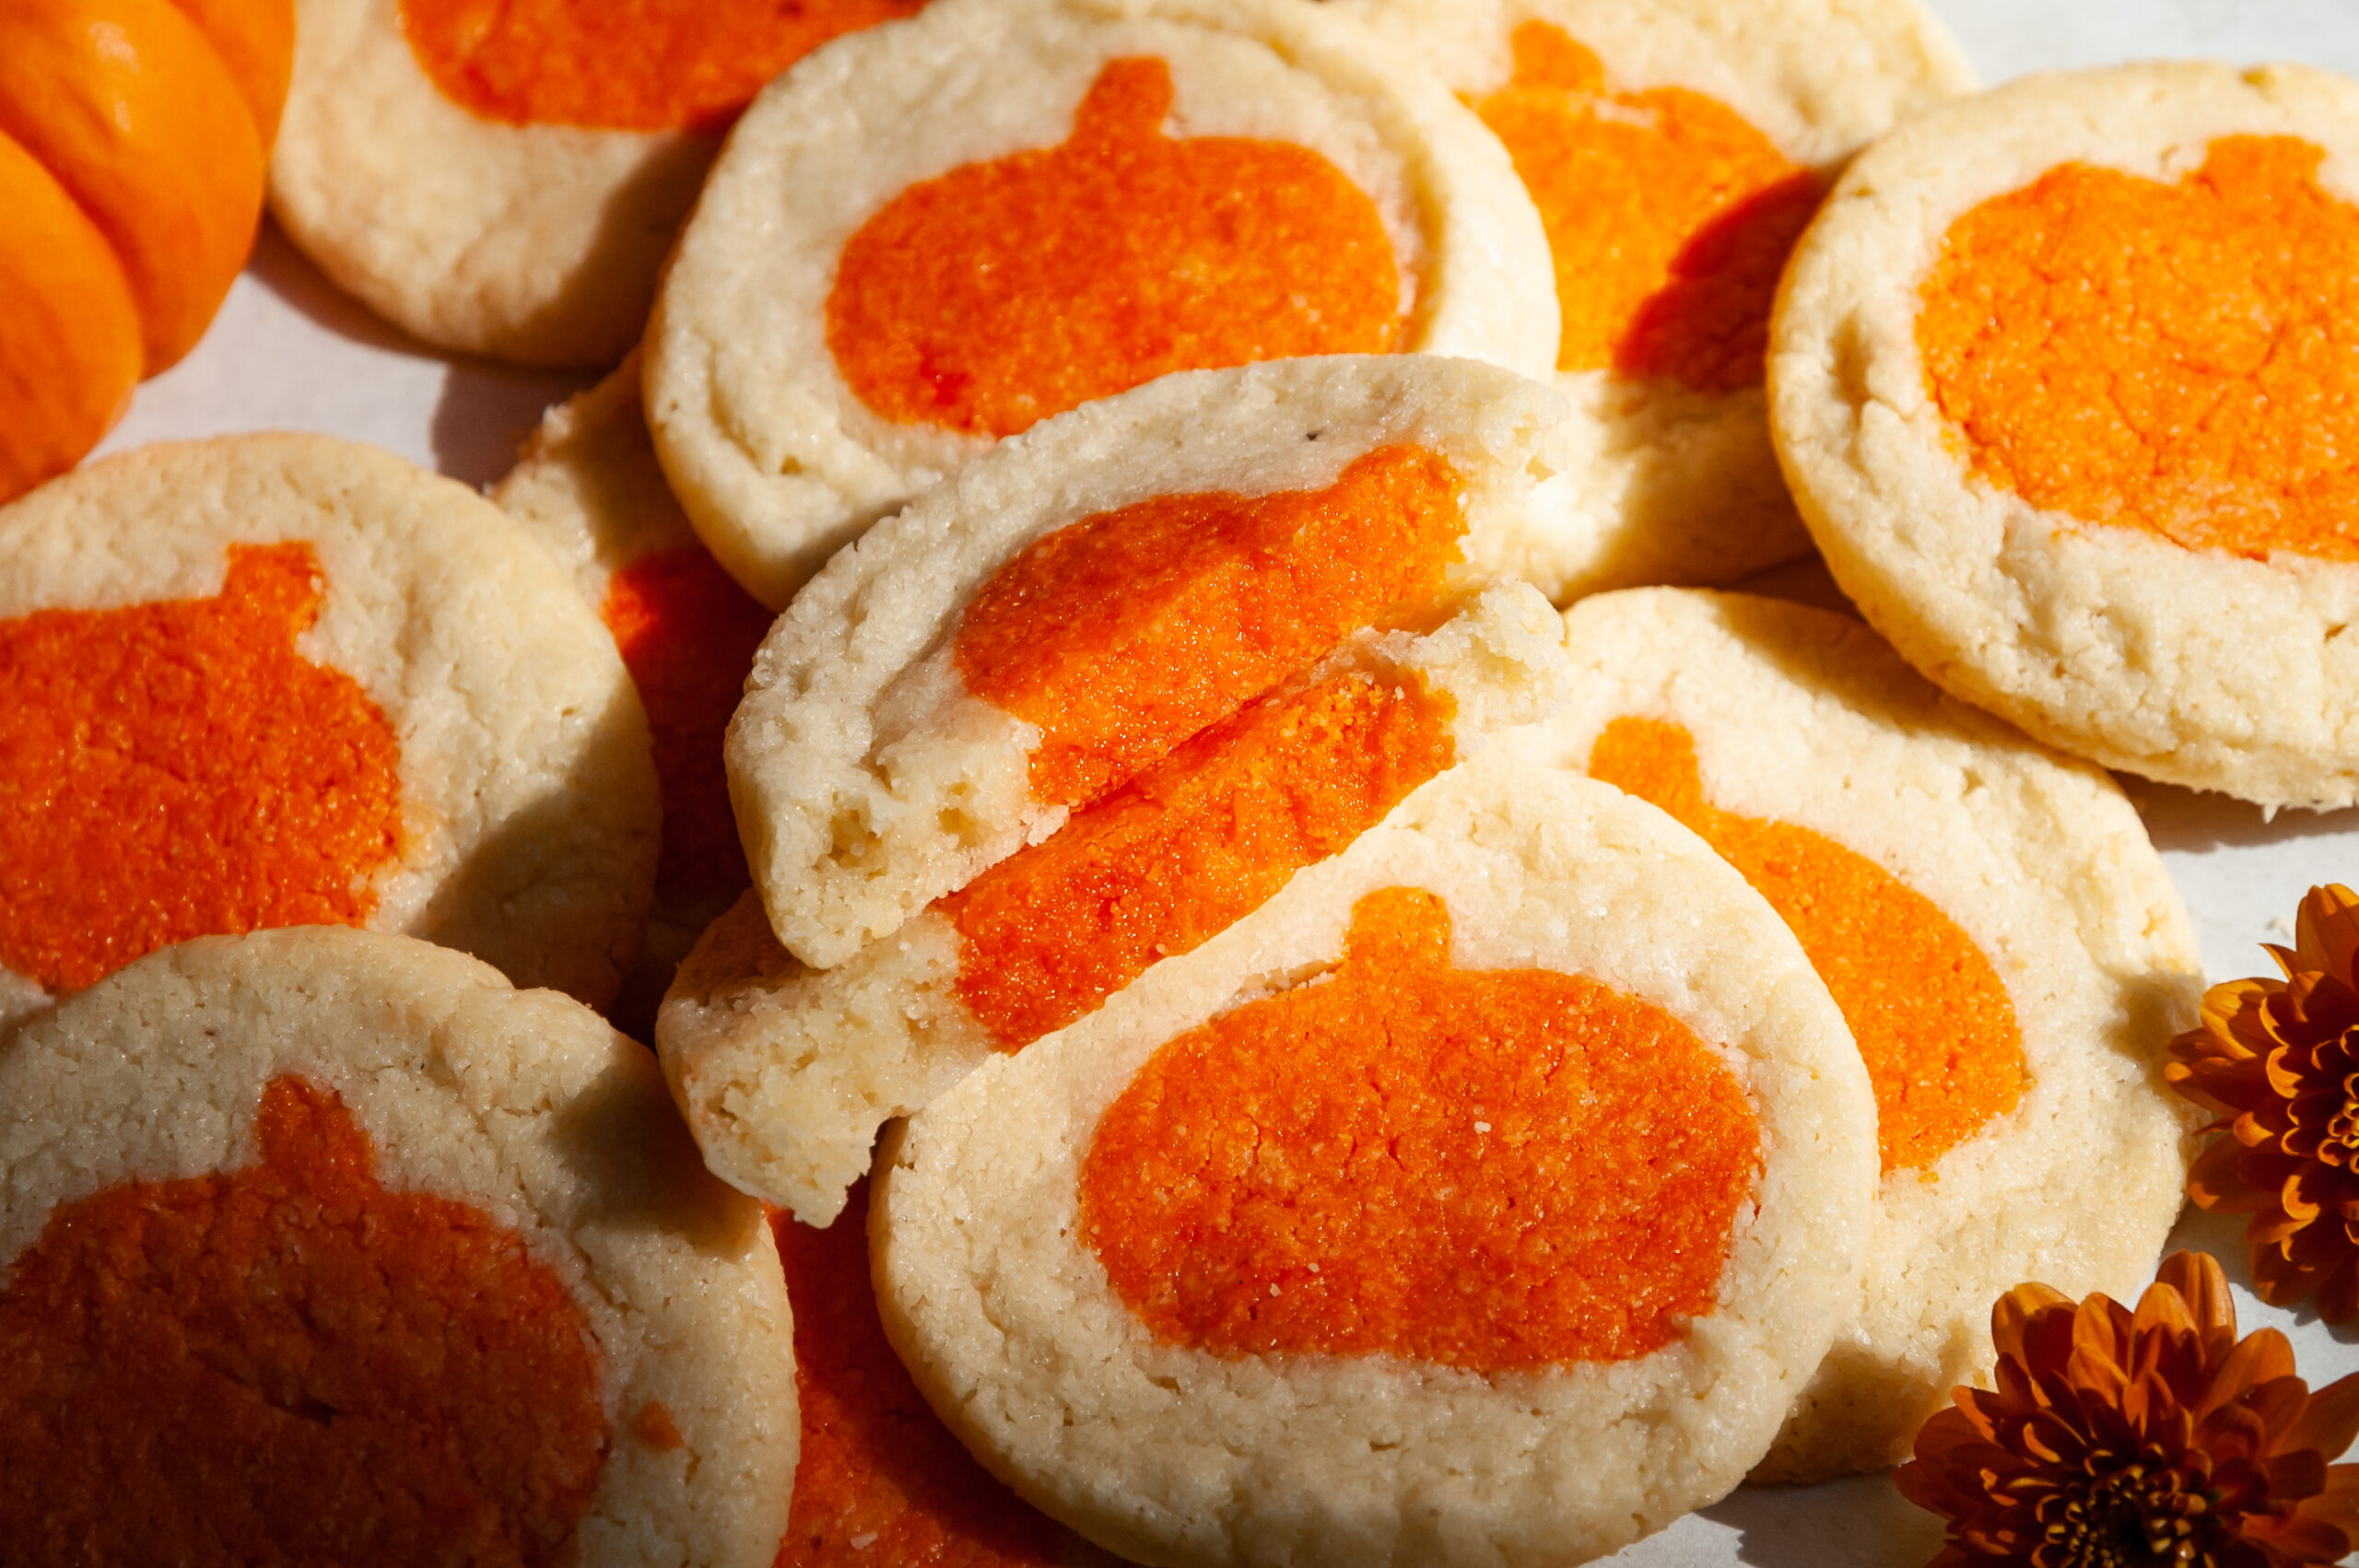
Who doesn't love Pilsbury's ready to bake holiday cookies!? If you have a dietary restriction, you shouldn't miss out on that fun fall tradition. Make these slice and bake Halloween cookies at home and have an allergy-friendly version instead!
The Story:
These slice and bake sugar cookies are nostalgic, fun, whimsical, and allergy friendly! The dough is a simple grain free sugar cookie base that comes together in one bowl. To achieve the pumpkin inlay is where a bit of work comes in, but it is not difficult! The main components to achieve the cute pumpkin inlay are cutting out small pumpkin shapes using your dyed dough, stacking those shapes together to form a log, then wrapping the pumpkin shaped log in plain dough. It can take a little practice, but once you have it down you can create these for any season you'd like! Simply store in an airtight container in the freezer and they can be ready whenever you feel like getting festive!
🧾 The Ingredients:
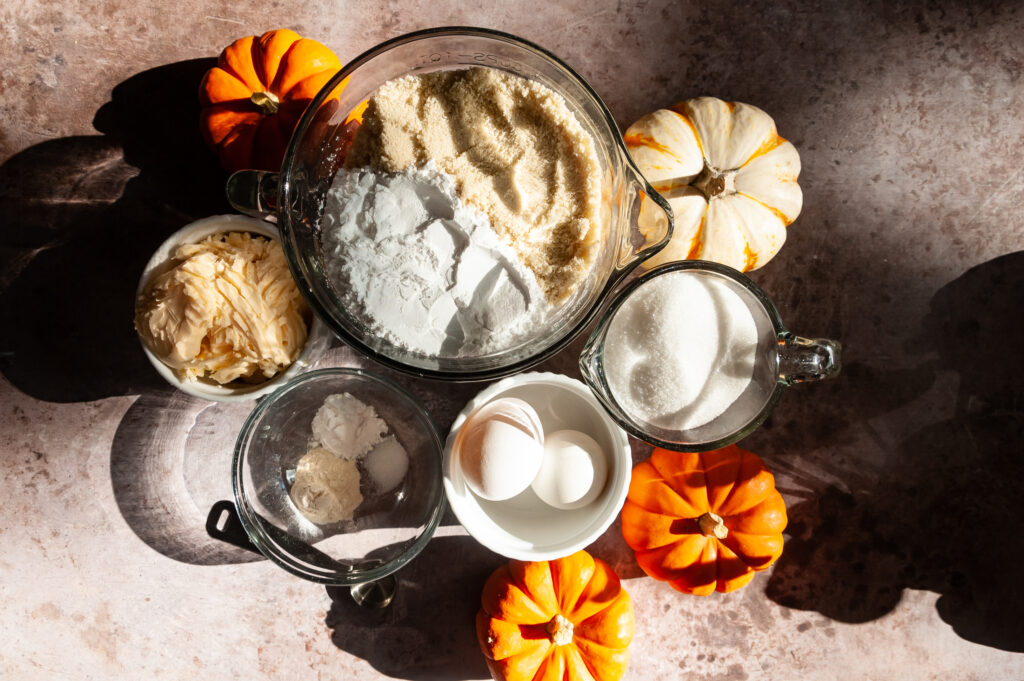
Here is the list of ingredients you will need to make these slice and bake halloween cookies.
- Almond Flour: This grain free flour creates the structure for these cookies and provides the perfect amount of moisture for a great chewy cookie.
- Tapioca Flour: This grain free flour works in combination with the almond flour for the perfect texture, and it helps absorb the liquid ingredients.
- Dairy Free Butter: It is important to use a sturdy butter for this recipe. I find that Earth Balance works well and helps the cookies maintain their structure during baking.
- Egg Yolk: An egg yolk provides just enough binding for these cookies.
- Sugar: Of course every cookie needs some sugar!
- Clear Vanilla Extract: Using clear vanilla extract provides that enticing "store-bought" flavor.
- Xanthan Gum: This gluten free baking agent helps gluten free baked goods maintain their moisture and structure so they do not become too crumbly.
- Salt: A pinch of salt is needed for ideal flavor balance.
- Baking Powder: This is the rising agent for this recipe. You want these cookies to rise a bit, but not too much that they lose their shape.
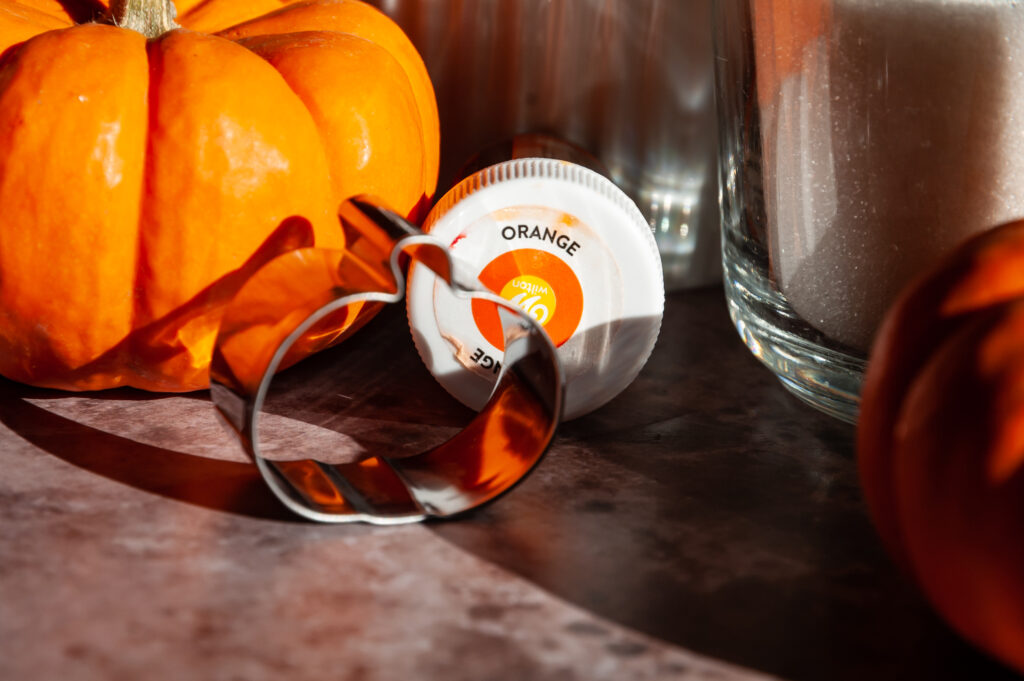
- Orange Food Dye: I prefer to use gel dye so that it doesn't affect the texture or make the dough too soft. It would probably be fine to use whatever dye you have on hand though!
Step By Step Preparation Instructions:
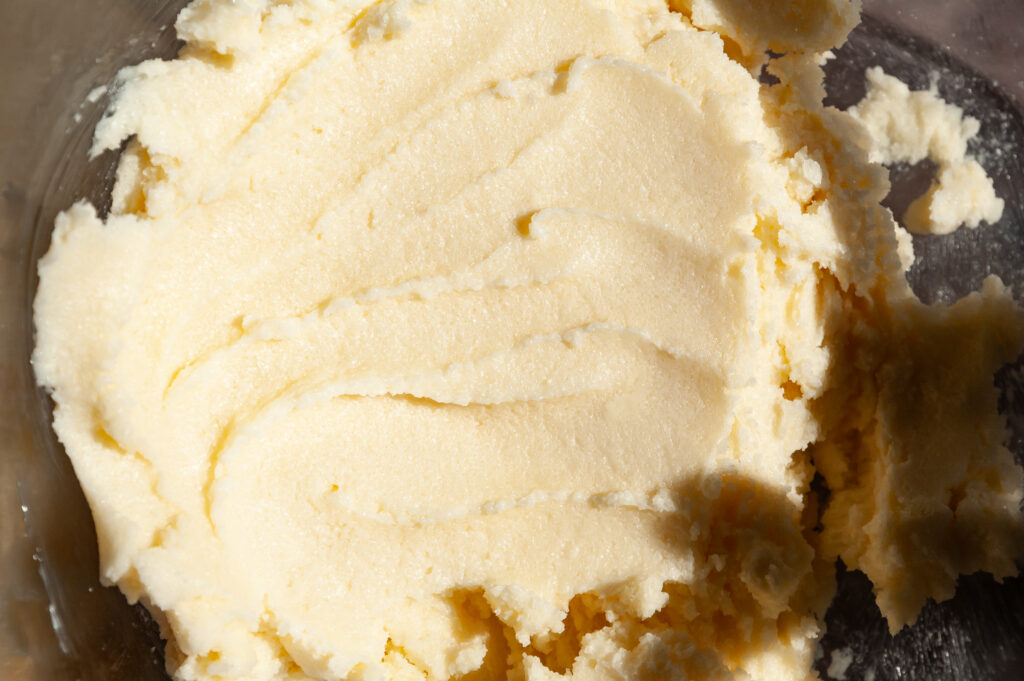
- Step 1: First, add the butter and sugar to a bowl and cream together until smooth and creamy.
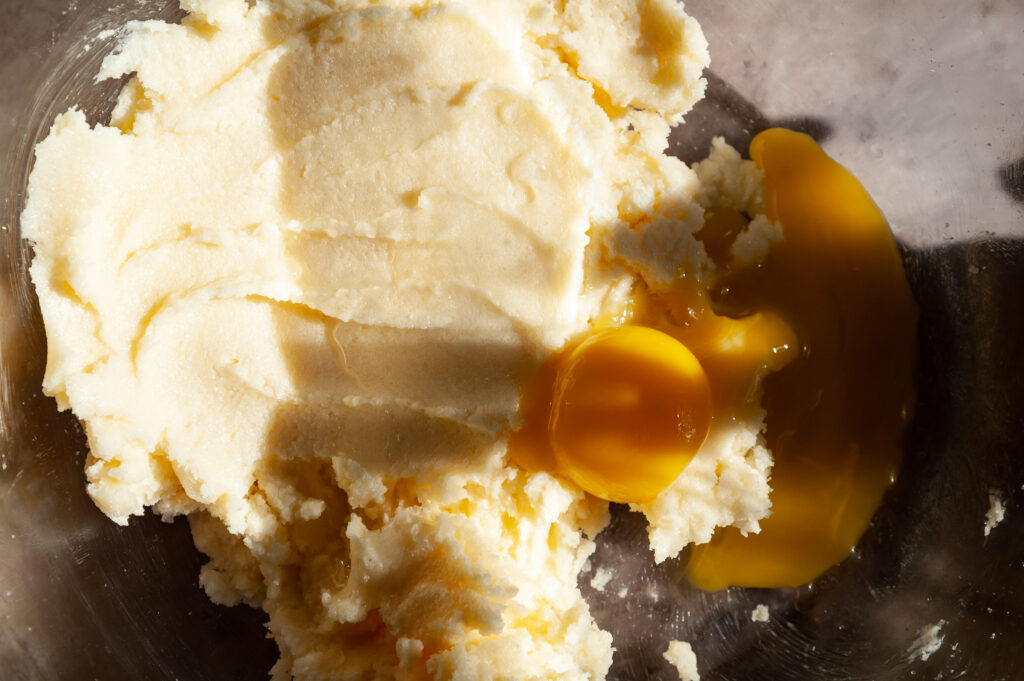
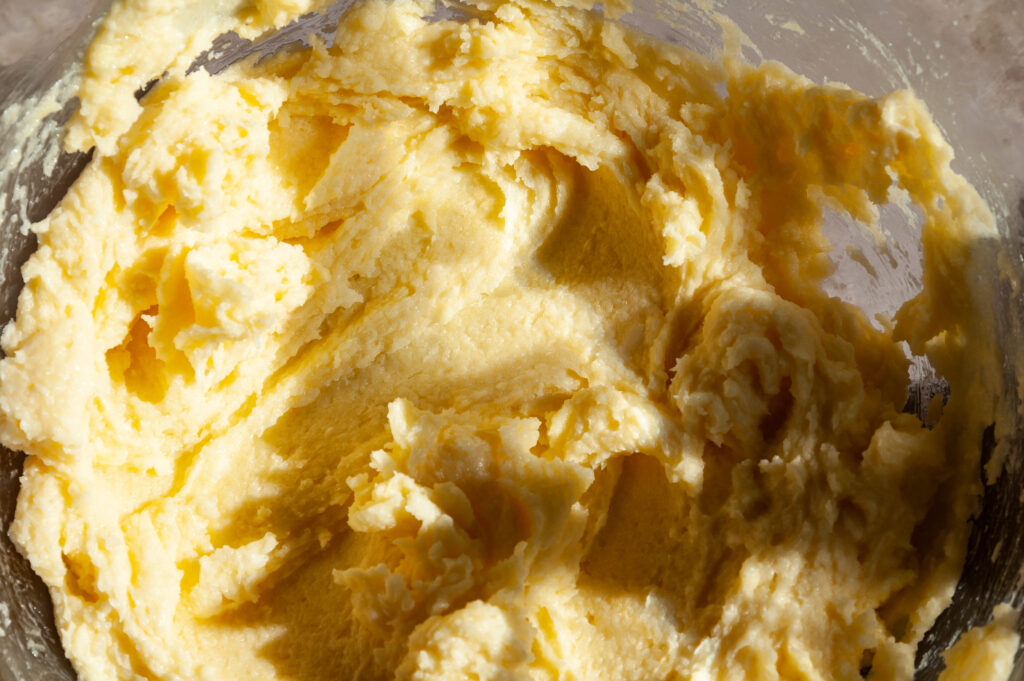
- Step 2: Next, add in the egg yolk and clear vanilla extract and mix well, again until smooth.
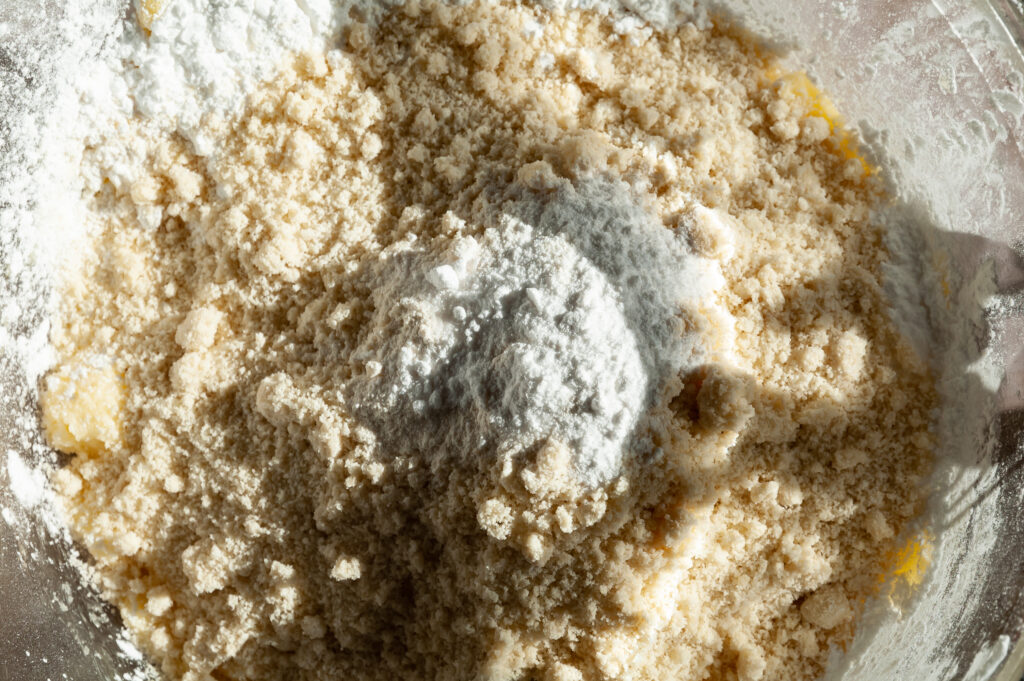
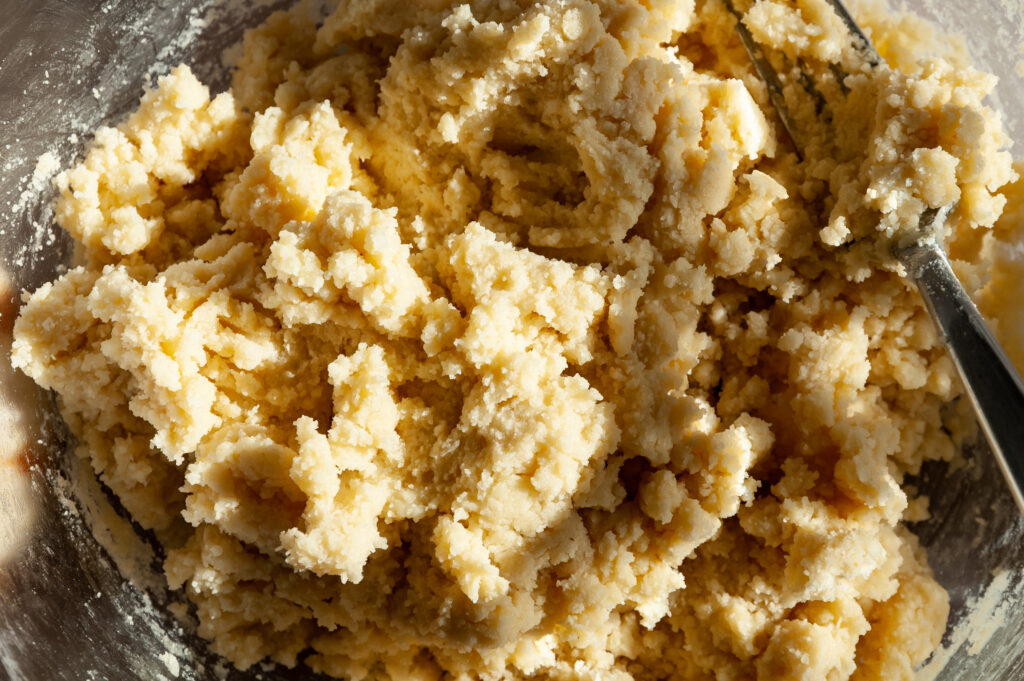
- Step 3: Next, add in the flour, remaining dry ingredients, and mix until the dough comes together.
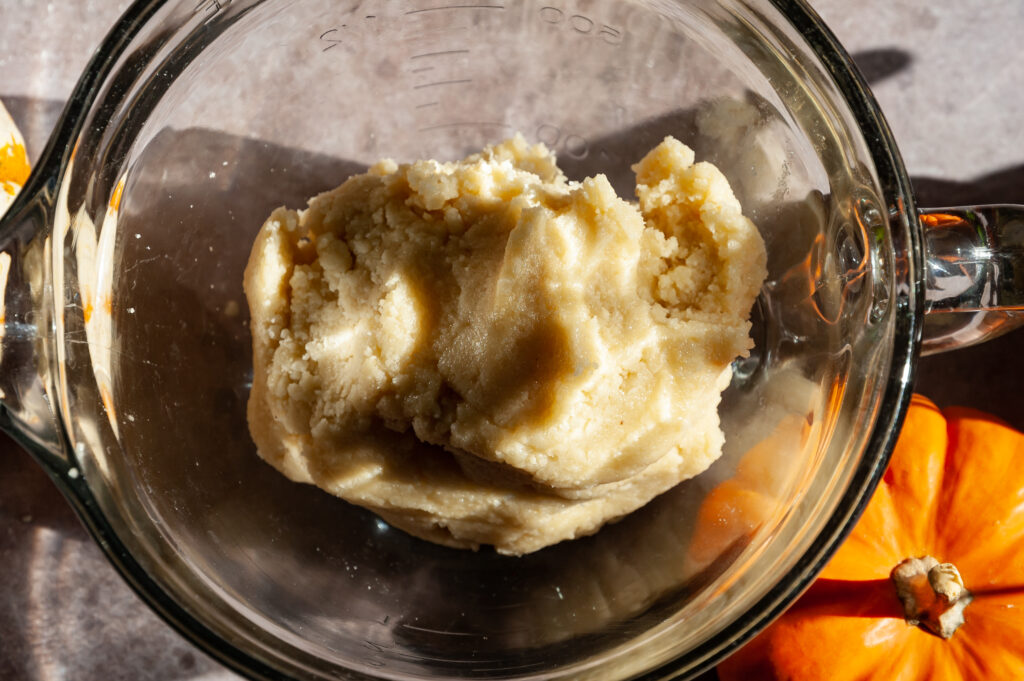
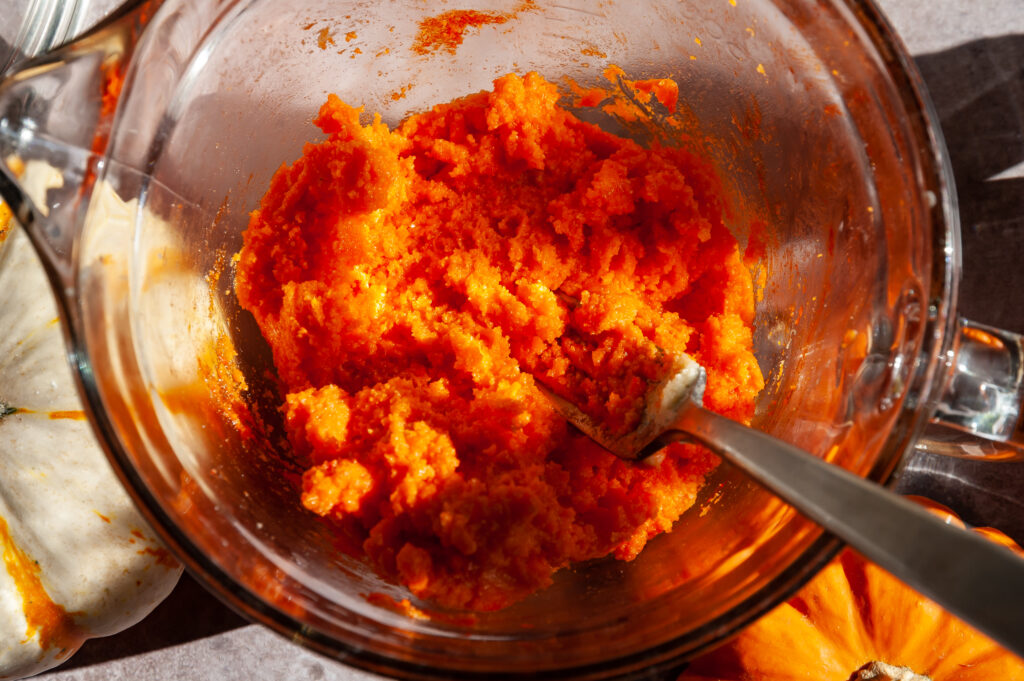
- Step 4: Divide your dough into about ⅔ and ⅓. The ⅓ portion of the dough will be the dough you dye. Dye the ⅓ portion of the dough orange, and set the ⅔ portion of plain dough to the side, or place in the refrigerator.
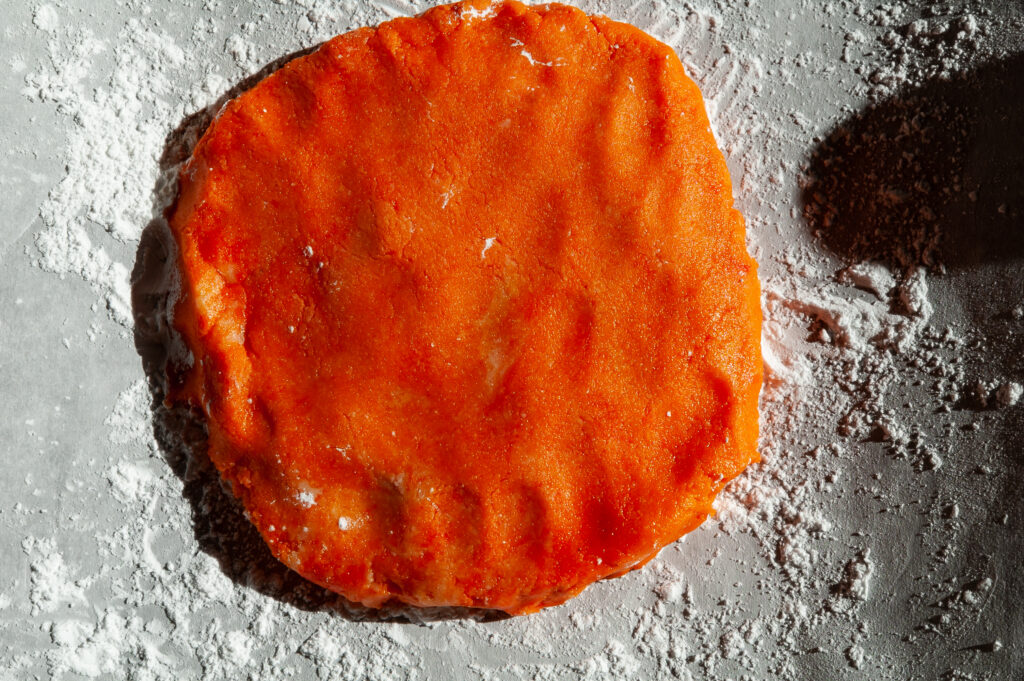
- Step 5: Roll the dyed dough into an even disk that is about an inch thick (thicker is better so that the dough is easier to work with), ensuring an even surface so that the individual pumpkin shapes stick together smoothly and evenly. Place in the freezer for about 20 minutes until the dough is firm, but not frozen.
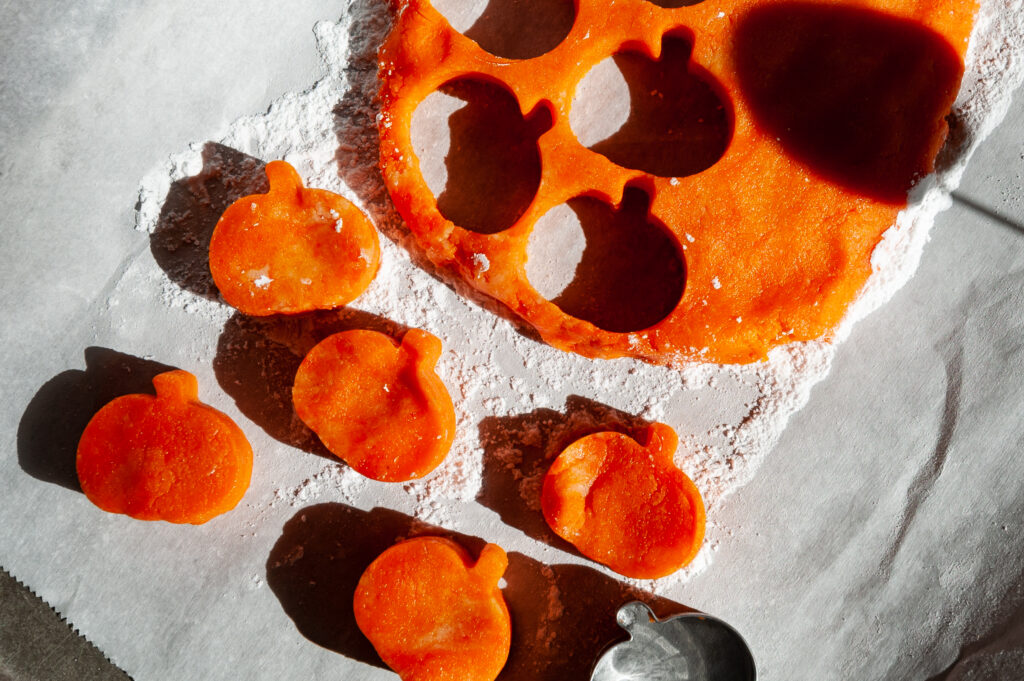
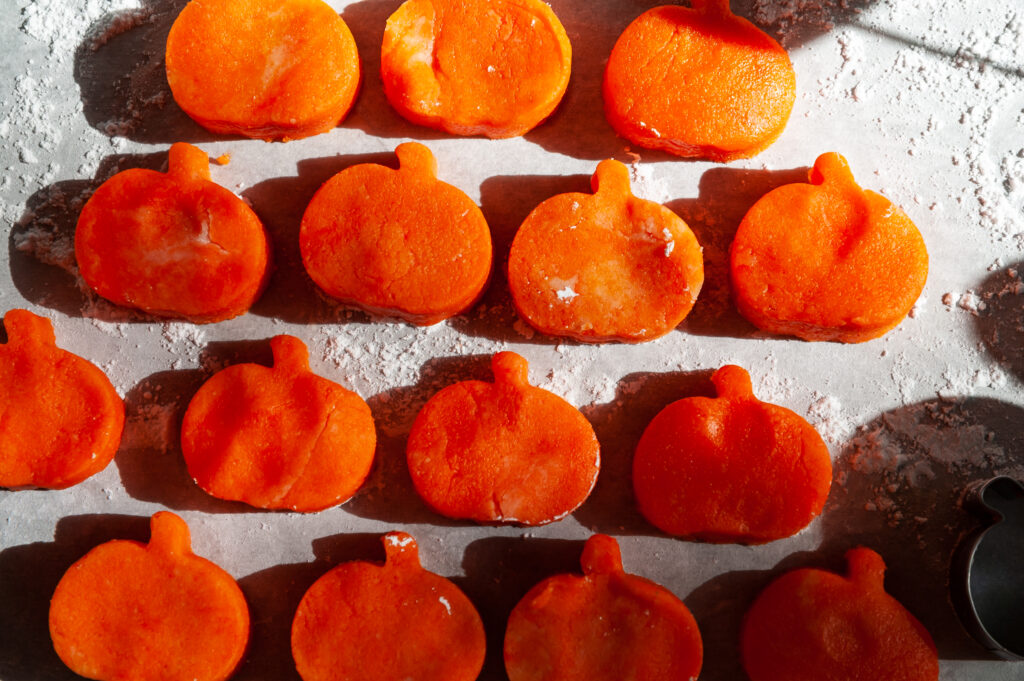
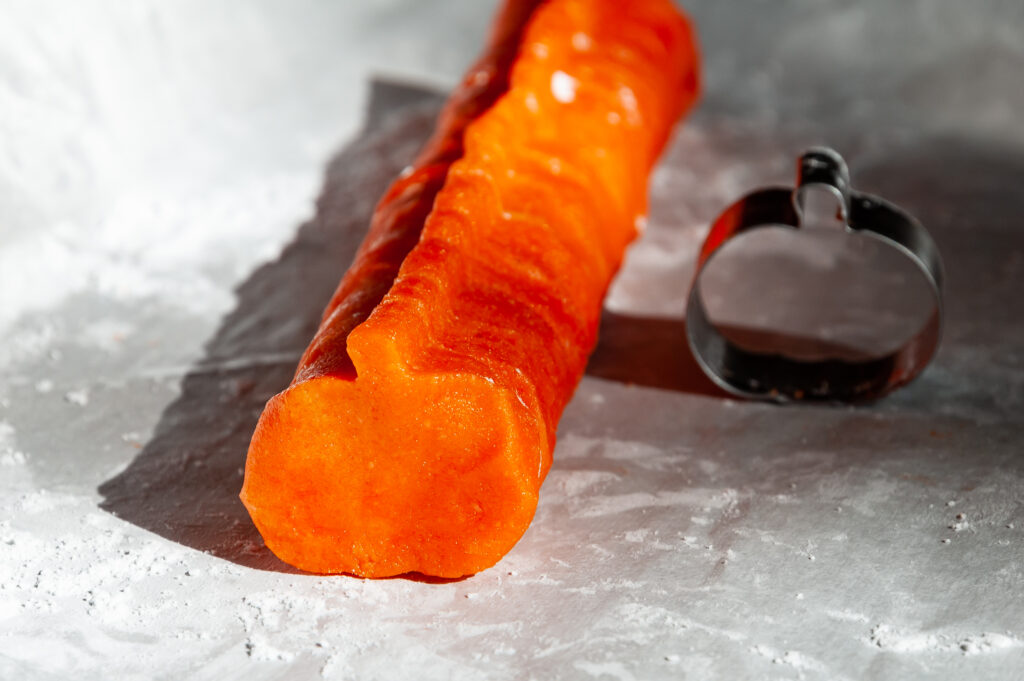
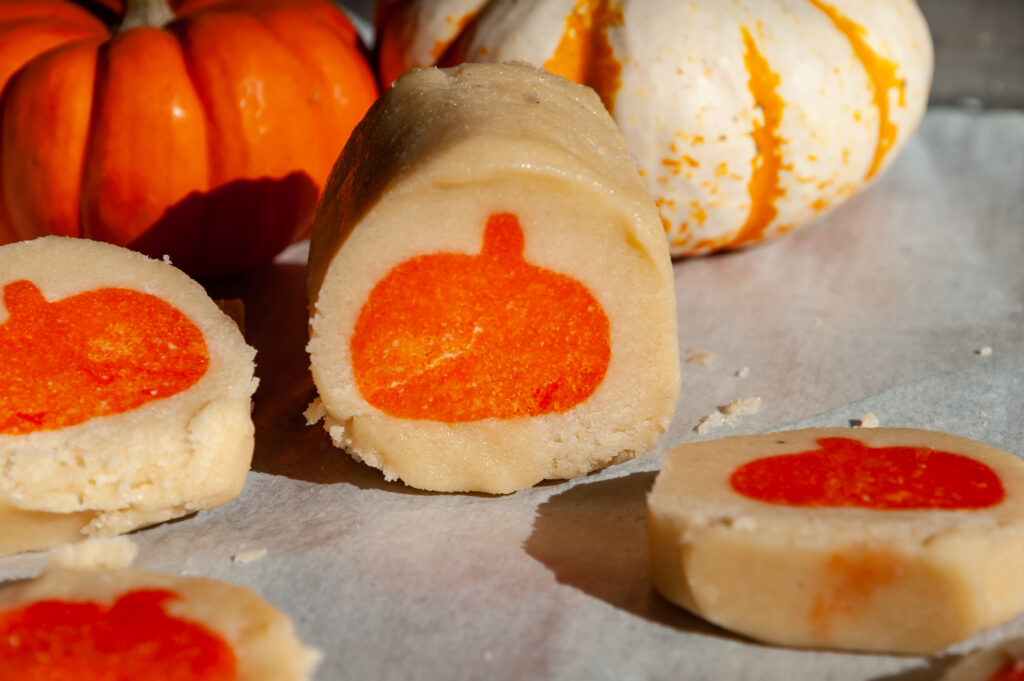
- Step 6: Remove from the freezer and using a small pumpkin cookie cutter, cut out the small pumpkin shapes until all the dough has been used. Stack the pumpkin shaped dough together, gently squeezing them and shaping them together to create a cohesive log. You want to try to eliminate any space between each pumpkin as this will lead to uneven baking and gaps in the dough. See below for step by step pictures!
- Step 7: Place the pumpkin shaped log in the freezer until very firm. This is an important step as you don't want the pumpkin dough to lose its shape while placing the plain dough around it.
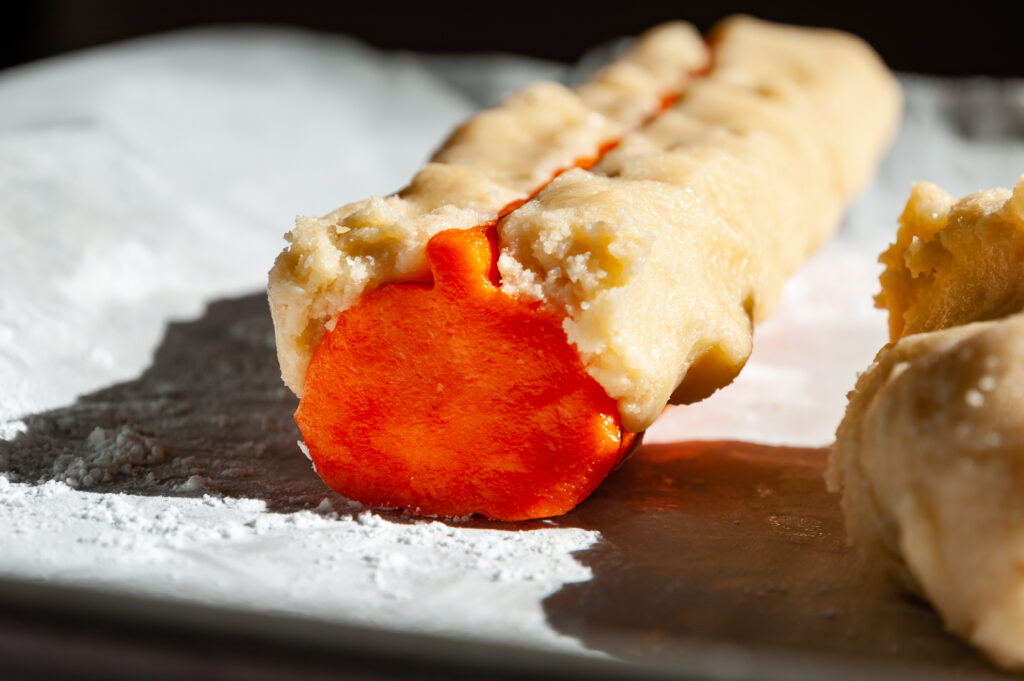
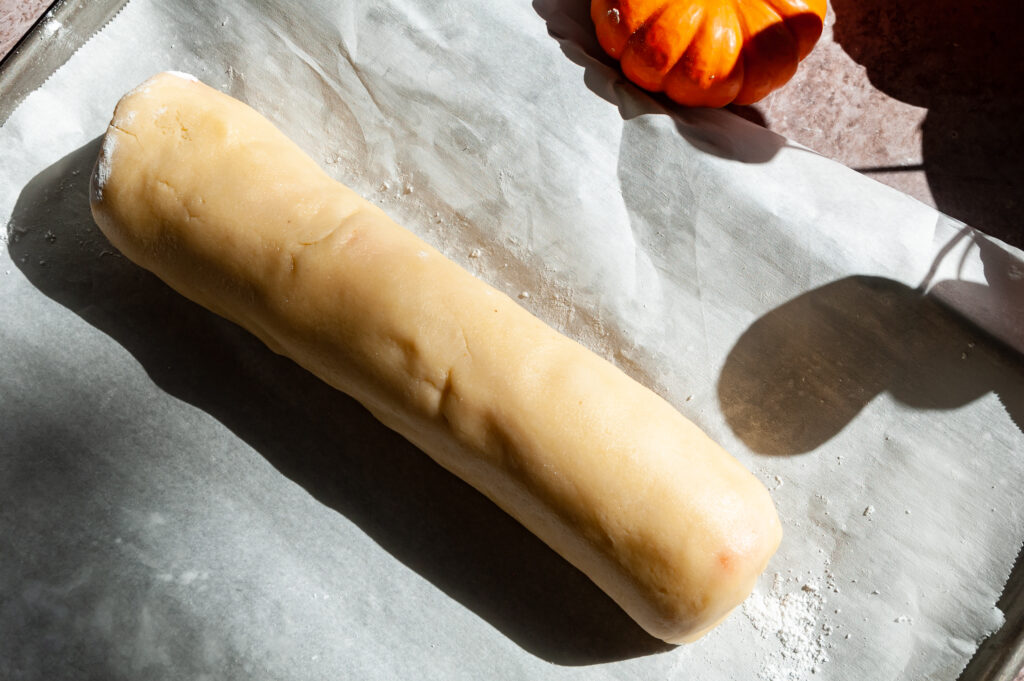
- Step 8: Once firm, wrap the plain dough around the pumpkin shaped log, filling in the gaps around the pumpkin stem as tightly as possible, and surrounding the pumpkin dough as evenly as possible. Roll gently until the dough creates a long round "tube" or log.
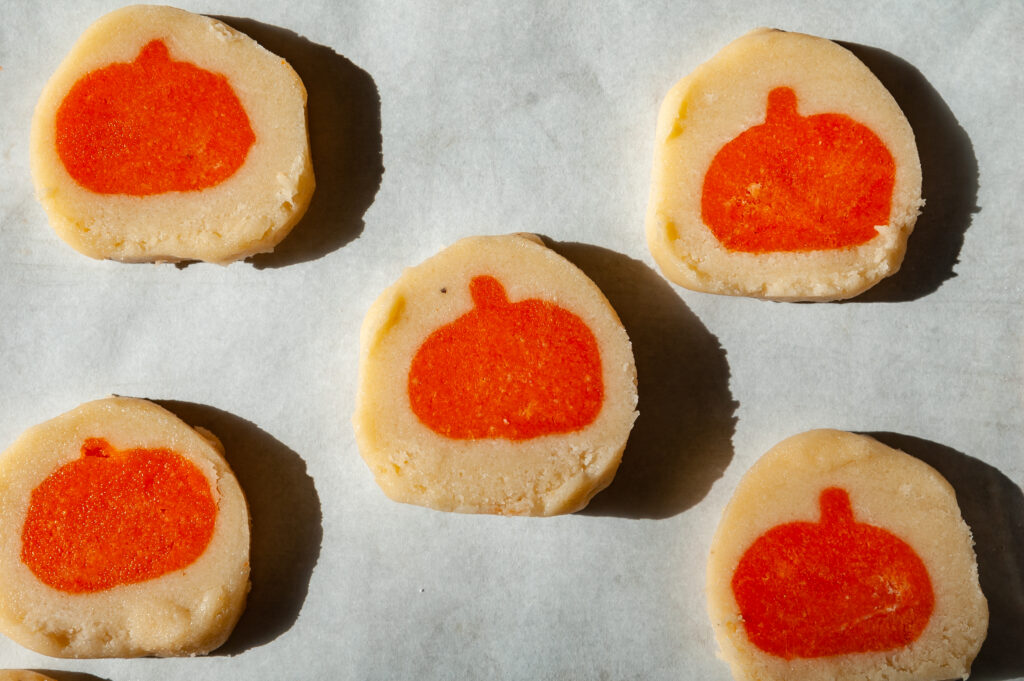
- Step 9: Place in the freezer until firm. Preheat the oven to 350. When the dough is firm, slice the cookies into 1 inch individual cookies and place in the oven to bake for 11-12 minutes. These are best just slightly golden and underbaked so they are soft and chewy.
Recipe FAQ's:
- Can I keep these homemade slice and bake cookies in the freezer? Yes! These keep great in the freezer. Keep them in an air tight container and slice and bake as you need!
- Are these slice and bake halloween cookies gluten free? Yes! As always here at No Coast Kitchen, these pumpkin slice and bake cookies are gluten-free and dairy-free (and grain-free!)
- Can I make these cookies to be vegan? I have not tried these without an egg. Since this recipe only uses 1 egg yolk, it hopefully wouldn't change the texture or change the rise too drastically. Let me know if you give it a try!
More Allergy-Friendly Halloween Recipes:
📖 The Recipe:

Slice and Bake Halloween Cookies
Ingredients
- 200 grams dairy free butter I prefer Earth Balance for this recipe
- 200 grams sugar
- 1 egg yolk
- 2 teaspoon clear vanilla extract
- 240 grams almond flour
- 150 grams tapioca flour
- 1.5 teaspoon xanthan gum
- 1 tsp baking powder
- ¼ teaspoon salt
Instructions
- First, add the butter and sugar to a bowl and cream together until smooth and creamy.
- Next, add in the egg yolk and clear vanilla extract and mix well, again until smooth.
- Next, add in the flour, remaining dry ingredients, and mix until the dough comes together.
- Divide your dough into about ⅔ and ⅓. The ⅓ portion of the dough will be the dough you dye. Dye the ⅓ portion of the dough orange, and set the ⅔ portion of plain dough to the side, or place in the refrigerator.
- Roll the dyed dough into an even disk that is about an inch thick (thicker is better so that the dough is easier to work with), ensuring an even surface so that the individual pumpkin shapes stick together smoothly and evenly. Place in the freezer for about 20 minutes until the dough is firm, but not frozen.
- Remove from the freezer and using a small pumpkin cookie cutter, cut out the small pumpkin shapes until all the dough has been used. Stack the pumpkin shaped dough together, gently squeezing them and shaping them together to create a cohesive log. You want to try to eliminate any space between each pumpkin as this will lead to uneven baking and gaps in the dough.
- Place the pumpkin shaped log in the freezer until firm. This is an important step as you don't want the pumpkin dough to lose its shape while placing the plain dough around it.
- Once firm, using your pliable plain dough, wrap the plain dough around the pumpkin shaped dough log, filling in the gaps as tightly as possible around the stem, and surrounding the pumpkin dough as evenly as possible. Roll gently until the dough creates a long round tube.
- Place in the freezer until very firm, and preheat the oven to 350.
- When the dough is firm, slice the cookies into 1 inch cookies and place in the oven to bake for 11-12 minutes. These are best just slightly golden and underbaked so they are soft and chewy.
The Finished Product:
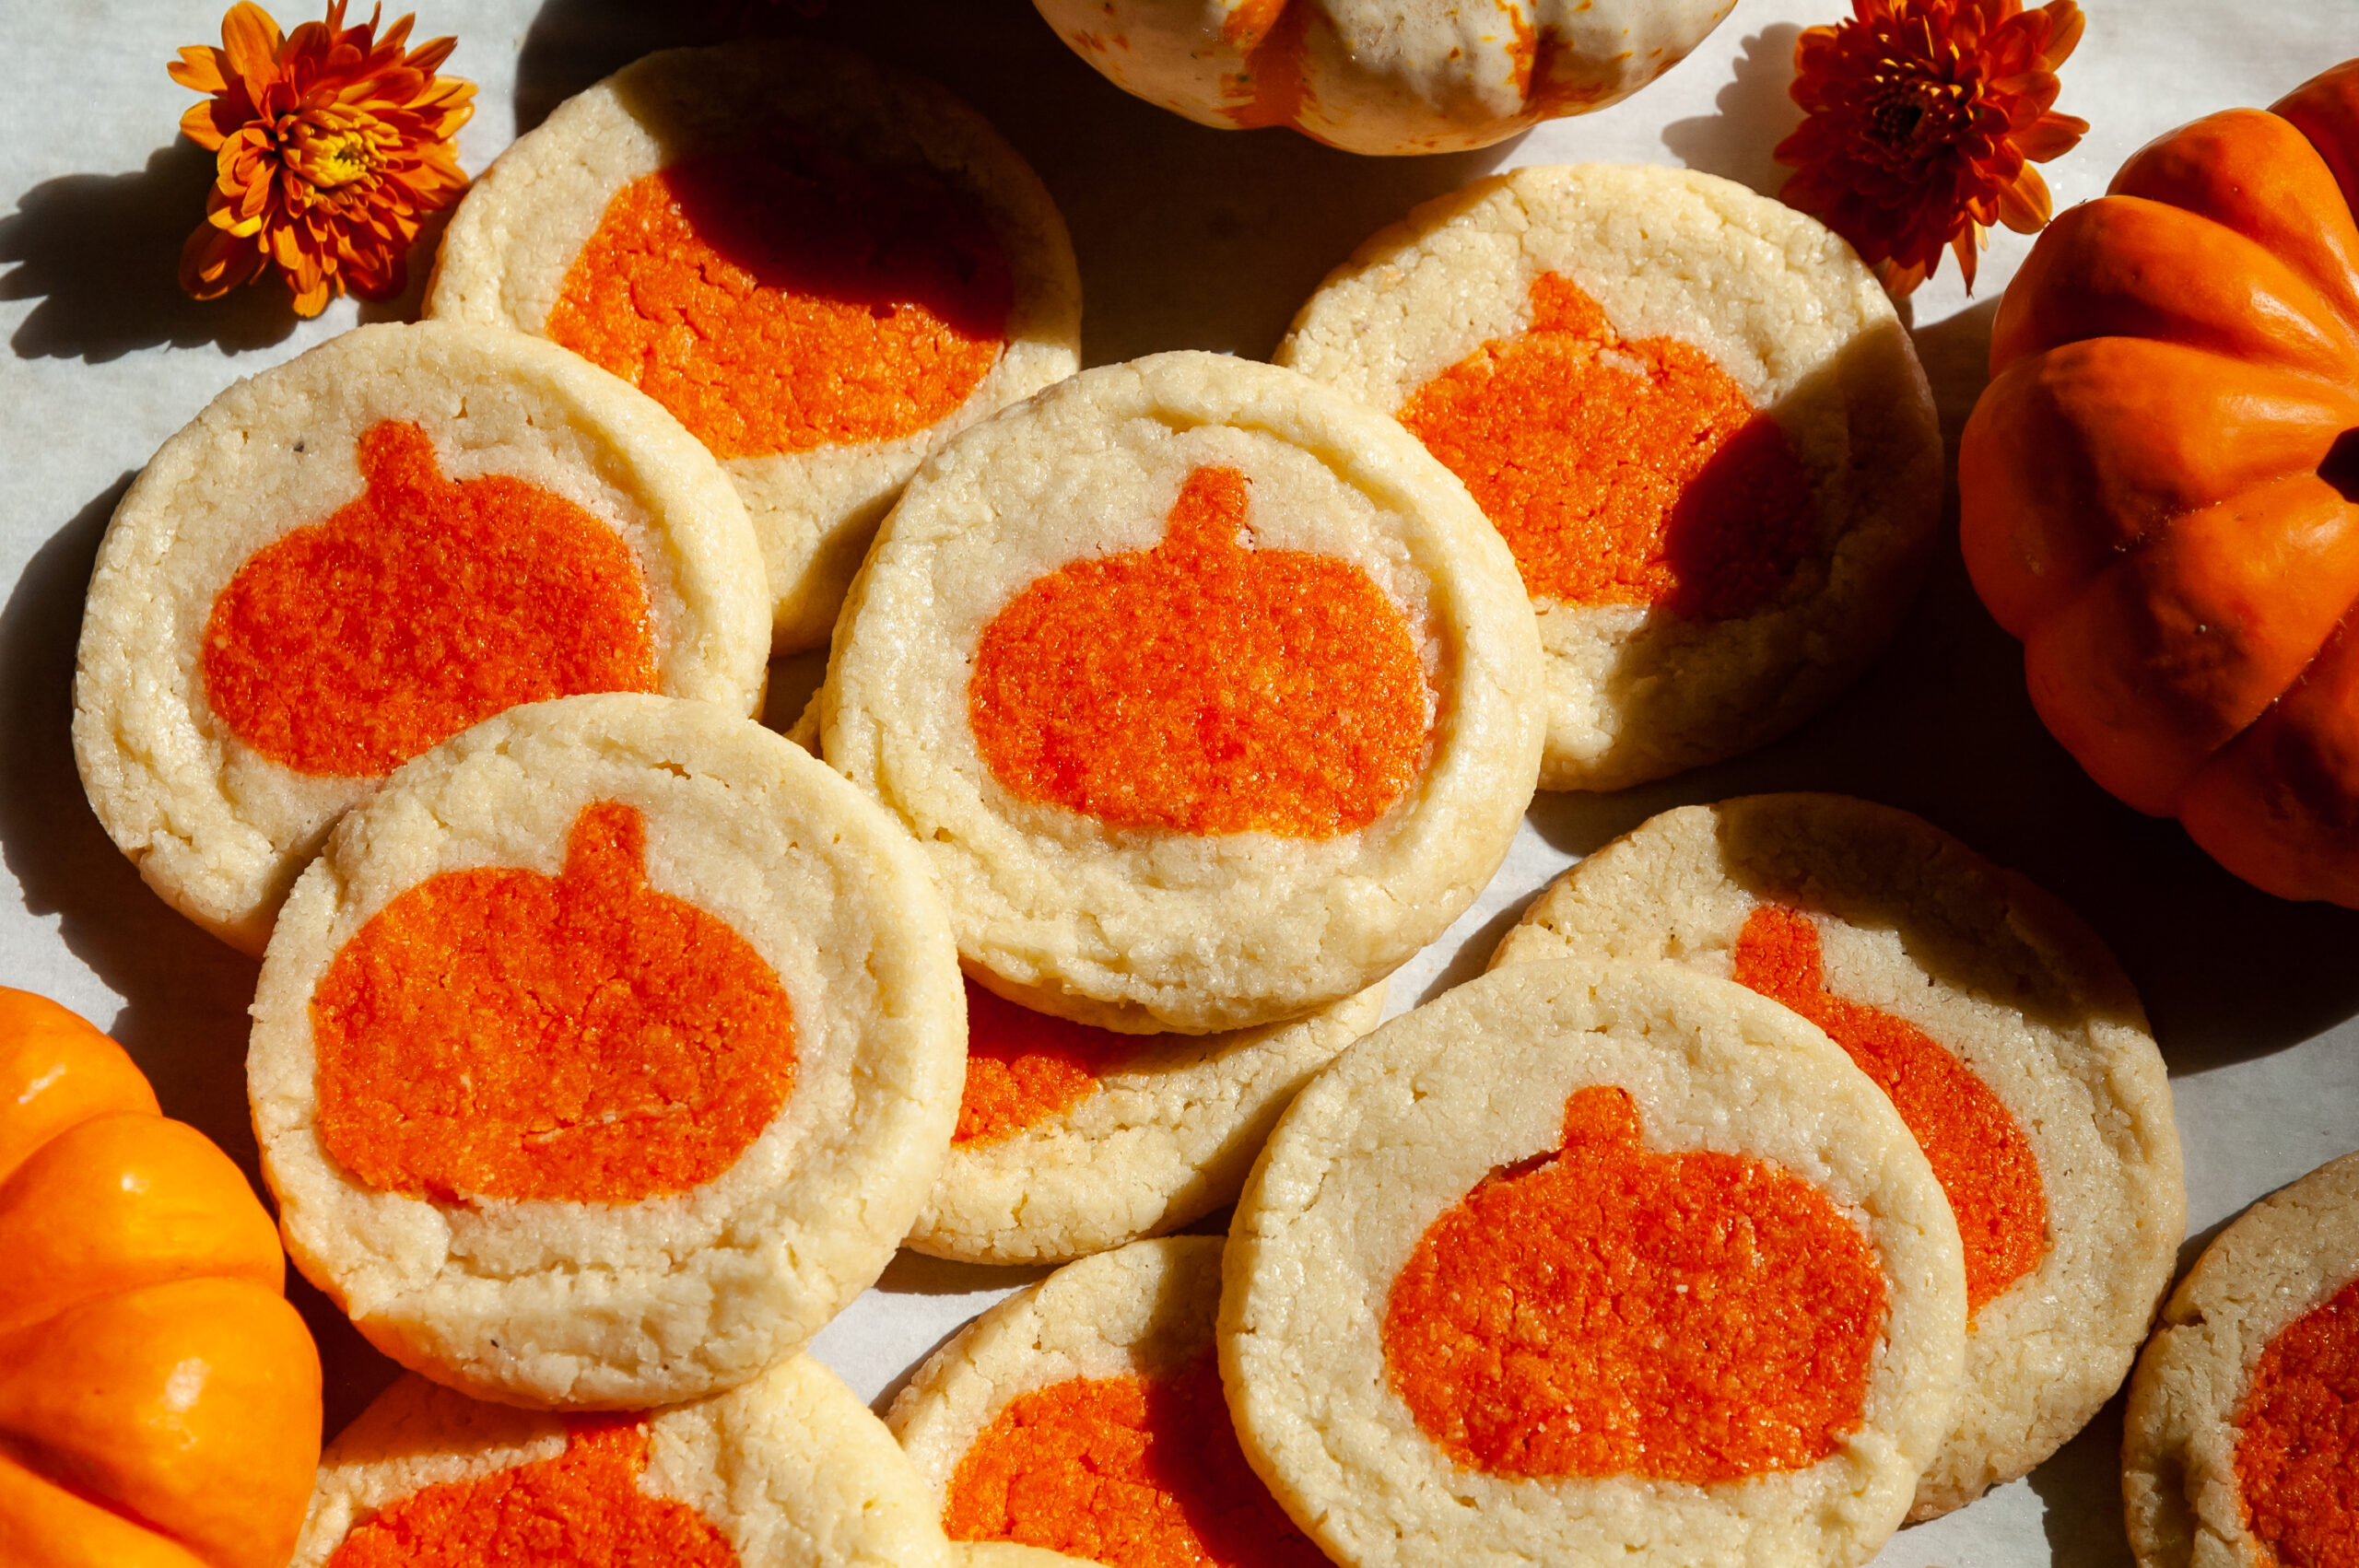
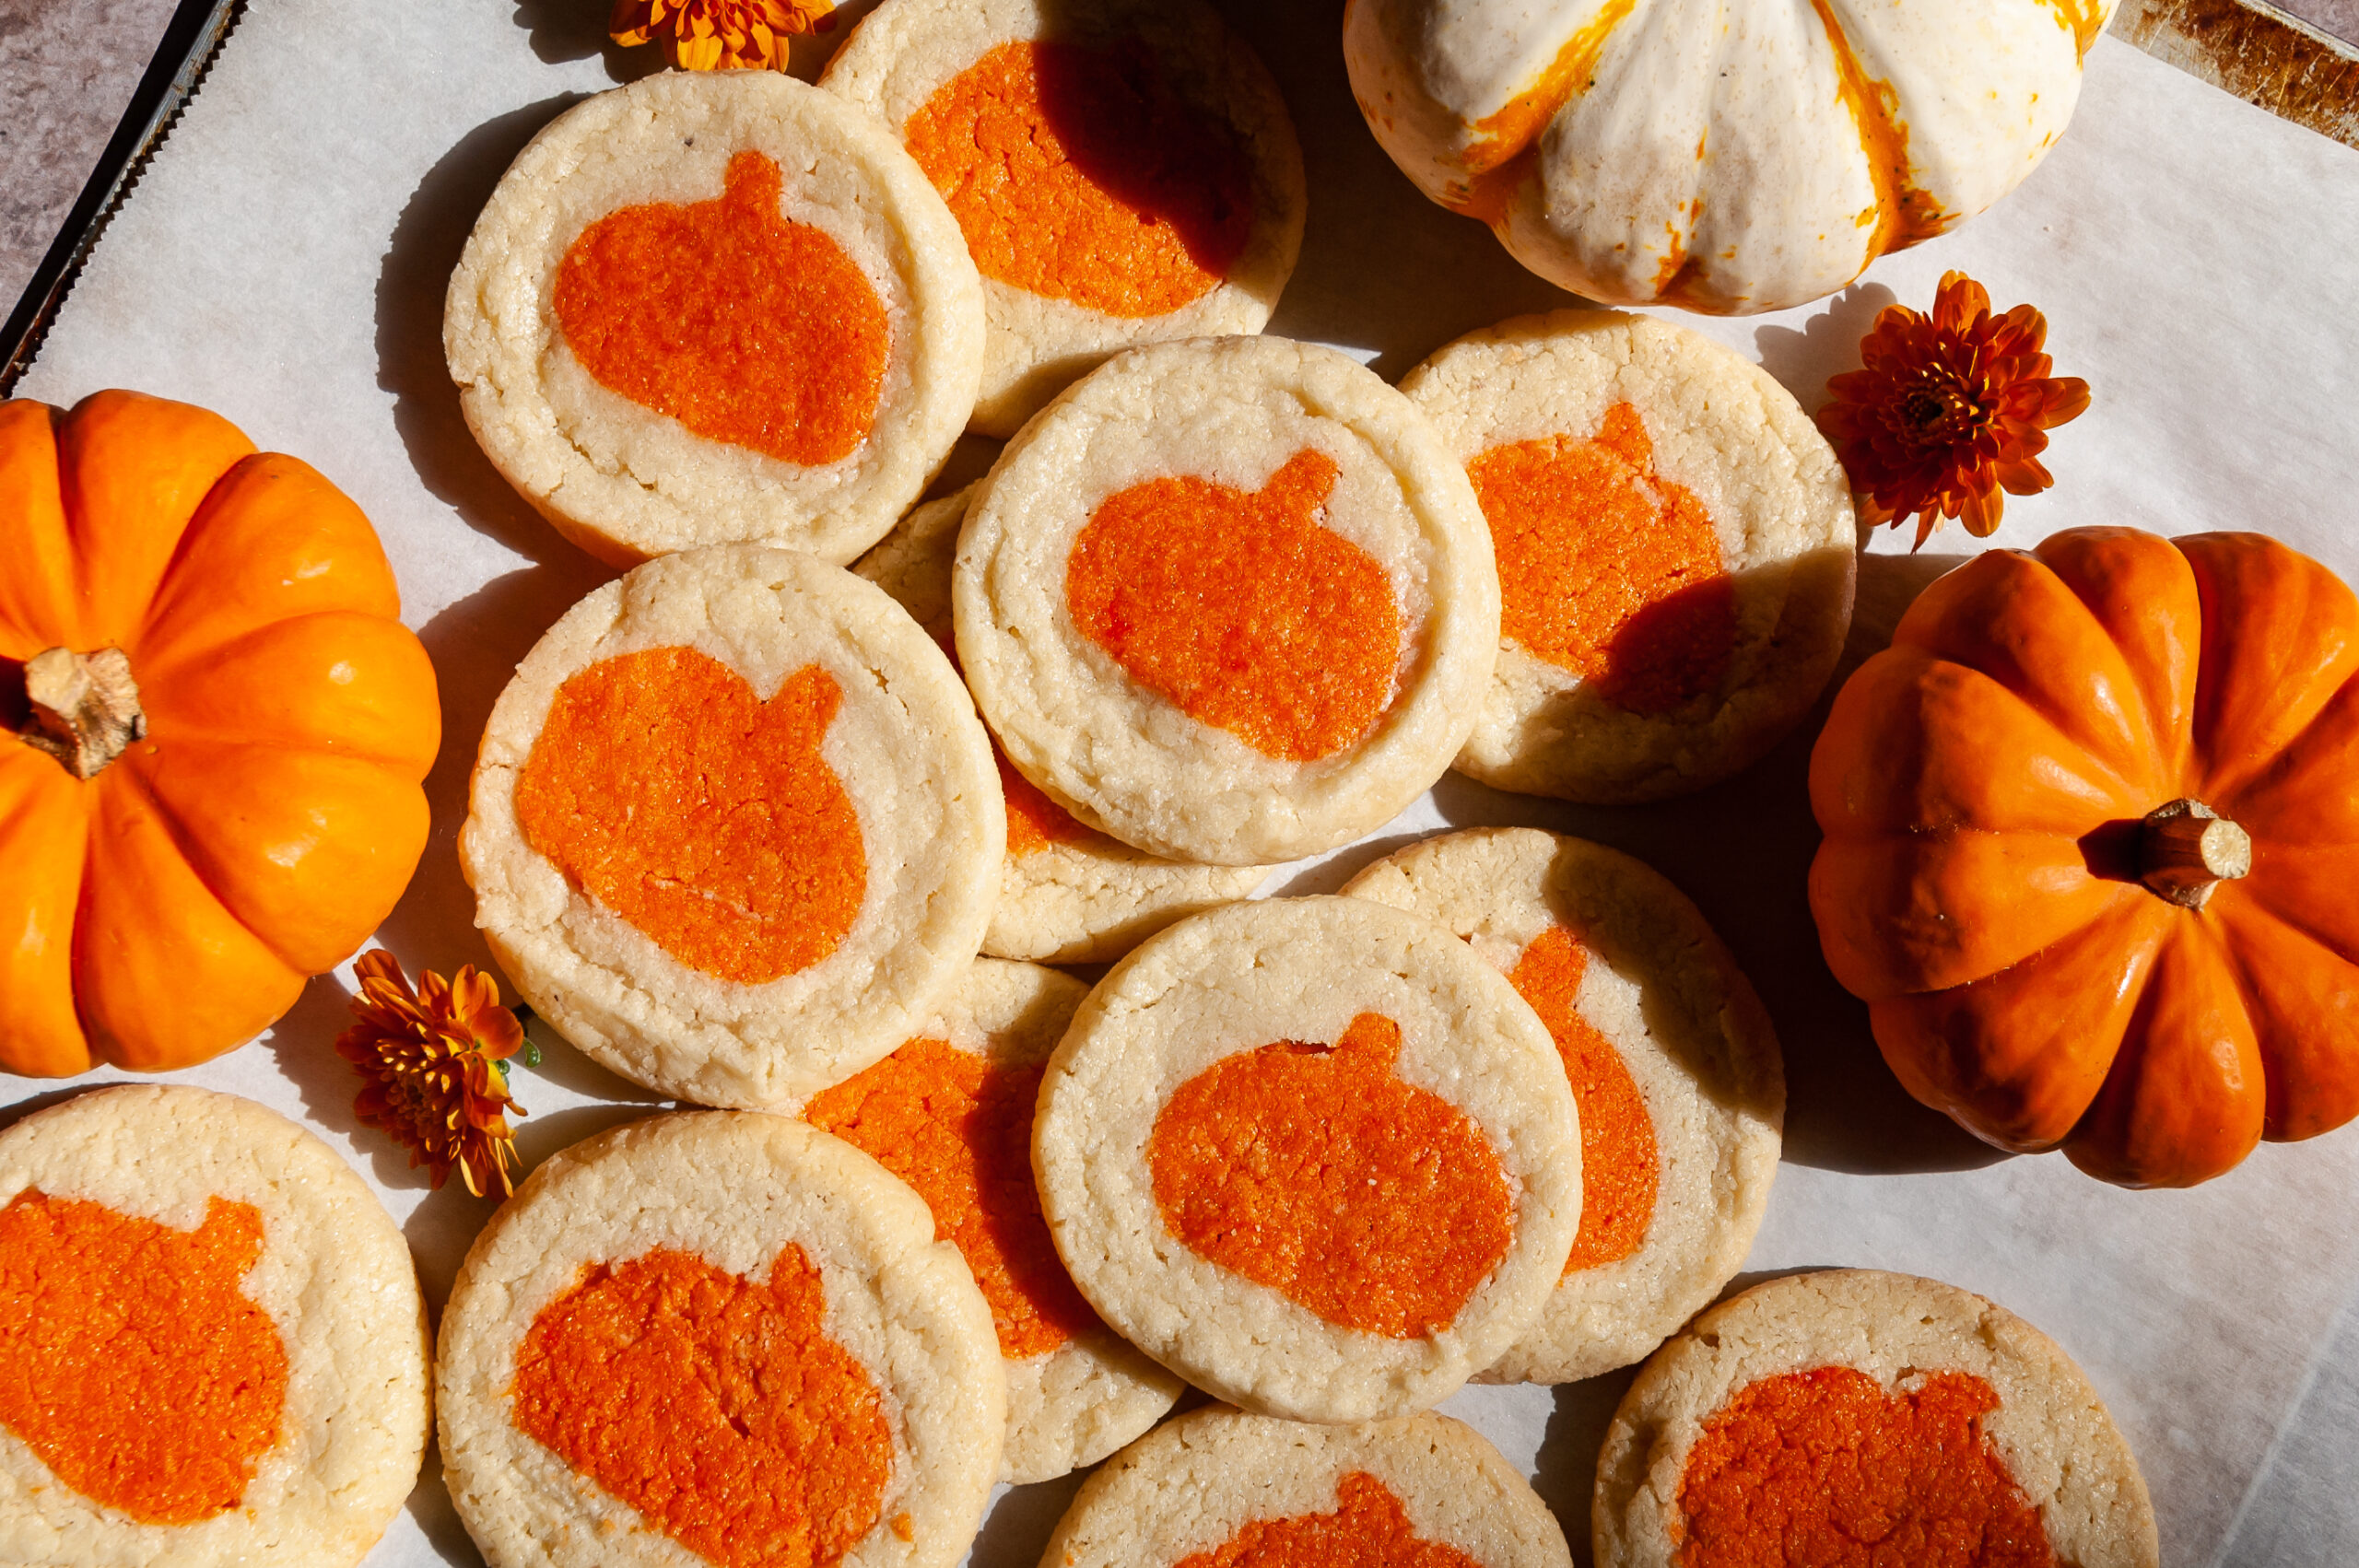
The joy of fall resonates in me to my core, and I couldn't be more excited to share these with you! These whimsical pumpkin cookies are soft, delicious, and intensely nostalgic. Just as fun, just as delicious, and once prepared, just as easy as the store bought version!



Leave a Reply