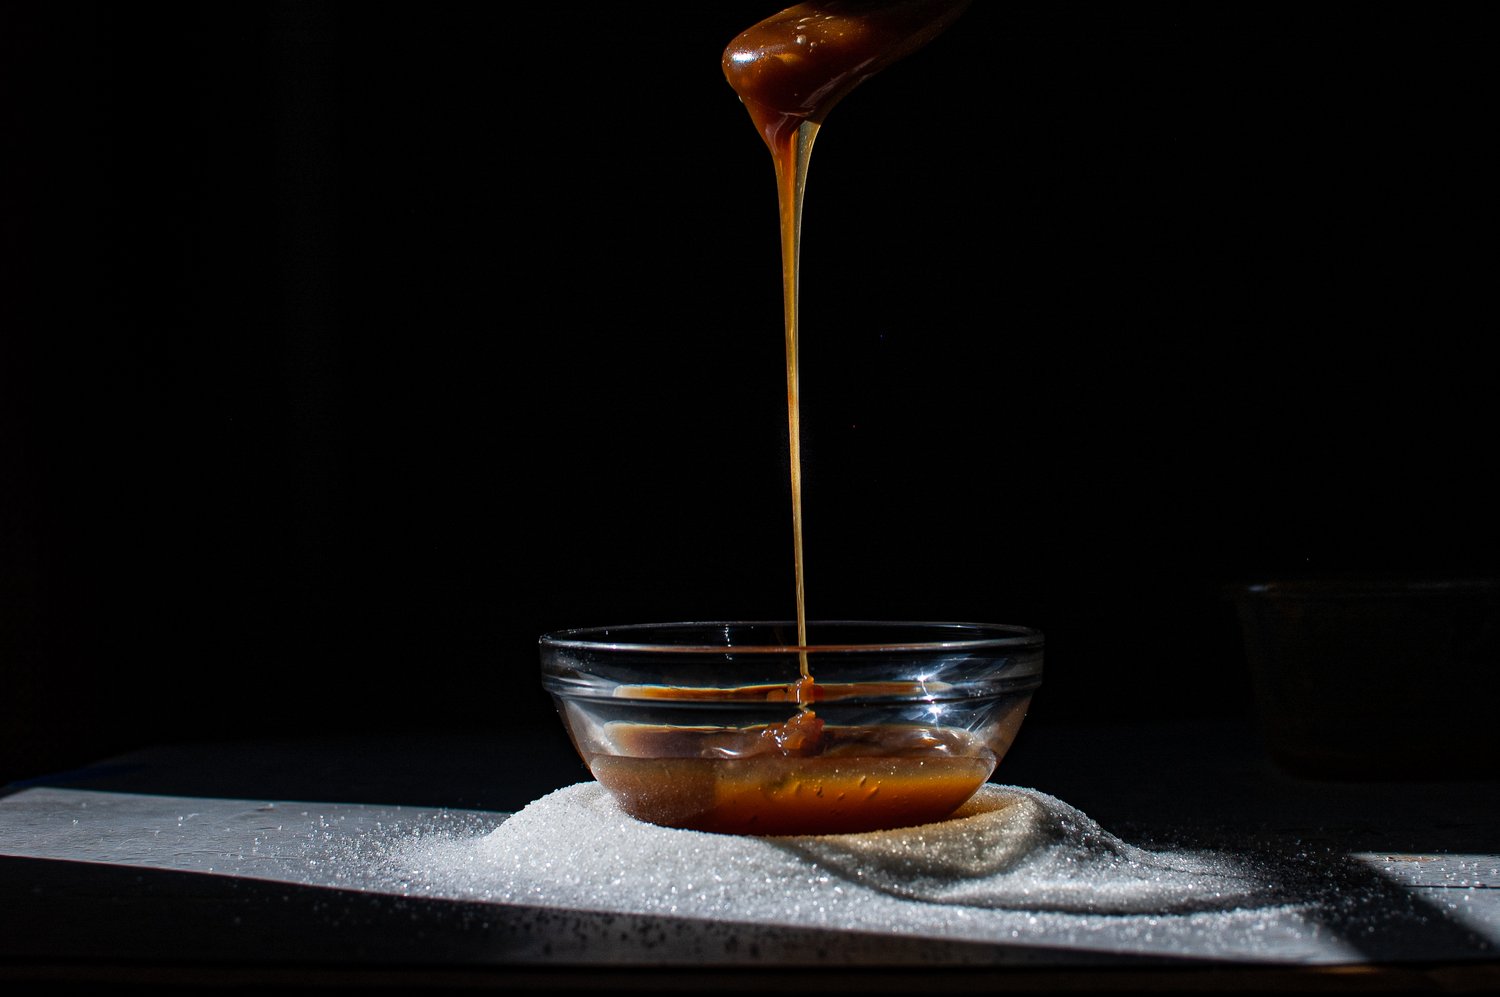
This dairy-free (& vegan!) caramel sauce is deliciously thick and silky will stay put on whatever deliciousness you’re adding it to.
The Story:
Everyone needs a go-to caramel sauce recipe. Drizzle it over ice cream, swirl on top of brownies, or sandwich between cookies…it really adds something extra drool worthy to your treats! Caramel gets a bad rap for being difficult to make and needing extra gear to get it right, but I have had a different experience. Caramel sauce is the easiest to master of the ‘caramel genres’. There is more room for error with caramel sauce because even if you add a bit too much liquid, or didn’t let it caramelize quite long enough, it is still going to be pourable and delicious. That being said, the cardinal rule to getting dairy free caramel sauce right, is to NOT LET THE SUGAR BURN.
Jump to:
🧾 The Ingredients:
Here is the list of ingredients you will need to make this dairy free caramel sauce.
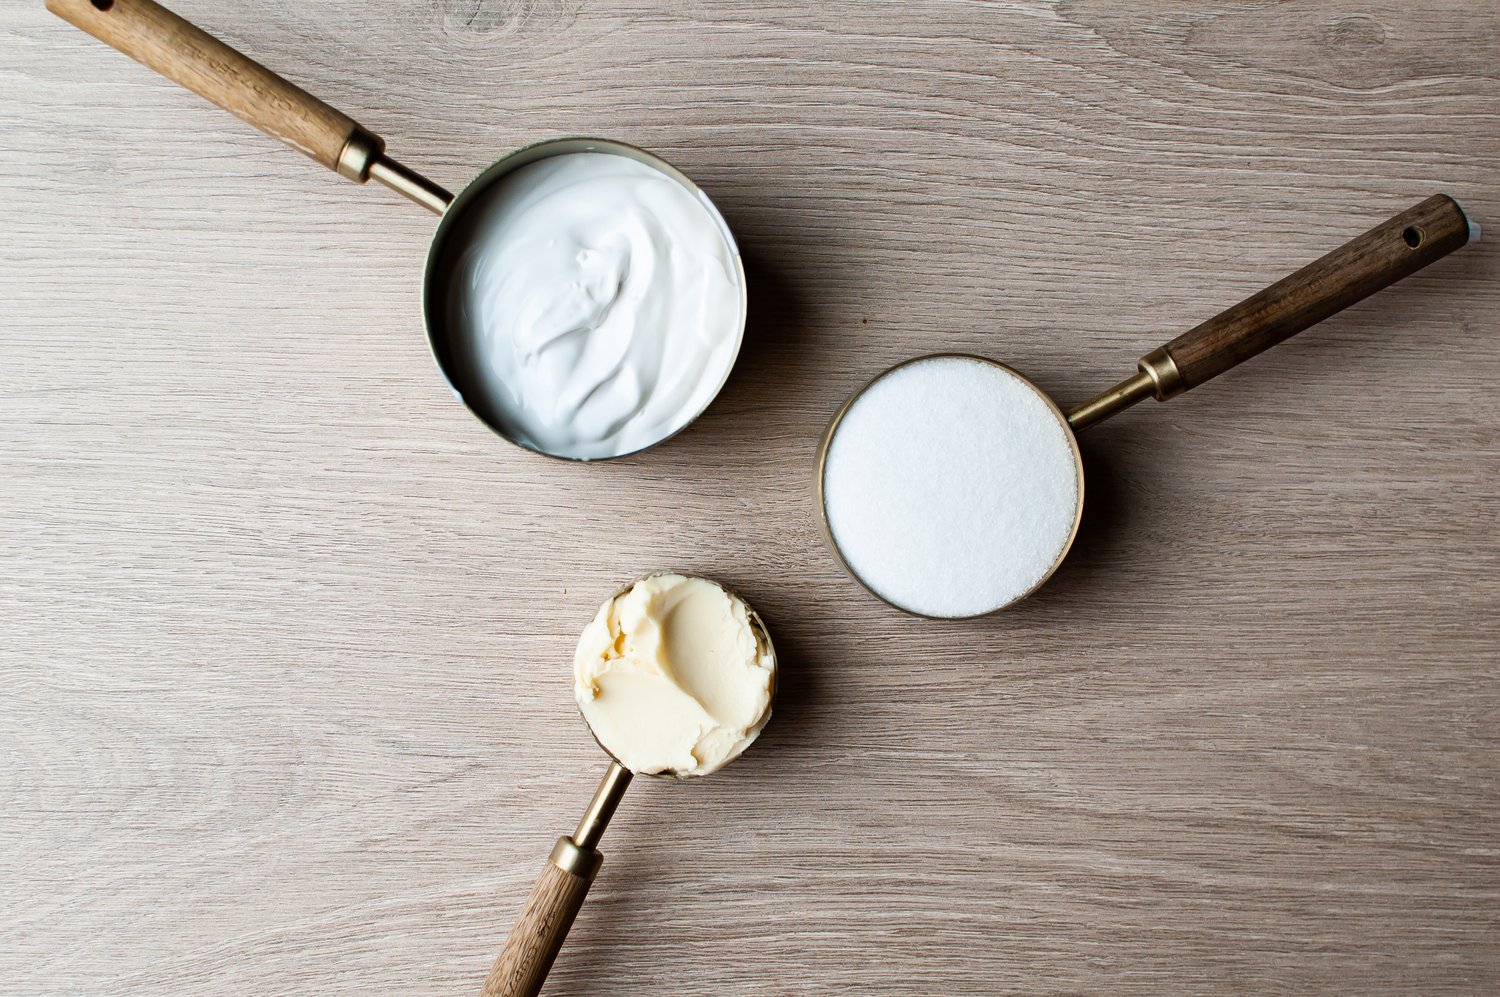
- Plain, granulated sugar: High quality sugar= amazing caramel
- Coconut milk: Make SURE you are using full fat coconut milk from the can. Try to only scoop out the top creamy part and not the coconut water that often settles at the bottom of the can. DO NOT use coconut milk from a carton. It is much too watery and does not contain enough fat for a delicious, thick dairy free caramel sauce.
- Dairy-free butter: Dairy free butter can burn easily, so you want to make sure you do not use a “typical” caramel recipe when working with dairy-free butter. Most dairy filled caramel sauce recipes have you add in the butter, along with the sugar while caramelizing. This does not work with dairy-free butter as it can develop a strange taste if heated too long. The dairy free butter needs to be added at the end of the caramelization process to maintain its buttery taste. My favorite dairy free butter for a successful caramel is Country Crock Plant Based Butter. I have tried other plant based butters and Country Crock works the best for dairy free caramel sauce.
- Salt: A nice pinch of salt goes a long way to balance out the sweetness of the caramel.
Step By Step Preparation Instructions:
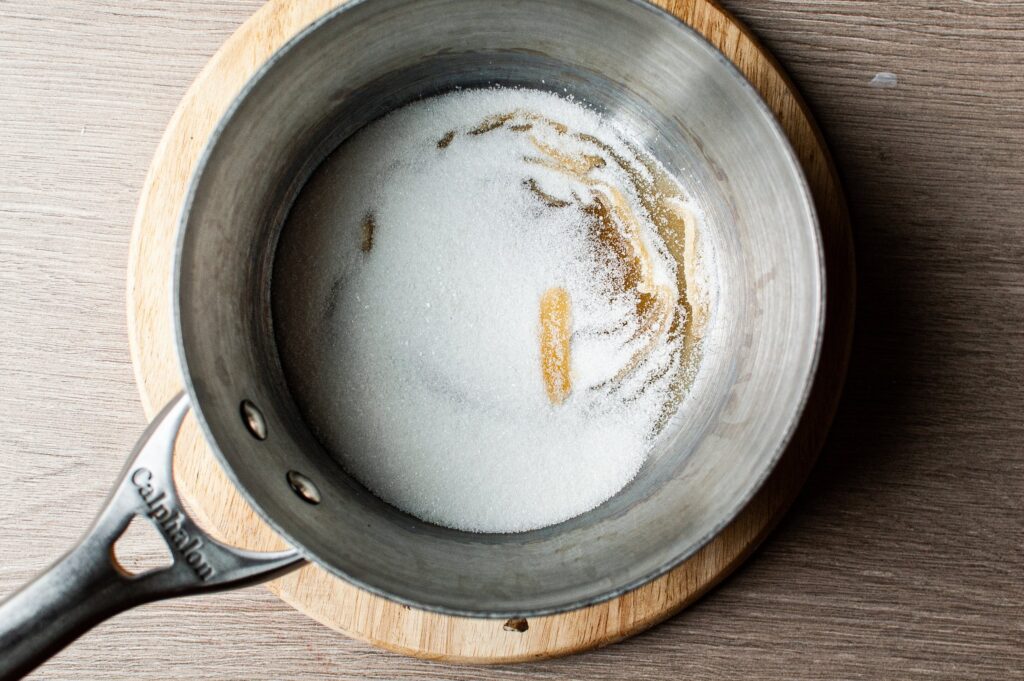
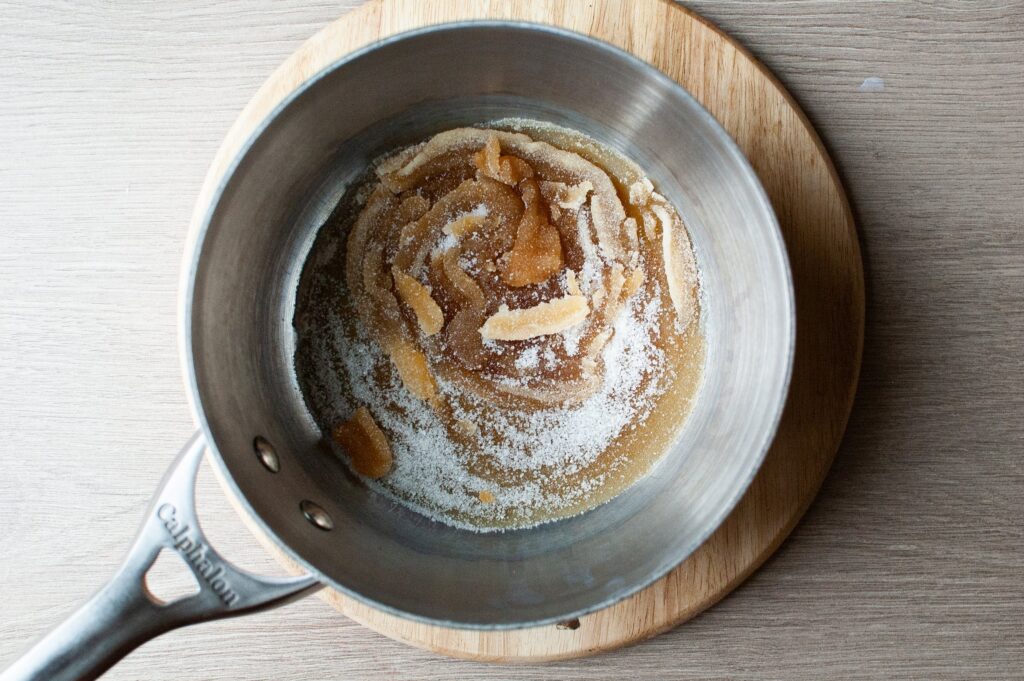
- Step 1: The key to a good caramel sauce is to not let the sugar burn. You want a beautiful caramelized amber color, but to achieve that, you need to watch your sugar and swirl your pan or stir regularly. Stirring or whisking can also get a bad name in caramel making, but I have found it is helpful to stir the caramel during the process. Go low and slow. Medium low heat (about a cook level of 3 or 4 on a burner) is ideal. It will take a bit longer to achieve caramelization, but it is worth it in the long run so that you don’t end up with burnt sugar.
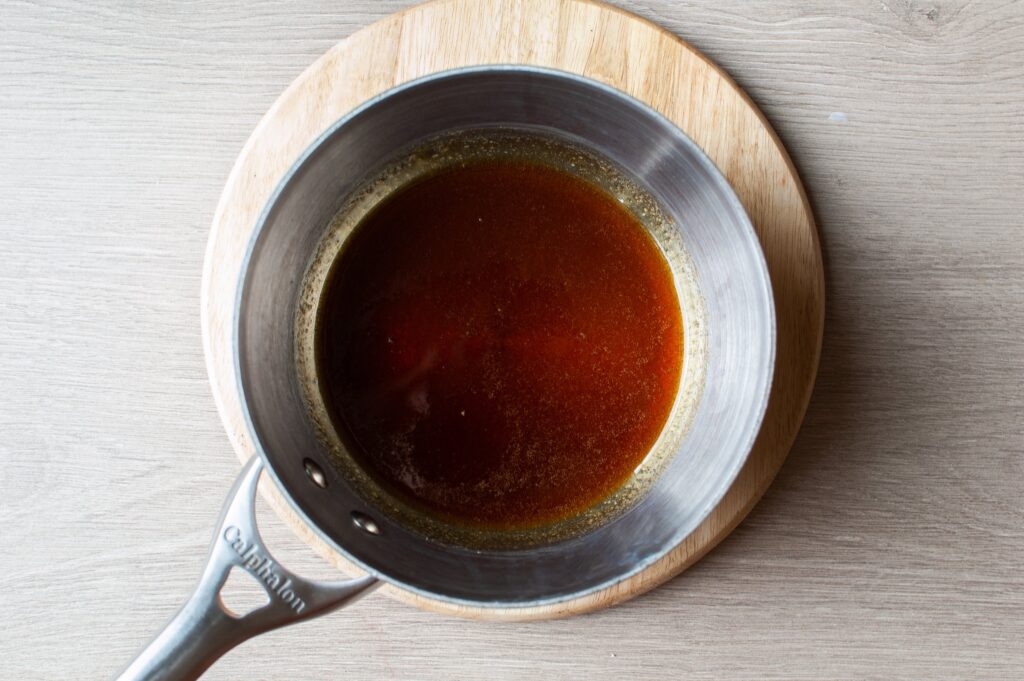
- Step 2: In order to have the sugar melt down evenly, I have had the most reliable success using an enameled cast iron pot. I have had varying outcomes with the sugar melting evenly when using a stainless steel saucepan. The sugar will first start to clump together, this is normal! It will eventually all melt into each other. Once all the sugar has melted and has a lovely amber color, that means it is done. This can take anywhere from about 10-20 minutes. If using a thermometer, it should read about 350, but is not necessary to use. Just look for the amber color and have achieved the texture of all sugar being melted.
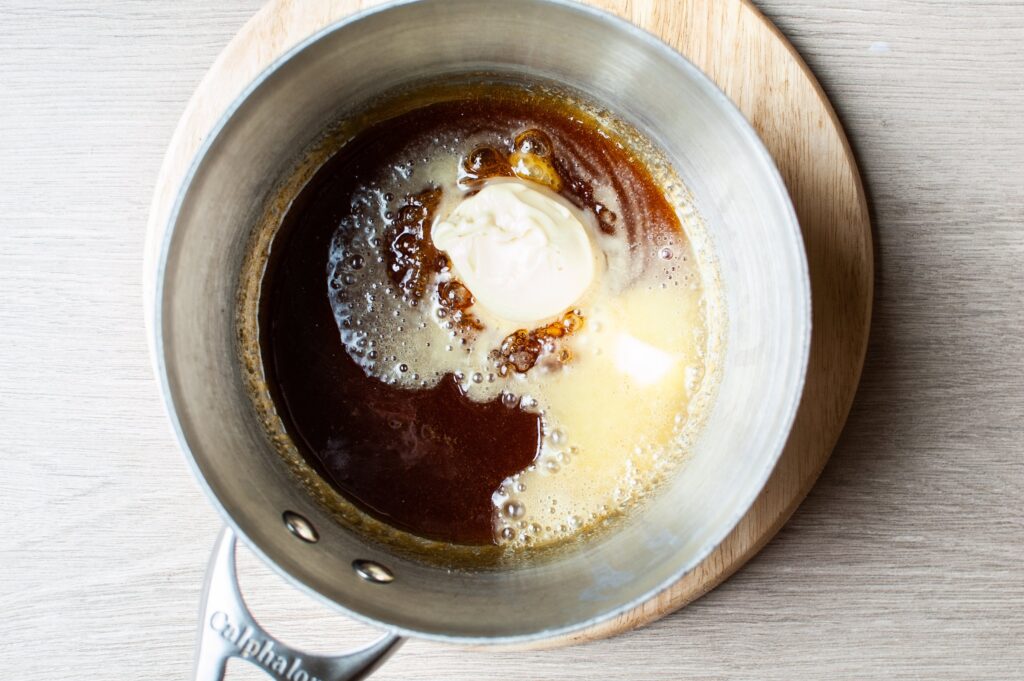
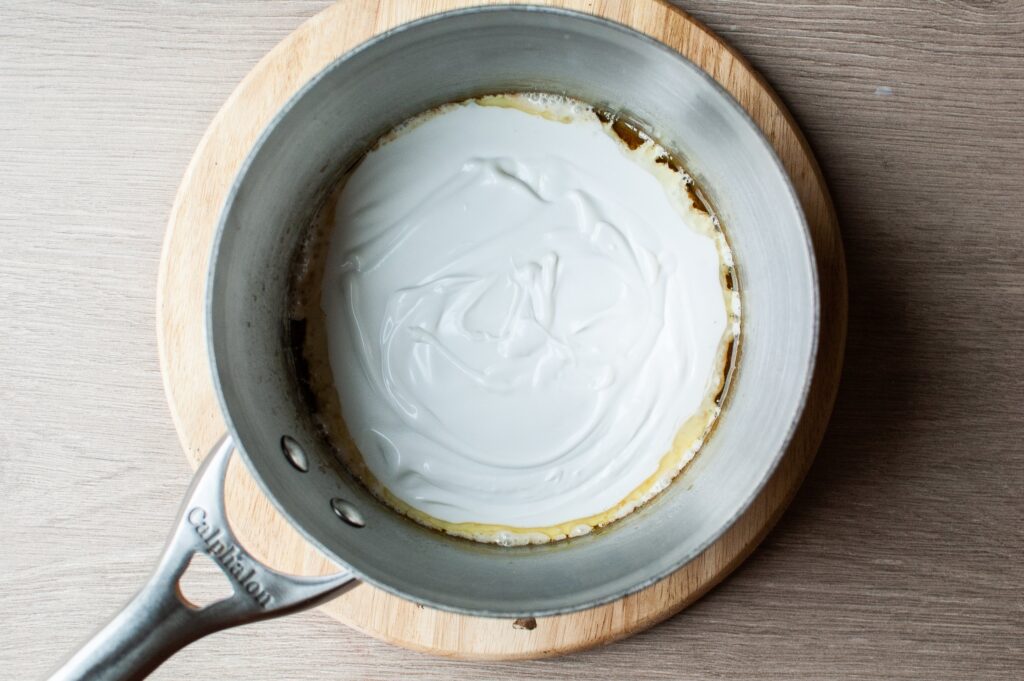
- Step 3: Now, you can remove from the heat and add the butter. Be careful when you add the butter, as it will bubble and steam a lot! Carefully whisk (I like using a fork to whisk in the butter and milk) in the butter until it has melted completely into the caramelized sugar. You want it to be smooth and fully incorporated. Keep whisking if there is any separation. Once combined, then add in the coconut milk and whisk until once again it has become fully incorporated and homogeneous. If it is being a little stubborn and not coming together well, place your pan back on low heat and continue to whisk. It will come together!
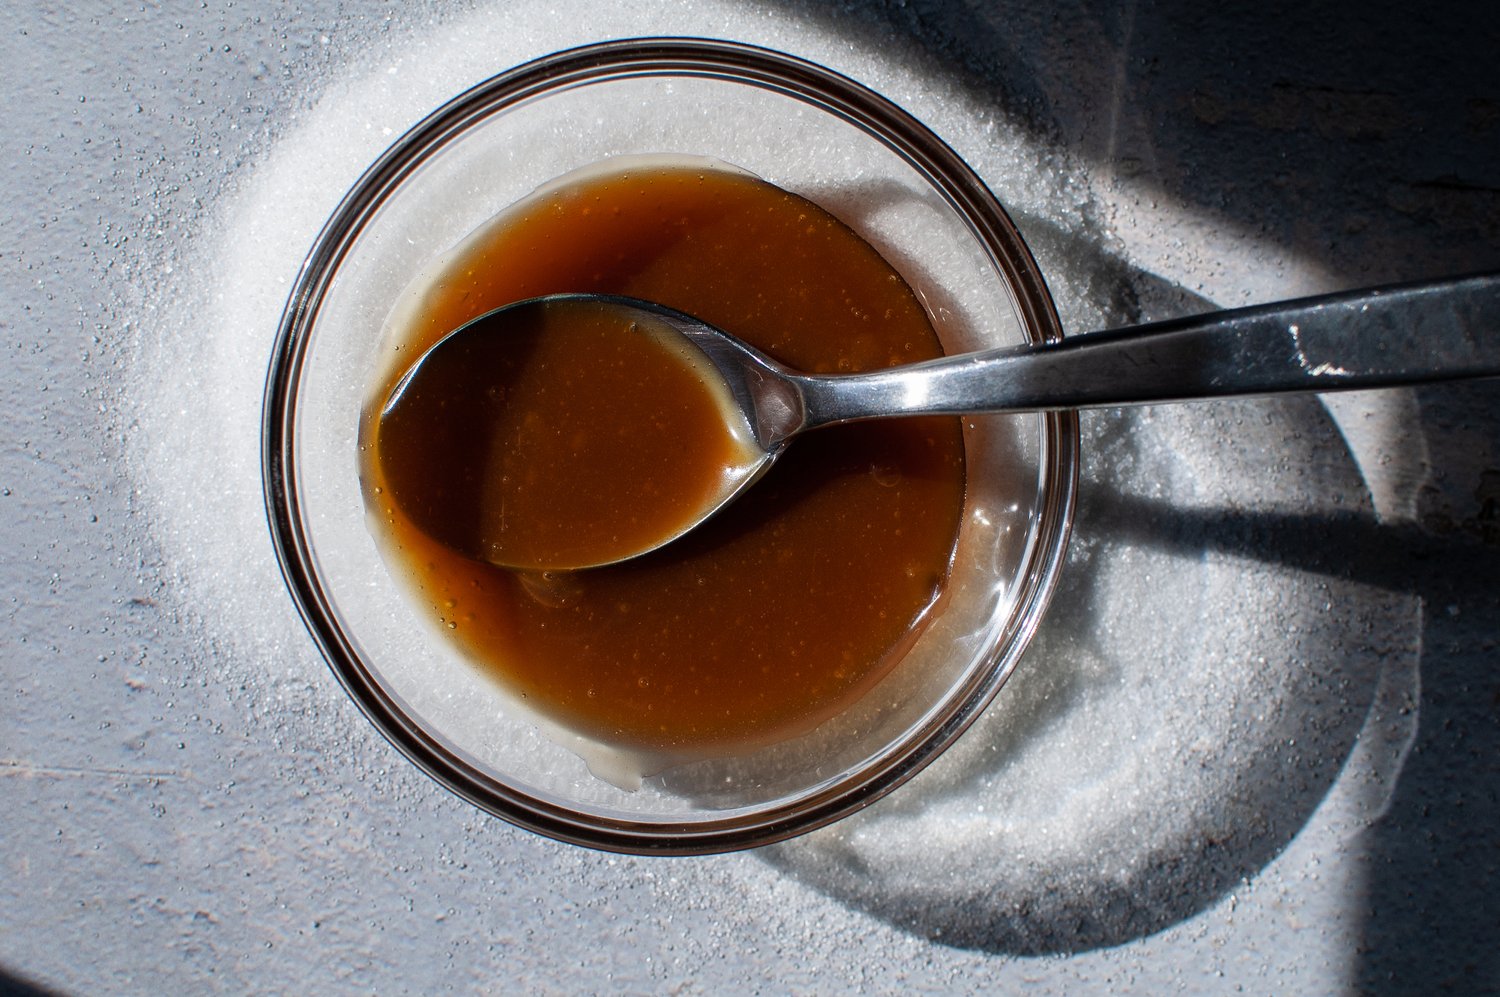
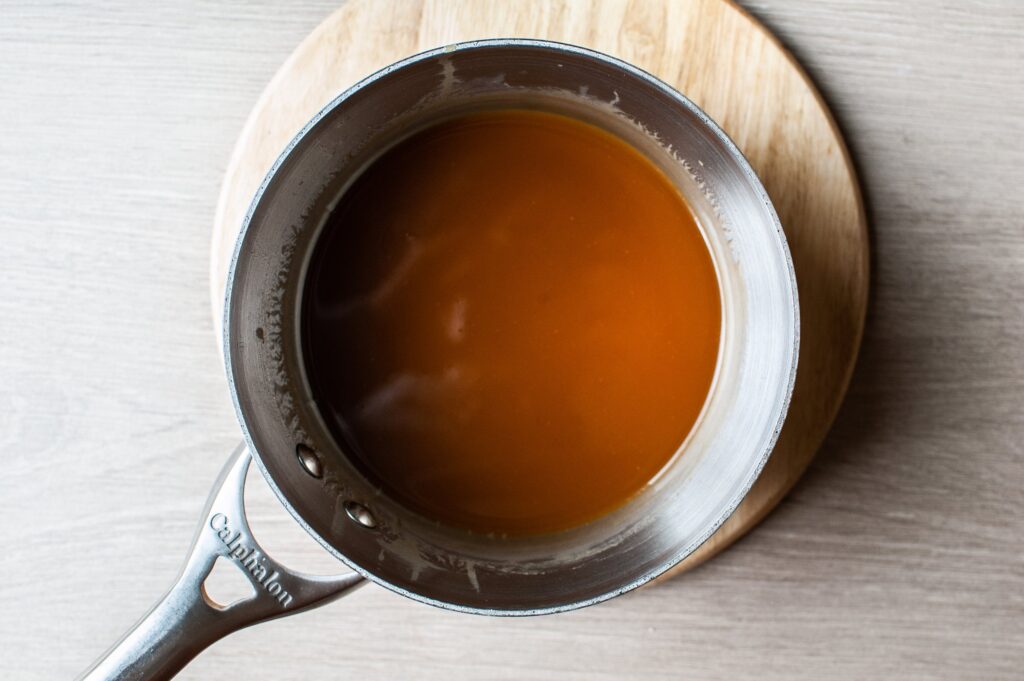
- Step 4: Look at that beautiful color! My favorite color is what I call “grandpa brown” and caramel sauce is the perfect “grandpa brown!” A thing of beauty.
Recipe FAQ's:
- How should I store this dairy-free caramel sauce? Store in the fridge in an air tight container. It is best when used within a week or shortly after. To reheat, just pop it in the microwave for a few seconds at a time (make sure you have a microwave safe bowl).
- Can I make this caramel sauce with another non-dairy milk? Because caramel sauce is finicky enough, trading out the coconut milk will make the final product vary greatly. Almond, cashew or oat milk would probably be too watery and would not yield the same delicious texture. Coconut milk from a can has a high fat content which helps in achieving the delicious final product, and other non-dairy milks do not have the same fat content. You may be able to use an oat based condensed milk, but I have not tied that method yet!
- Do I need to use a candy thermometer for this dairy-free caramel sauce? You do not! If you use the above tips, use a careful eye, be patient and just wait for that amber color, you should be able to achieve success without the use of a candy thermometer. Caramel sauce has more room for error and the final texture can vary slightly and it will still work deliciously.
Ways To Use It:
📖 The Recipe:

Dairy Free Caramel Sauce
Ingredients
- 1 cup sugar
- ¼ cup dairy free butter I find Country Crock plant butter to be the best butter for this recipe
- ¼ cup coconut milk You will need full fat canned coconut milk for this
- ¼ teaspoon salt
Instructions
- To prepare the caramel, place the sugar in a small saucepan and heat over medium low heat (3 or 4) for about 15-20 min. As the sugar heats up, it will initially start to clump together, this is normal!
- Continue to let the sugar melt down and caramelize, stirring regularly or swirling the pan regularly until all the sugar has completely melted and has turned a lovely amber color. This may take up to 20 minutes. If using a thermometer, it should read about 350, but is not necessary to use.
- Remove from the heat and add the butter. Be careful, as this will create steam and will bubble a lot. The butter will initially stay separate from the sugar, but just whisk them together until the butter has become homogeneous with the caramel.
- Once combined, then add in the coconut milk and whisk until once again it has become fully incorporated and homogeneous.
- If it is being a little stubborn and not coming together well, you can place the pan back on low heat and whisk until it comes together.
- Allow to cool, then keep in an airtight container and place in the fridge. The sauce will keep for about a week. Enjoy!
The Finished Product:
A delicious, vegan caramel sauce ready to add to anything you can think of! It is terrific to add on top of brownies, add on top of ice cream or even add in to your apple goodies in the Fall. Something I love about having a basic recipe down pat, is that you can use your imagination as to how to build upon it. This sauce can be kept in an airtight container in the fridge for about a week.


Leave a Reply