
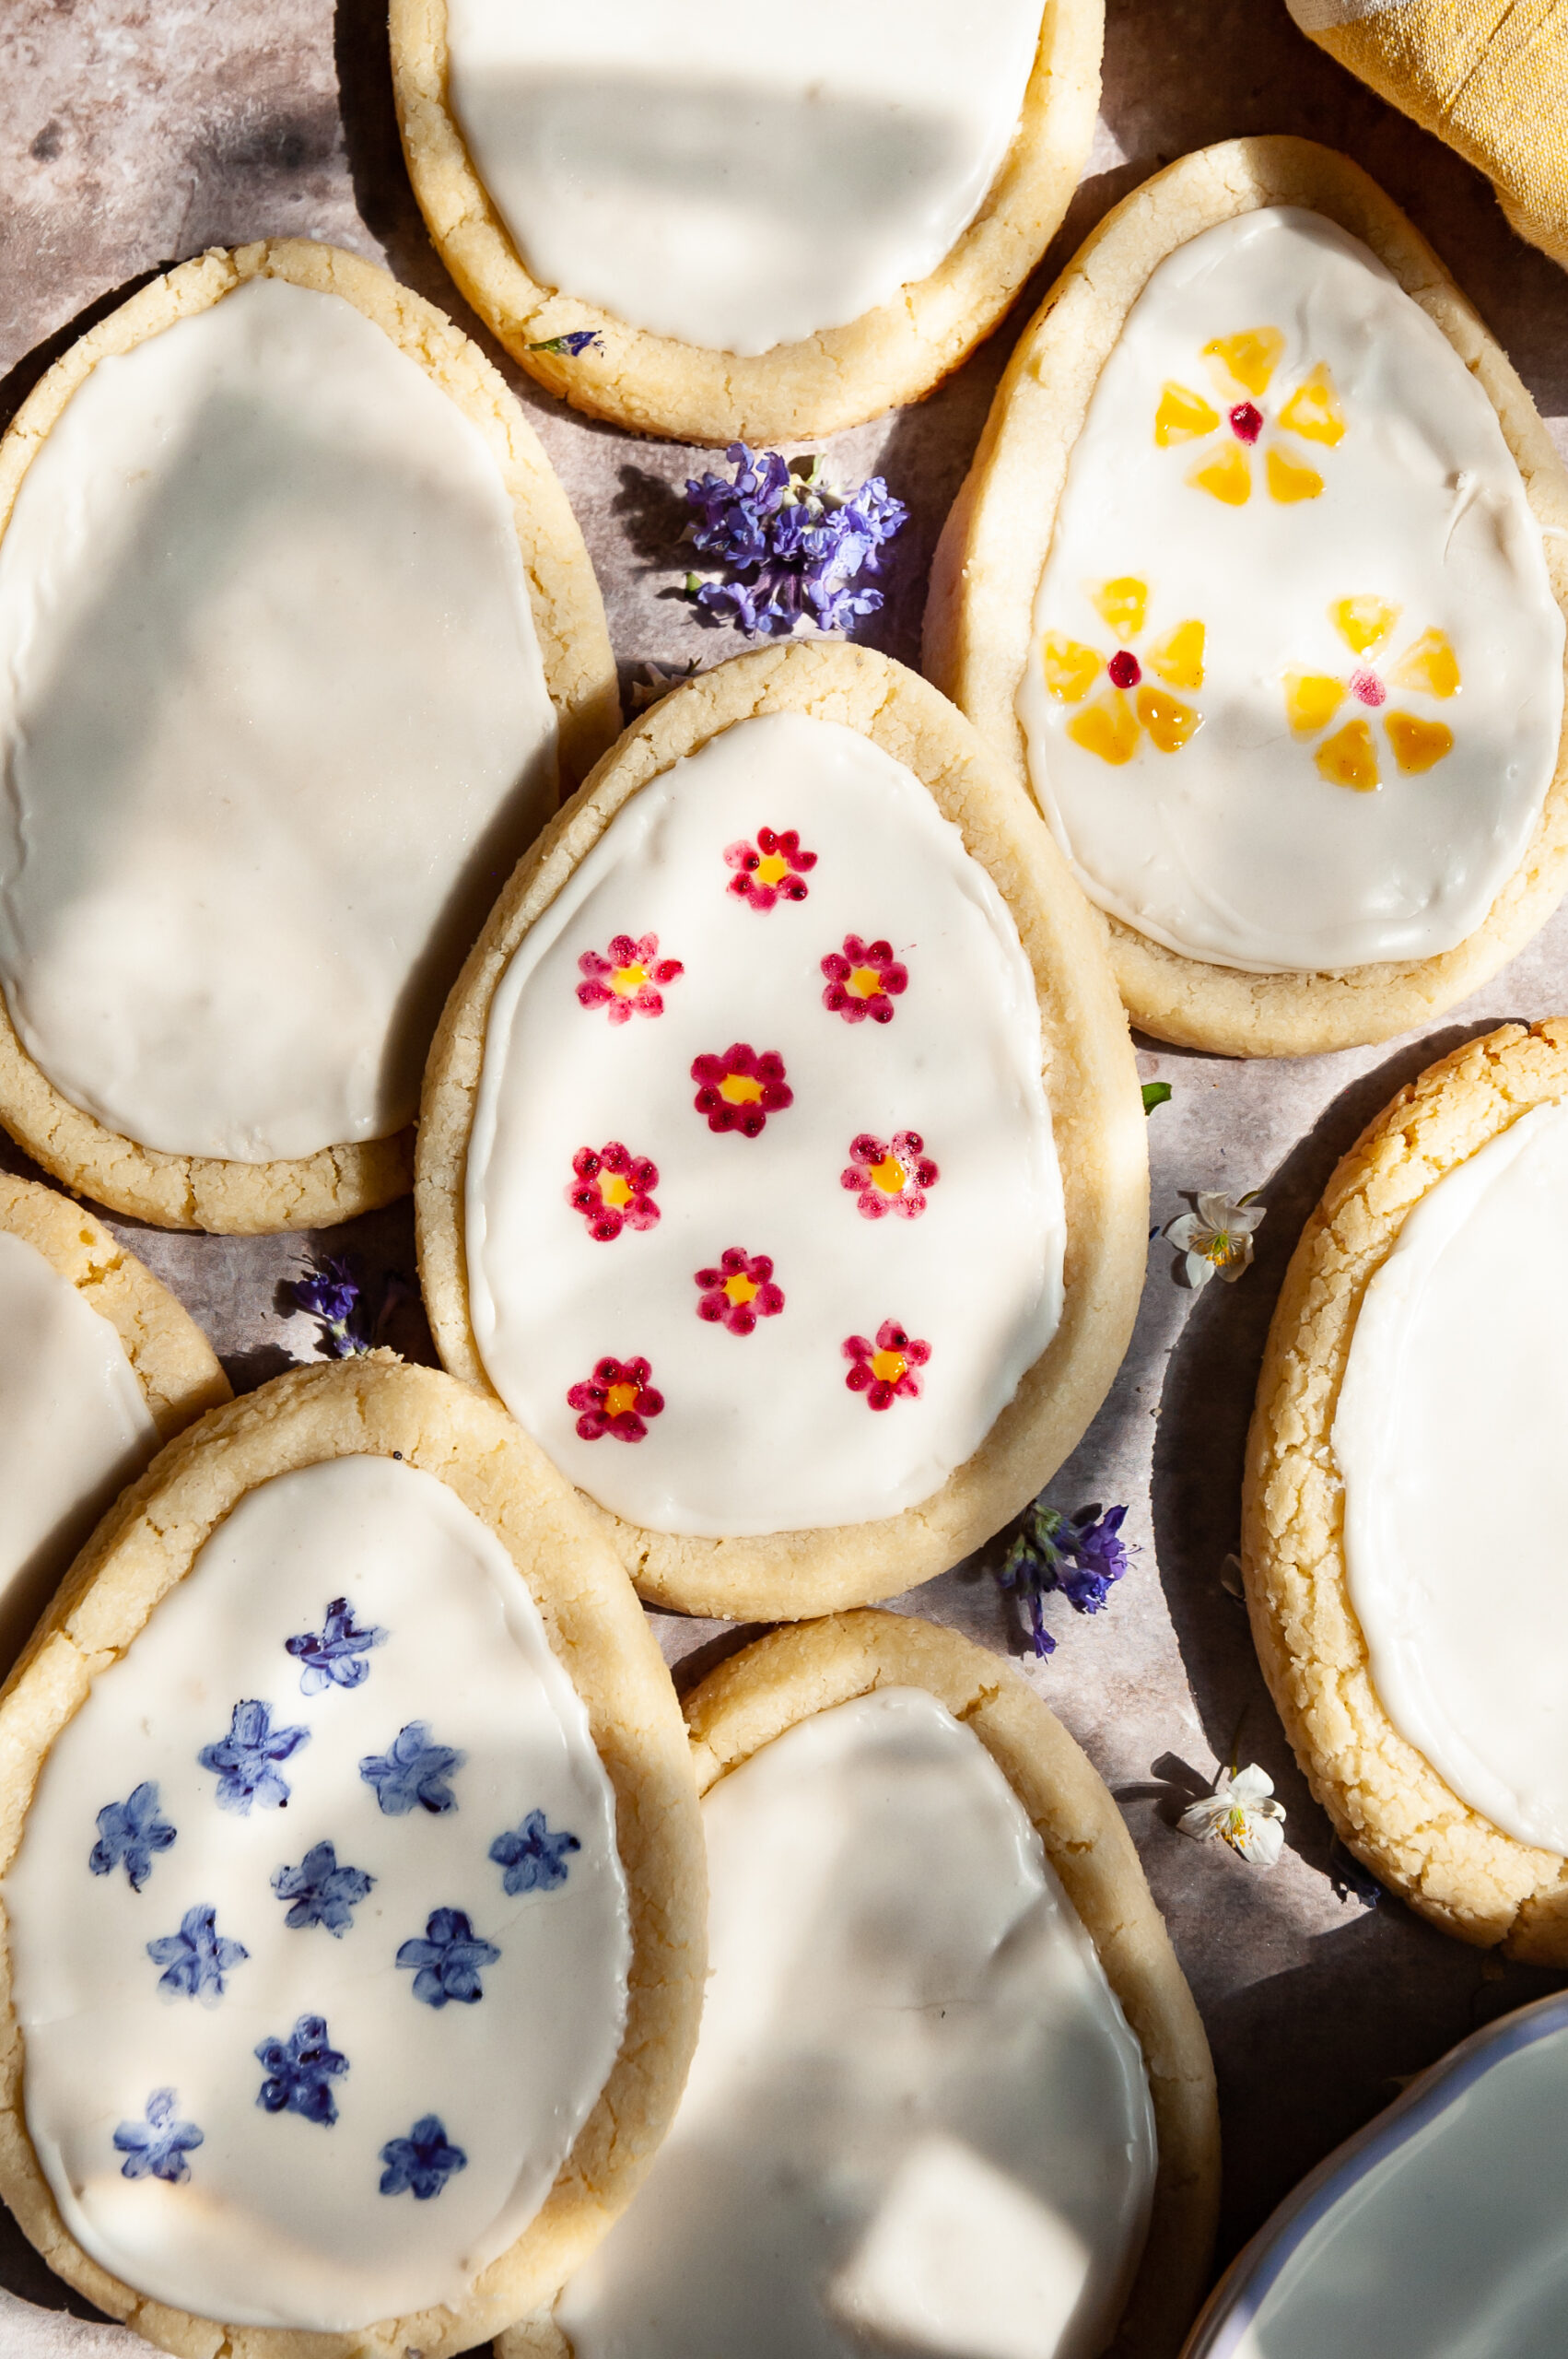
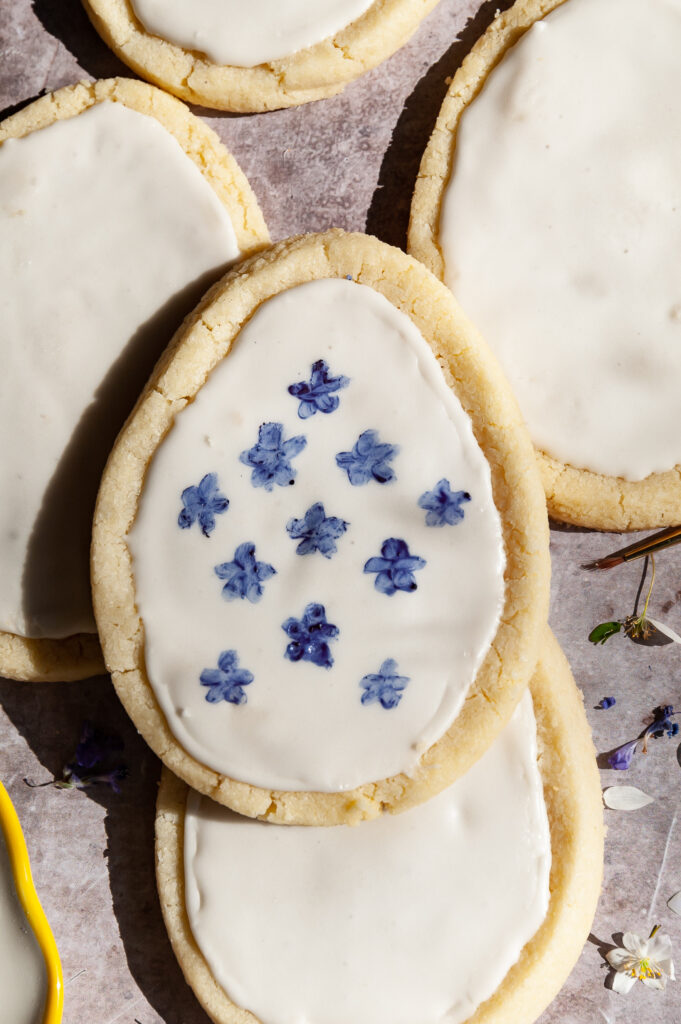
Did you know you could paint your own cookie by turning food dye into watercolors? Well, you can and it is so fun! Try out these Easter egg watercolor cookies today!
The Story:
I’m all for keeping the classic Easter egg dyeing tradition alive, but if you're looking to shake things up, these paint-your-own cookies will become a new favorite! Made with a chewy, grain-free sugar cookie base and topped with a smooth layer of royal icing, they’re as fun to decorate as they are to eat! The icing sets into the perfect canvas for watercolor-style painting, and I used this beautiful natural food coloring set from Selefina to bring them to life.

🧾 Ingredients:
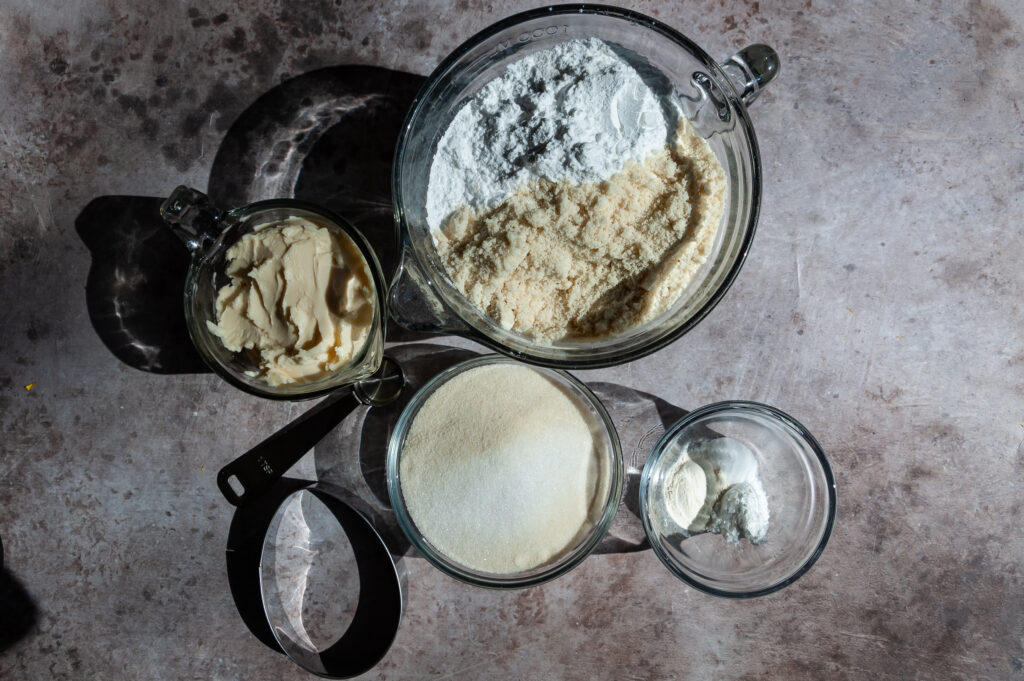
Here is the list of ingredients you will need to make these paintable cookies:
- Almond Flour: This grain free flour gives structure to the cookies and helps them retain their moisture to create a chewy texture.
- Tapioca Flour: This grain free flour is a starch flour that aids in balancing out the moisture content and helps these sugar cookies retain their shape.
- Granulated Sugar: Of course, sugar cookies need sugar.
- Dairy-Free Butter: You will need to use a firm, stick butter for these cookies so that they retain their shape. I use Earth Balance butter for sugar cookies. It holds its structure fairly well compared to other dairy free butter I have tried.
- Baking Powder: Baking powder is the rising agent so the cookies rise and cook properly.
- Xanthan Gum: This helps the cookies retain their texture and helps bind the ingredients together so that the cookies are not too crumbly.
- Clear Vanilla Extract: Using clear vanilla extract in sugar cookies gives them that bakery style, store bought addictive flavor!
- Salt: Just a bit of salt gets added for flavor balance.
- Powdered Sugar: This will be used in the royal icing. Look for an organic, grain-free powdered sugar like this one from Wholesome. The Good and Gather brand at Target is also a great option.
- Meringue Powder: Using meringue powder is the easiest way to create royal icing. I used Modern Mountain Baking Co, which can be found here on Amazon.
- Food Coloring: You can use any gel food coloring to paint with, but I love the option of natural food coloring. This set from Selefina is not only beautiful, but it is delicious too and adds flavor, which gel food coloring cannot offer.


Step By Step Preparation Instructions:
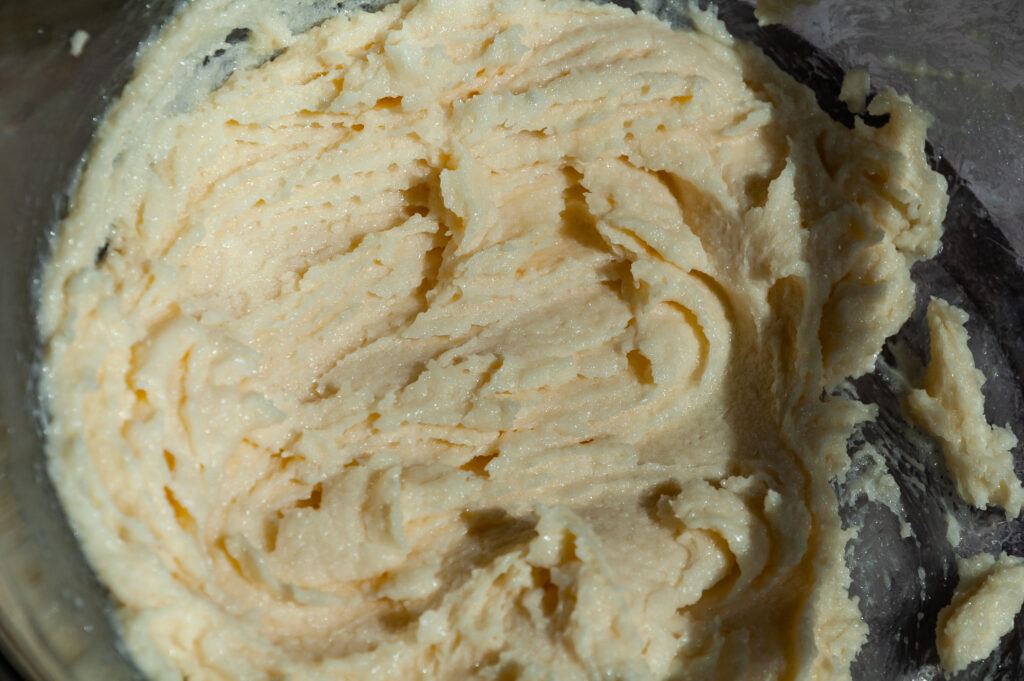
- Step 1: First, let's make the cookies. Using a fork, or in a mixer on low speed, cream together the butter and sugar until smooth and creamy.
- Step 2: Then add in the vanilla extract and mix again.
- Step 3: Next, add in all of the dry ingredients and mix until the dough comes together and is holding its shape.
- Step 4: Line a freezer safe cookie sheet with parchment paper and sprinkle on some tapioca powder to the center. Turn out the dough onto the parchment paper and sprinkle on a tad more tapioca flour to the top. Press down slightly into a disk shape.
- Step 5: Place in the freezer for about 10 minutes, then remove. Place another piece of parchment paper on top of the dough and gently roll it out until the dough is evenly about ½ to ¾ cm thick. When in doubt, err on the side of being thicker than not. Thin sugar cookies are sad and difficult to maneuver-enter the tricky part that people talk about. Their sugar cookies are probably too thin!
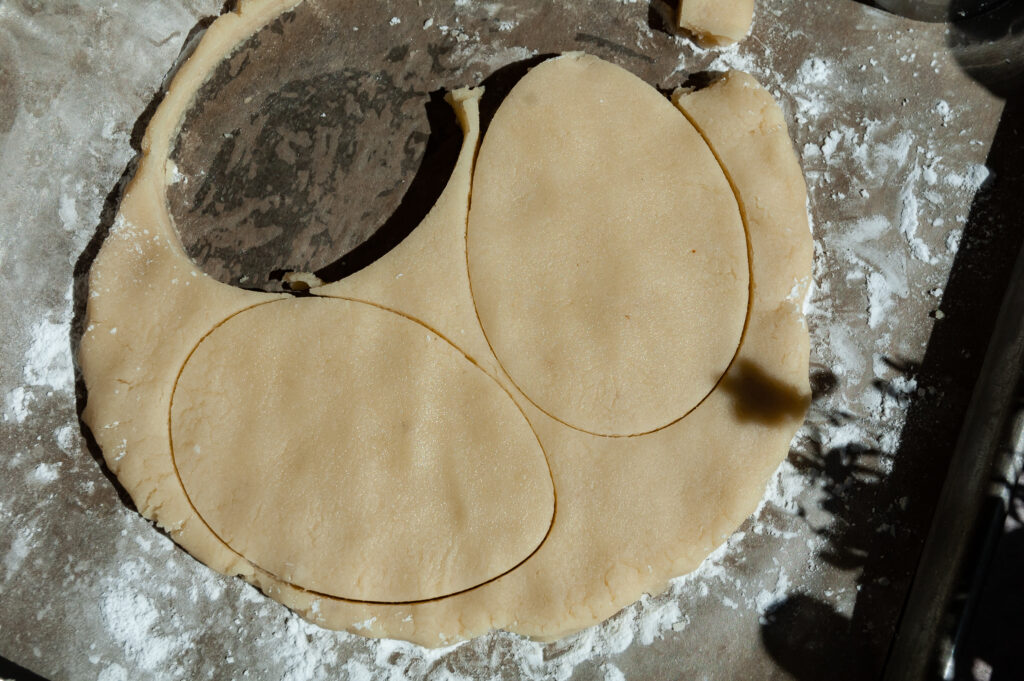
- Step 6: Cut out your desired shape of cookies and place them on a separate parchment paper lined cookie sheet. Place your cutout cookies in the oven and bake for about 10 min until JUST slightly starting to lightly brown. For larger cookies, you may need to add a minute or two. Light sugar cookies= the best sugar cookies. You do not want your sugar cookies to “brown” or they lose the desirable chewy texture.
- Step 7: Roll up the scraps, pat into a disk again and place back in the freezer for a few minutes. Repeat as necessary until all the dough is used. Allow the cookies to cool completely before moving on to frosting them.
- Step 8: Now, to make the royal icing. Royal icing is made with just 3 ingredients, powdered sugar, meringue powder and water. Add the powdered sugar and meringue powder to a mixer. Mix well, then on medium-high speed, add in the water and mix until the consistency that the icing melts back into the bowl of icing within about 5 seconds. If it’s too thick, add more water in small increments. If it’s too thin and melts in too quickly, keep mixing to incorporate more air, or add in a little more powdered sugar. If you're a beginner like me, I would err on the side of the icing being thicker as it is a bit easier to control.
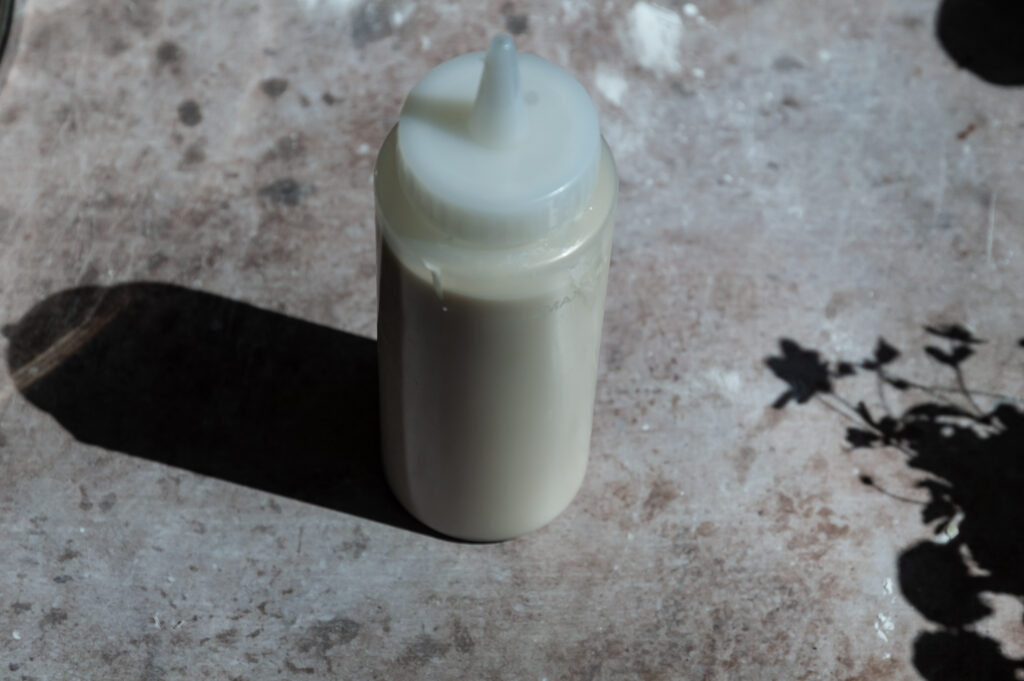
- Step 9: Once the royal icing is the correct consistency, add to a piping bag with a small circle piping tip, or a squeeze bottle. I prefer a squeeze bottle, as it is easier to control and is the easiest option for a beginner decorator.
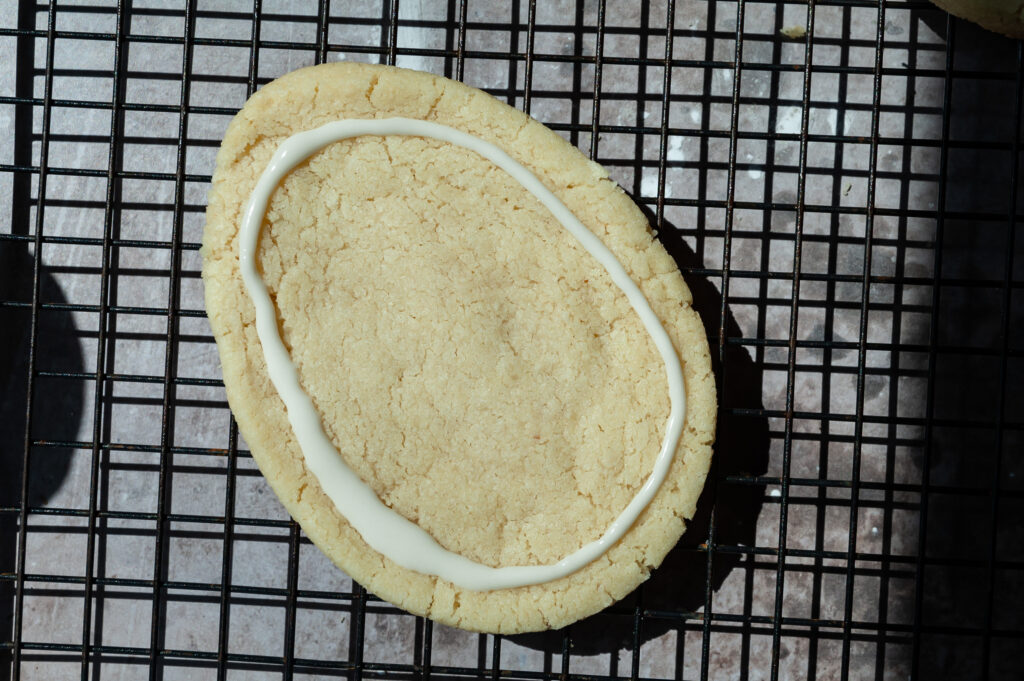
- Step 10: First, pipe an outline all around your cookie. Then fill in the center of the cookie with more royal icing, and using a toothpick, evenly spread the icing to the edges. You want to work fairly quickly, as royal icing sets up quickly. You can also use the toothpick to pop any air bubbles that might exist. Allow the icing to harden completely before moving on to decorate. You can allow them to air dry, or place in the refrigerator.
- Step 11: Once the royal icing is completely set, you can now decorate! See below for decorating tips!


How To Decorate the Cookies:
- Step 1: Get your supplies ready, just as you would with watercoloring. You will need a small bowl of water, and a small plate with your selected colors. I would use about a teaspoon of coloring if using gel food coloring, or a tablespoon if using natural, powder food dyes.
- Step 2: Mix your paint. If using gel dye, you'll need to dilute each color with a few drops of water to create a watercolor consistency. If you are using a powder food dye, you'll need to mix the powder with water until you get a thin, paintable consistency.
- Step 3: Use a clean, food-safe paintbrush to apply color to cookies, just like watercolor on paper!
- Step 4: Let the kids or adults decorate as they would like! If you are a beginner, but you want a cohesive look, sticking to a "theme" can help you achieve that cohesive look, while still encouraging creativity. I opted for a floral theme! Polka dots, plaid/gingham, or classic Easter stripes and zigzags would be fun too! *I would not layer colors or interlay colors as the colors will become muddled and muted.


Frequently Asked Question's:
Can I use any food coloring to paint with?
Yes! I would use gel food coloring and dilute it a bit. I haven't tried it with liquid food coloring.
How should I store these cookies?
These cookies stay delicious and chewy for several days if kept in an air tight container in the refrigerator.
Can I make these cookies ahead of time?
Absolutely! Again, these cookies stay delicious for several days in the refrigerator.
What is meringue powder?
It is a baking agent that is made up of primarily dried egg whites. It's what helps the icing dry firm so that you can paint on it.
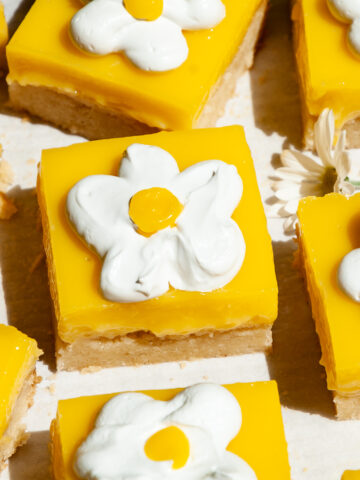
More Spring Recipes:


📖 The Recipe:

Paint Your Own Cookie
Ingredients
For the cookies:
- 200 grams dairy free butter
- 200 grams granulated sugar
- 2 teaspoon clear vanilla extract
- 240 grams almond flour
- 160 grams tapioca flour
- 1.5 teaspoon xanthan gum
- 1.5 teaspoon baking powder
- ⅛ teaspoon salt
For the royal icing:
- 240 grams powdered sugar
- 1.5 tablespoon meringue powder
- 4 tablespoon water
Instructions
- First, let's make the cookies. Using a fork, or in a mixer on low speed, cream together the butter and sugar until smooth and creamy.
- Then add in the vanilla extract and mix again.
- Next, add in all of the dry ingredients and mix until the dough comes together and is holding its shape.
- Line a freezer safe cookie sheet with parchment paper and sprinkle on some tapioca powder to the center. Turn out the dough onto the parchment paper and sprinkle on a tad more tapioca flour to the top. Press down slightly into a disk shape.
- Place in the freezer for about 10 minutes, then remove. Place another piece of parchment paper on top of the dough and gently roll it out until the dough is evenly about ½ to ¾ cm thick. I am for ¾ cm thick. When in doubt, err on the side of being thicker than not. Thin sugar cookies are sad and difficult to maneuver-enter the tricky part that people talk about. Their sugar cookies are probably too thin!
- Cut out your desired shape of cookies and place them on a separate parchment paper lined cookie sheet. Place your cutout cookies in the oven and bake for about 10 min until JUST slightly starting to lightly brown. For larger cookies, you may need to add a minute or two. Light sugar cookies= the best sugar cookies. You do not want your sugar cookies to “brown” or they lose the desirable chewy texture.
- Roll up the scraps, pat into a disk again and place back in the freezer for a few minutes. Repeat as necessary until all the dough is used. Allow the cookies to cool completely before moving on to frosting them.
- Now, to make the royal icing. Add the powdered sugar and meringue powder to a mixer. Mix well, then on medium-high speed, add in the water and mix until the consistency that the icing melts back into the bowl of icing within about 5 seconds. If it’s too thick, add more water in small increments. If it’s too thin and melts in too quickly, keep mixing to incorporate more air, or add in a little more powdered sugar. If you're a beginner like me, I would err on the side of the icing being thicker as it is a bit easier to control.
- Once the royal icing is the correct consistency, add to a piping bag with a small circle piping tip, or a squeeze bottle. I prefer a squeeze bottle, as it is easier to control and is the easiest option for a beginner decorator.
- First, pipe an outline all around your cookie. Then fill in the center of the cookie with royal icing, and using a toothpick, evenly spread the icing to the edges. You want to work fairly quickly, as royal icing sets up quickly. You can also use the toothpick to pop any air bubbles that might exist. Allow the icing to harden completely before moving on to decorate. You can allow them to air dry, or place in the refrigerator.
- Once the royal icing is completely set, you can now decorate!
The Finished Product:
I hope you have so much fun with these! Involve the kids and let creativity lead! These paint your own cookies are such a fun (and tasty) way to celebrate the season. If you give them a try, I’d love to see how yours turn out! Feel free to tag me on social media!


Leave a Reply